More

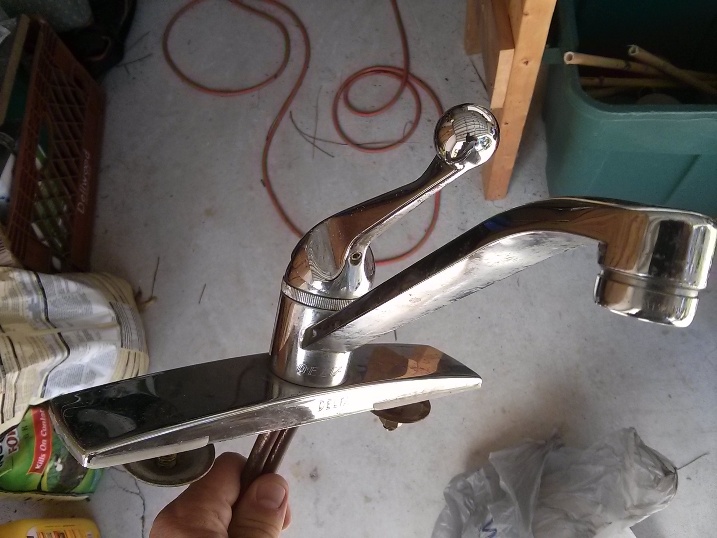
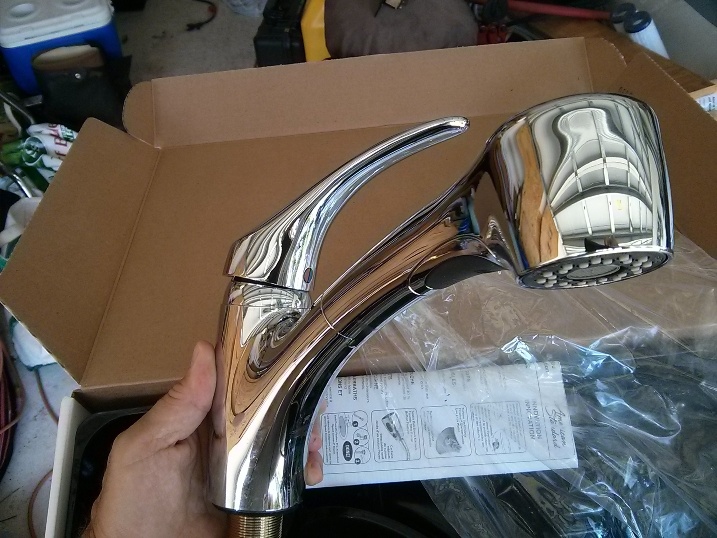
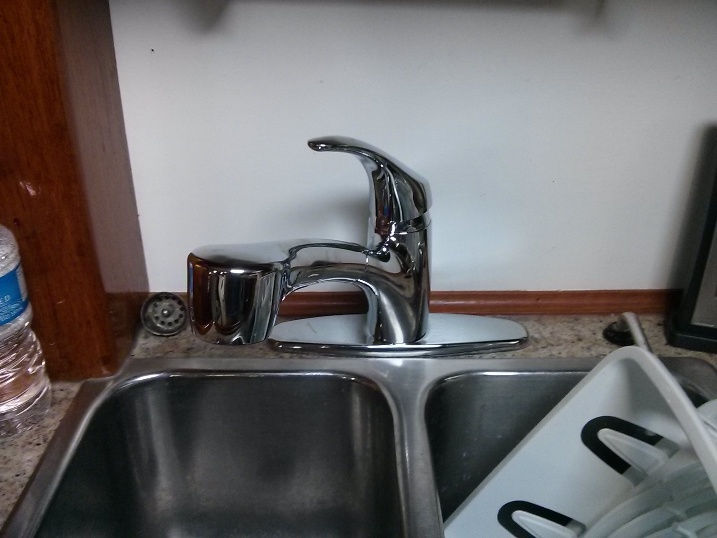
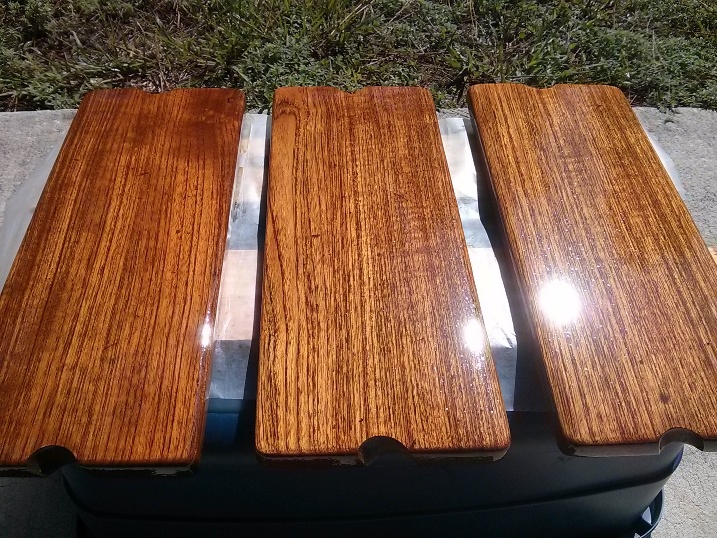
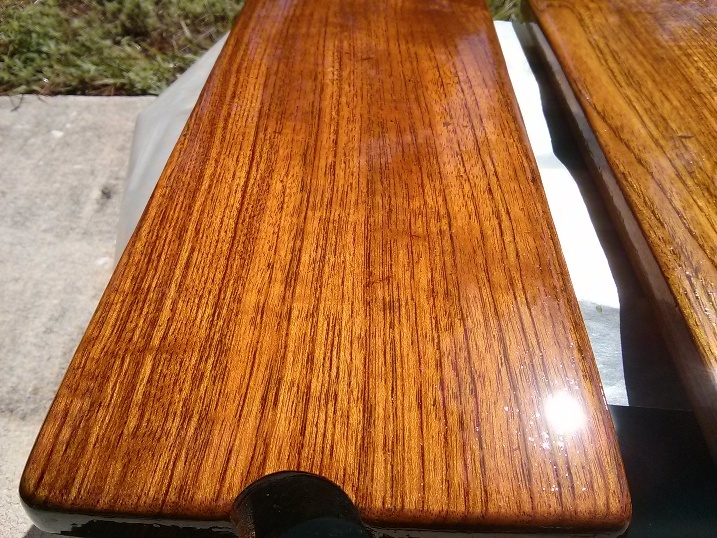
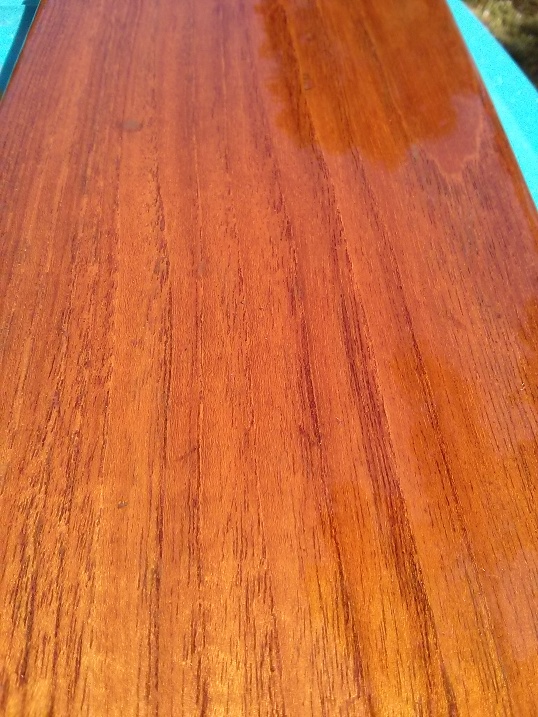
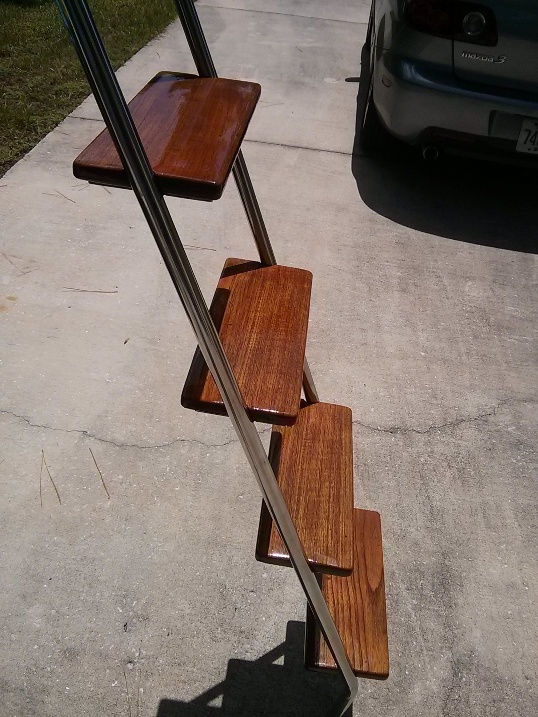
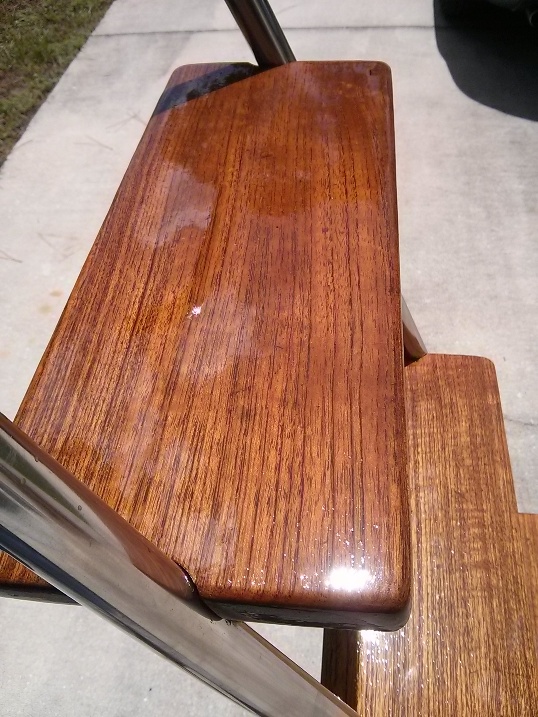
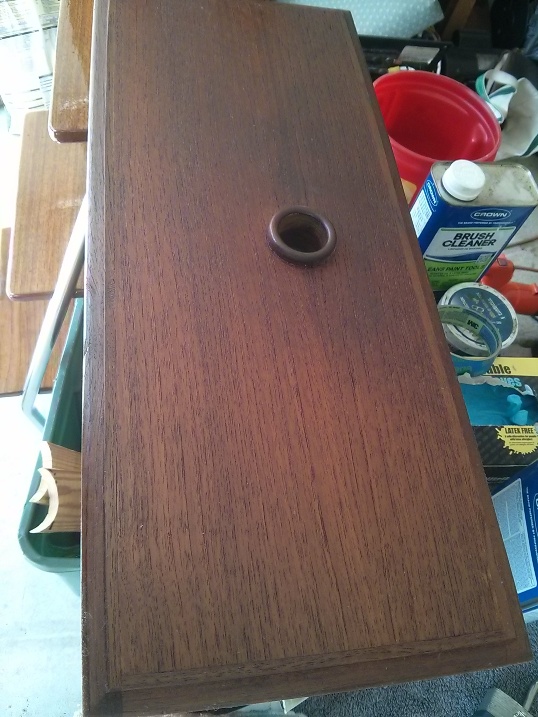
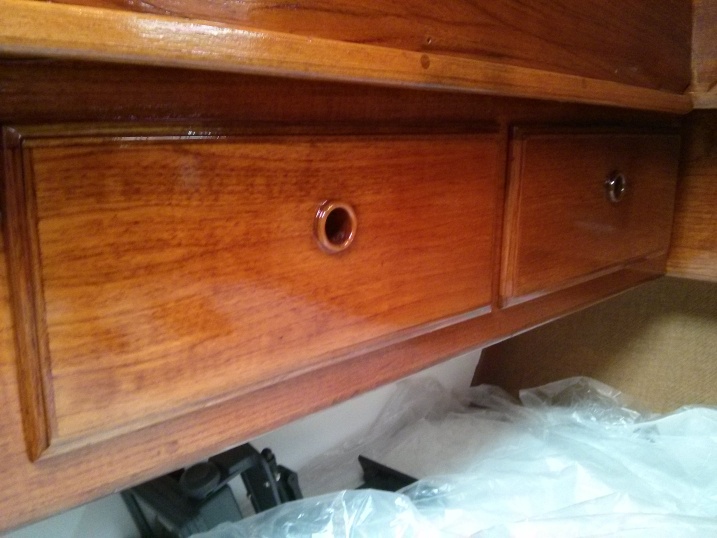
We’re set for a November departure, weather permitting on or before the sixth. We are still plugging along installing, wiring, plumbing, cleaning, buying. I am wiring the gps into the vhf and ssb radios as I mentioned before. I did a rough install just to make sure all worked well then I did a proper installation, routing wires correctly and securely. Well…all worked well initially, then after the “proper” installation it didn’t. Long story short the gps died so I had to send it back to Garmin for repair. The new gps is already on the way and we should be up and running shortly. Also continuing to refinish the interior wood, something we never got to do during our refit. We are removing the chocolate brown sticky disgusting finish and applying coat upon coat of clear glossy varnish, it looks beautiful and really lightens up the interior. We also replaced our leaky galley faucet among many other things.

Old leaky faucet:

1 faucet

New faucet:

1a faucet

Installed:

1b faucet

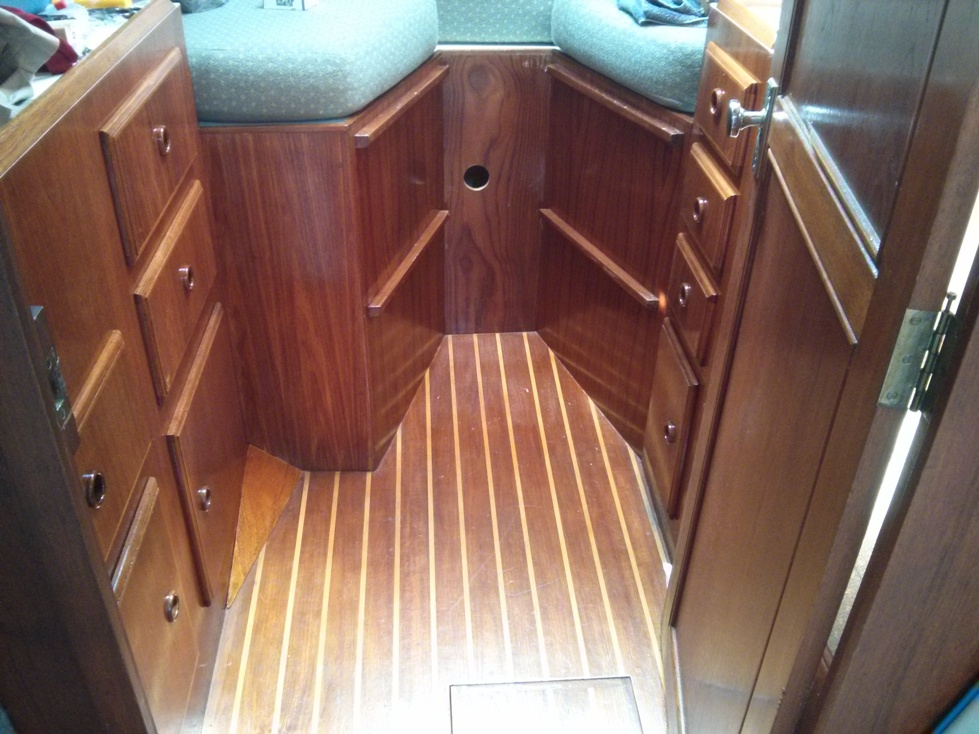
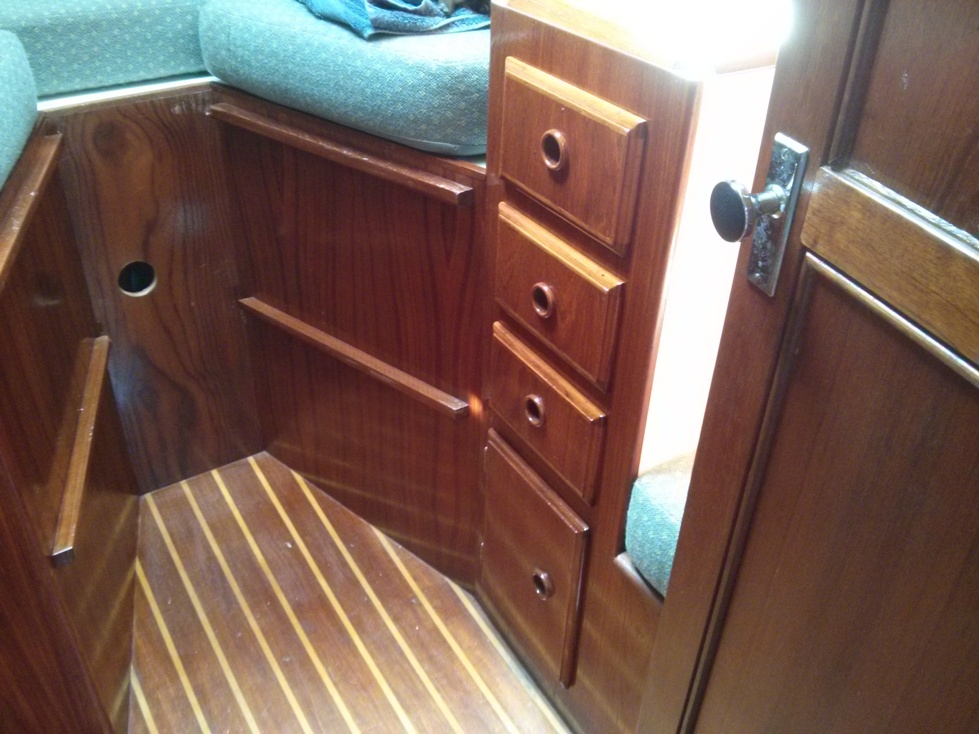
Here are some pics of the wood after refinishing. These are the steps for the aft companionway:

2 wood

2a wood

2b wood

2c wood

2d wood

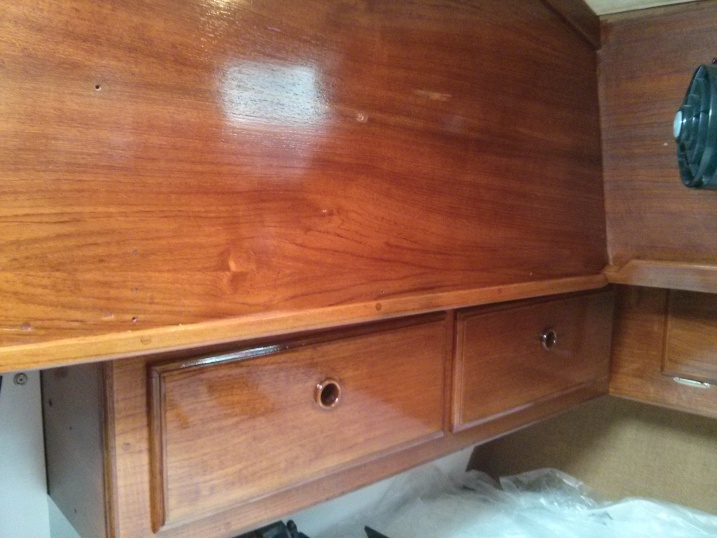
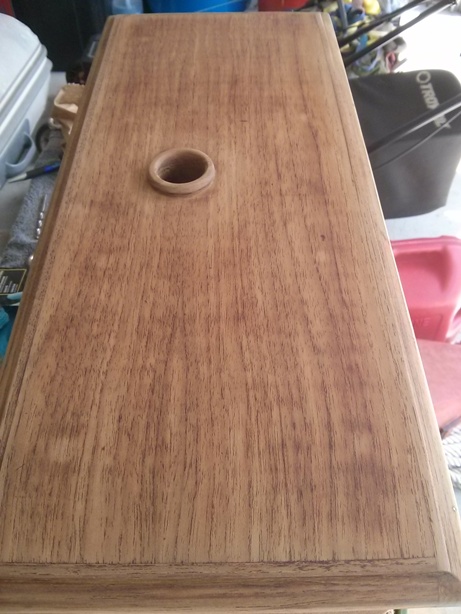
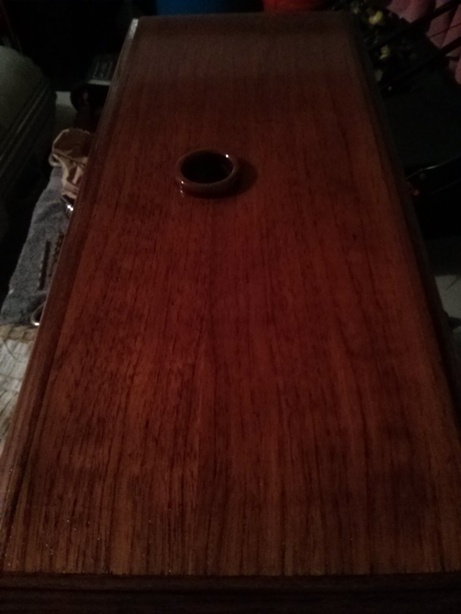
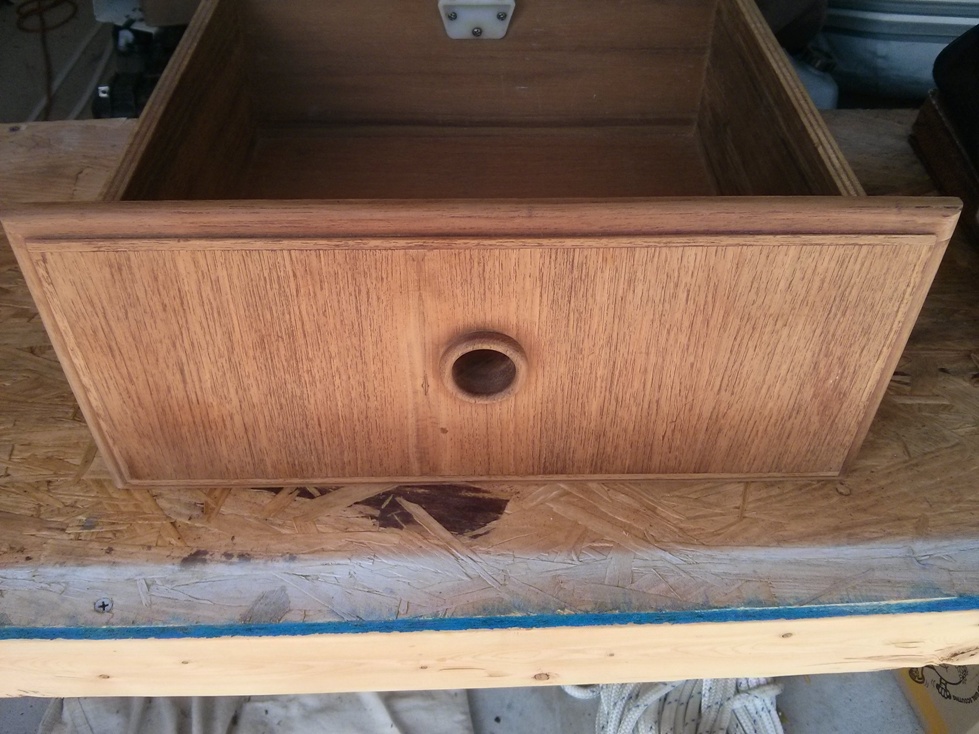
Drawer before:

2e wood

Drawer after:

2f wood

Aft wall:

2g wood

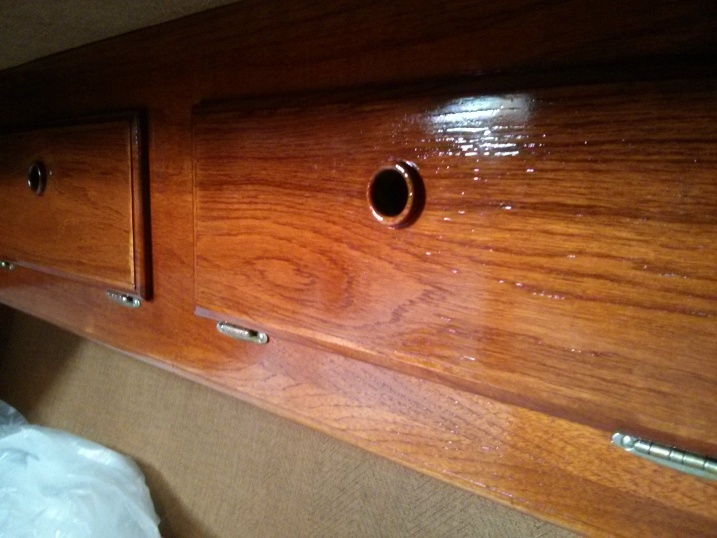
Cabinets:

2h wood

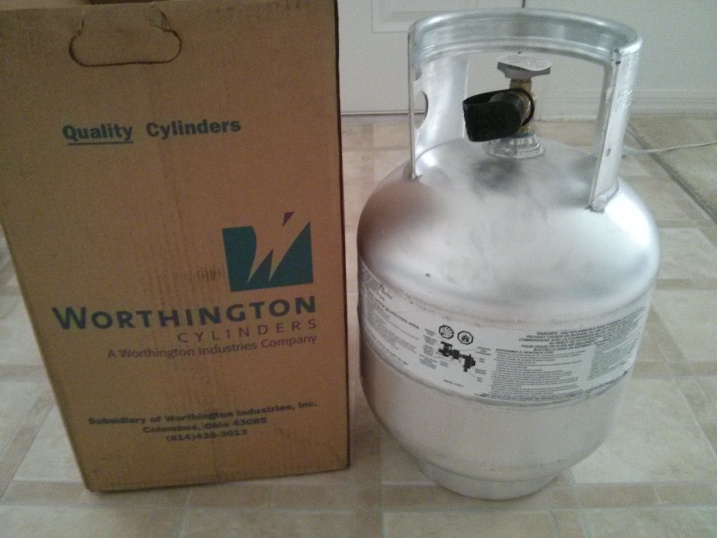
New 20 pound aluminum propane tank:

3 propane

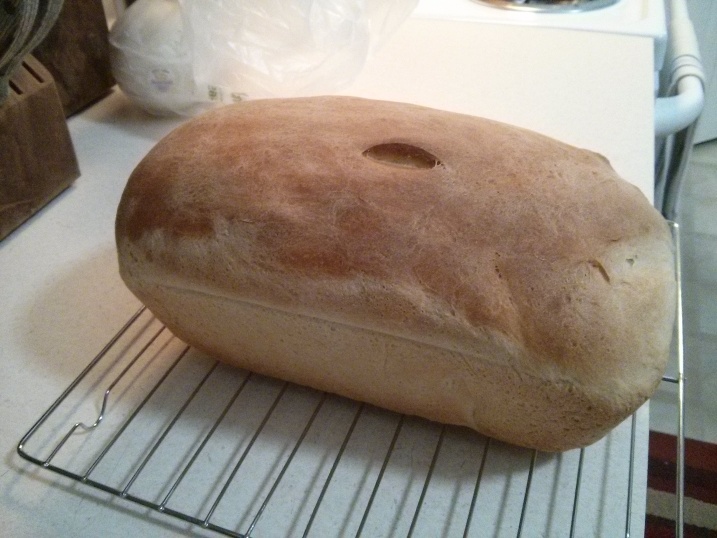
Tanya made some kick ass bread (that’s important on a boat):

3a bread

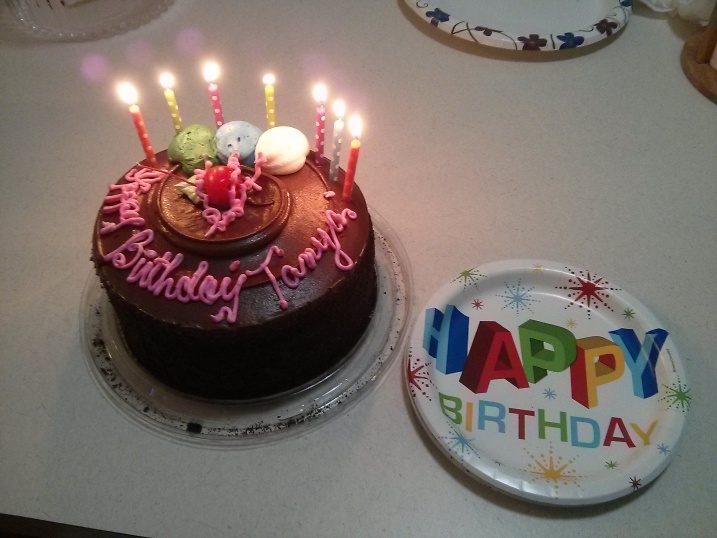
And we celebrated Tanya’s birthday with cake…

4 bday

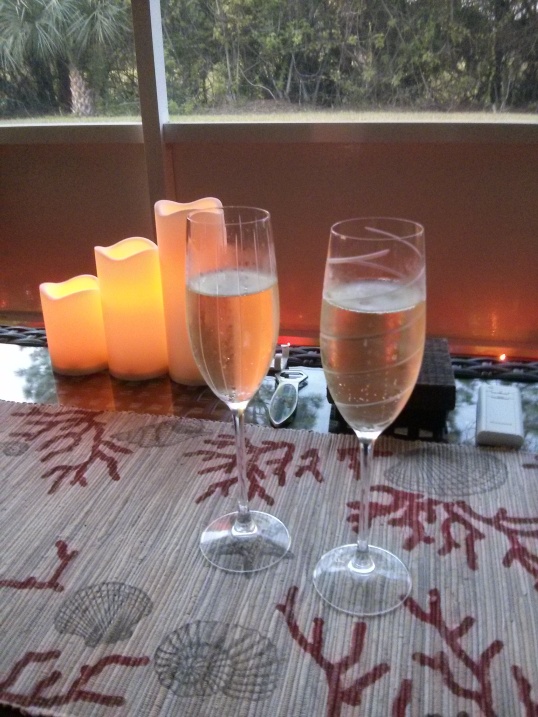
…and champagne:

4a bday

We are making great progress everyday, more to follow!

Categories: Boat, General, Happenings, Repairs | 4 Comments

Quick update

A lot has happened in the last few months! Both of us have been working full time, I’m done now (working for money) and Tanya has a few weeks left. We sold my car yesterday which is a huge step toward our goal. We’ll keep one car for our inevitable return. The boat is coming along nicely, mainly small projects, engine and generator maintenance, refinishing interior wood, new head, some wiring, upgrading, and reinstalling things that I removed earlier. Over the past few months we have been purchasing spare parts and non-perishables. I think we have our 90% solution and if we don’t, too bad we’ll figure it out on the way!

We are planning to depart first week of November!

Nothing exciting but here are some pics…

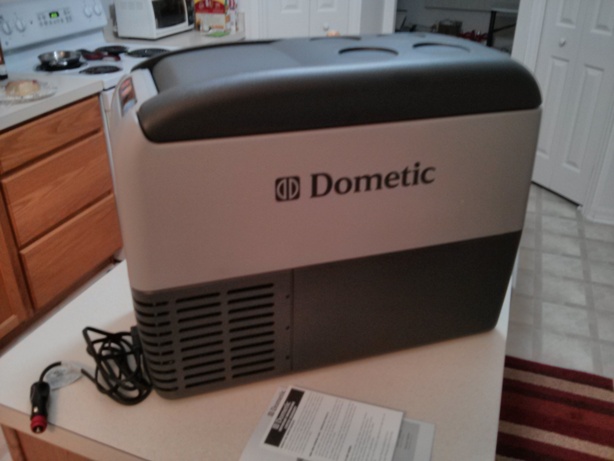
We purchased some additional fridge space to keep drinks and high use items. So far we are very happy with this unit:

1 portable fridge

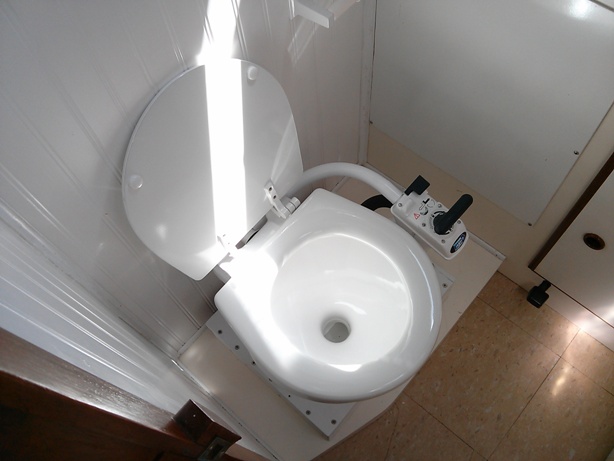
 We rebuilt our last head several times and each time it failed quicker than the last so we opted to replace it:

1a head

1b head

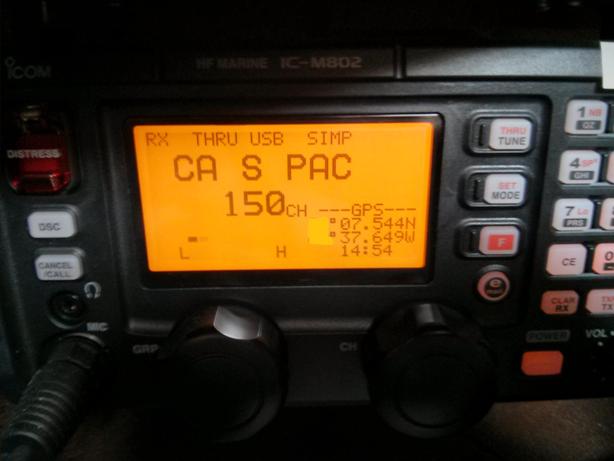
 I finally figured out how to get GPS signal into the VHF and SSB radios. In the event we ever need to hit the “red button” the receiving station should have our GPS coordinates, which should expedite a rescue effort. Let’s hope we never have to use that feature!

1c gps input

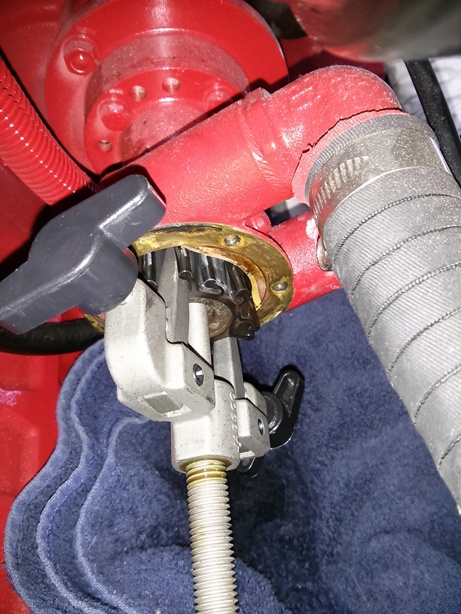
 I changed the impellers on the engine and generator with our new removal tool. The tool works perfectly and both impellers slid right out!

2 impeller

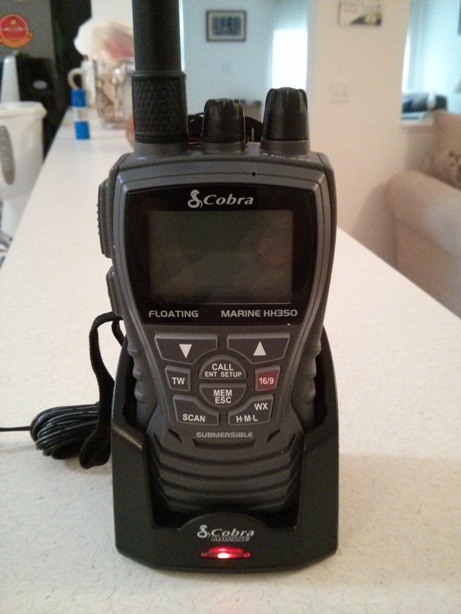
Our brick of a hand held radio failed so we bought a new floating radio, very nice! 3 vhf

Still refinishing wood:

3a wood

3b wood

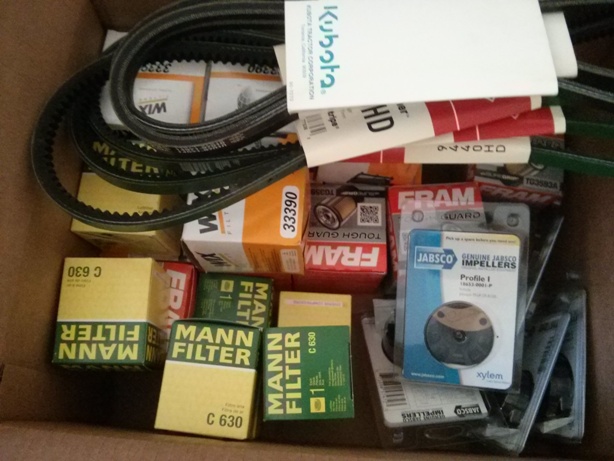
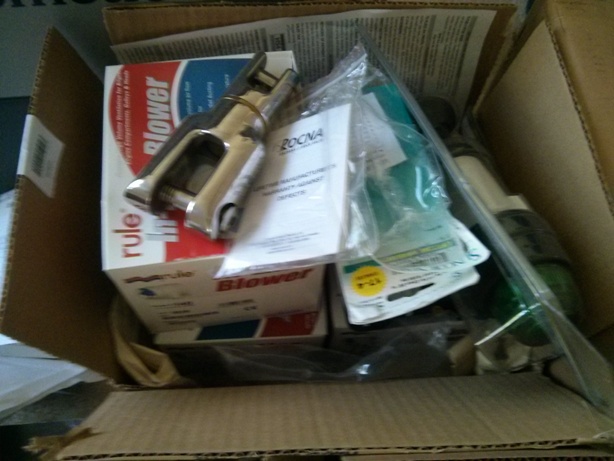
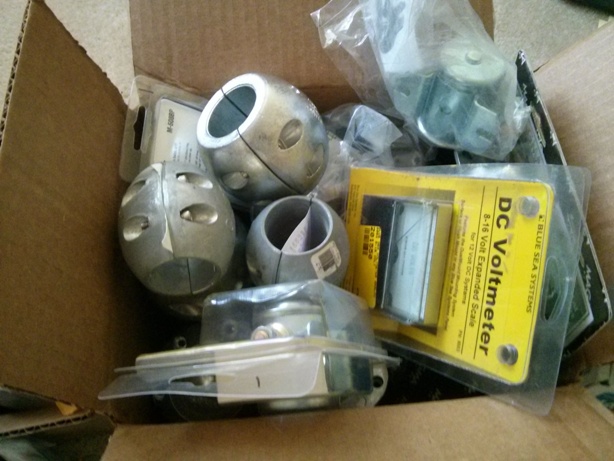
We have tons of spare parts, this is just a drop in the bucket. I also got extra watermaker motor and pump, consumables, alternator and starter…list goes on. I think we are set.

4 spares

4a spares

4b spares

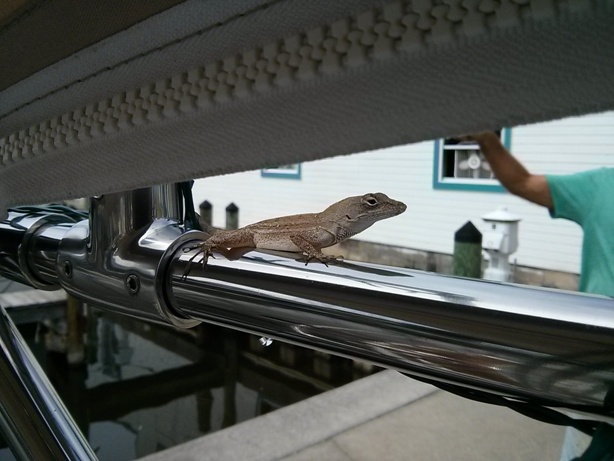
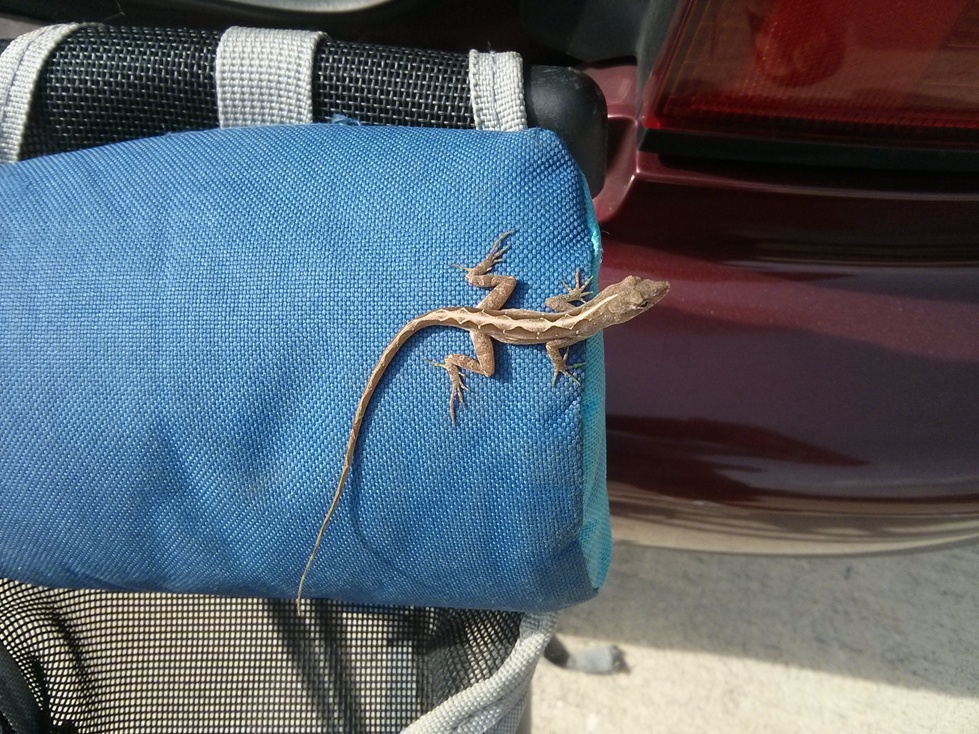
…and this guy has taken up residence, an indicator that we have been tied up too long!

9 lizzard

Time to get outa here!!!

Categories: Boat, General, Happenings, Repairs | 1 Comment

Back At It

We are both working full time now so my goal of updating the website once a month is no longer. We are still working hard to get the boat ready for our departure but nothing very exciting, it’s all rather mundane.

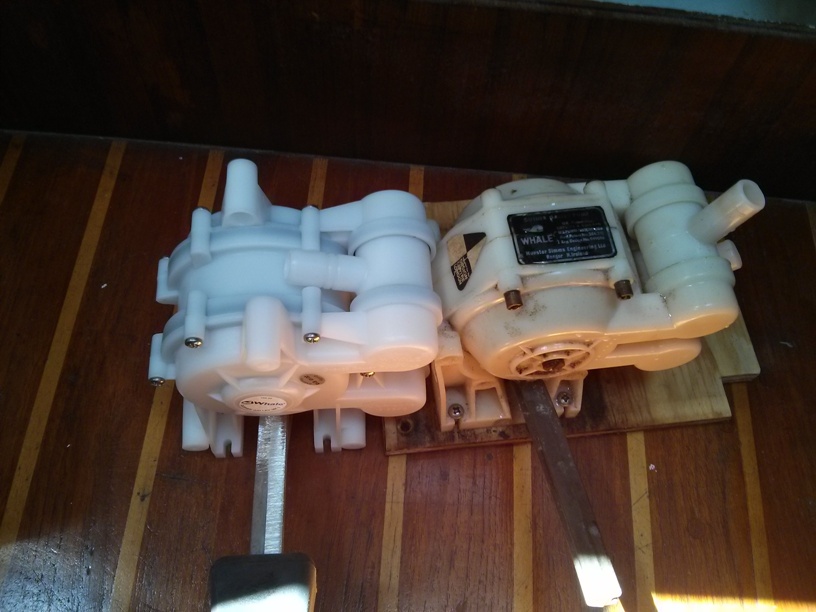
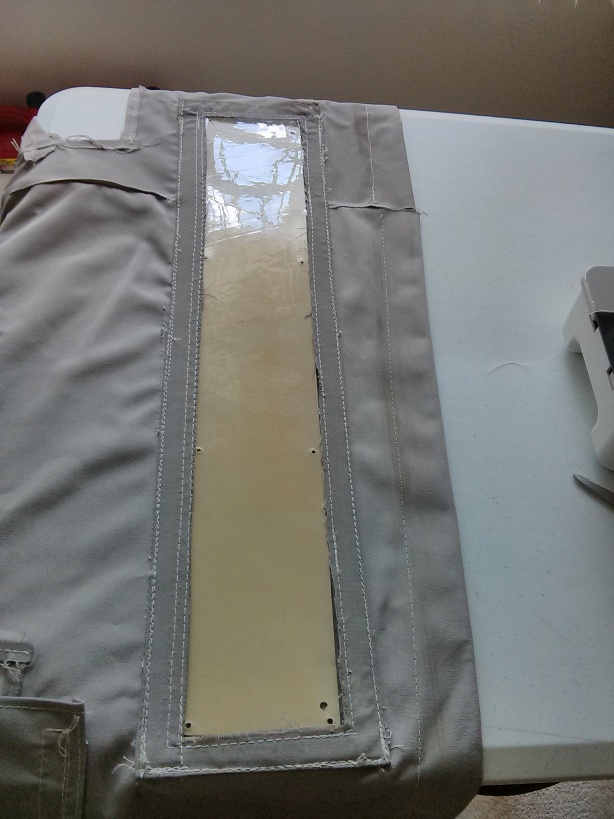
Our foot-operated galley water pump had been leaking and finally broke so I pulled that out, cleaned and painted the wood and installed a new one. We finally finished the charcoal vent filter for the holding tank. Now the holding tank vent and the vented loop run to the filter and get vented outside the boat, it really works, there is no more smell in the boat! We also ripped out the watermaker wiring and replaced it with much larger wire. We installed our last two solar panels. We had the wind generator repaired and finally got that back on the mizzen mast. We found considerable corrosion on our davits and solar panel mounts so we removed, cleaned, and reinstalled them…which was no fun at all. And lastly…I sewed up the seams and replaced the registration windows on our dinghy cover and washed it. Not at all exciting but it’s progress and with every step we are more excited to get on with our journey.

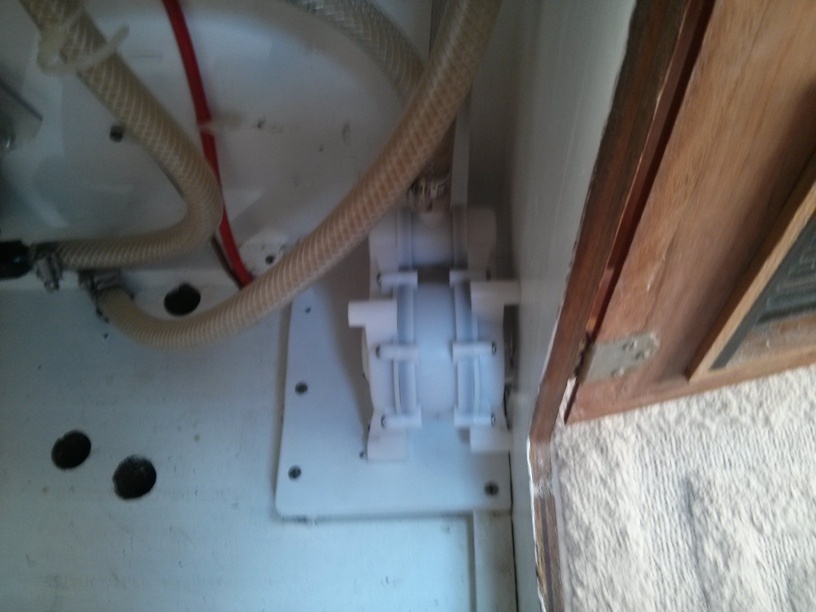
The foot pump is mounted in the galley on the floor under the sink. This pump enables us to use our fresh water without using electricity, just step on the pump lever and water comes out at the sink. New and old:

1 foot pump

Installed in the compartment under the sink:

1a foot pump

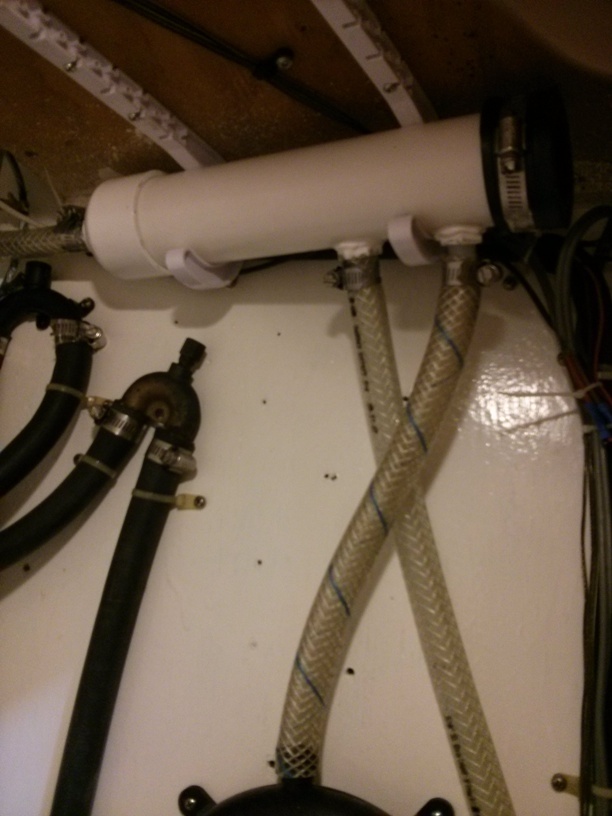
We are so happy with this charcoal filter; there is no more smell from the holding tank. Both the vented loop and the holding tank are connected to this filter:

1b holding tank filter

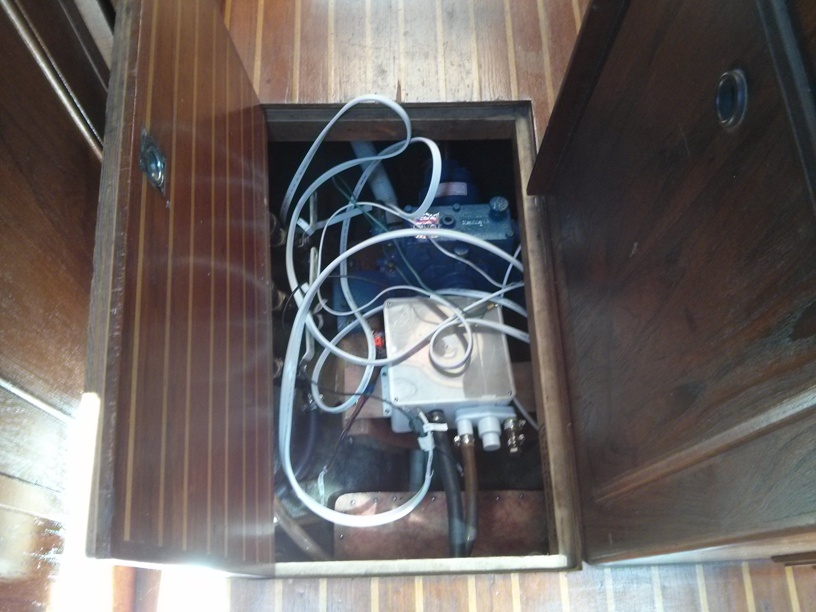
Watermaker wiring mess:

2 watermaker wiring

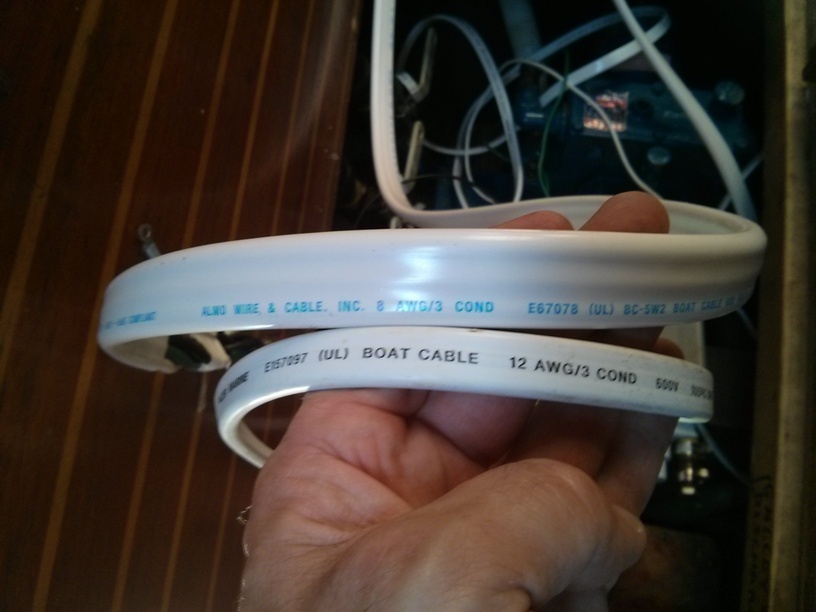
New wire is much larger and able to handle a larger amp load:

2a watermaker wire

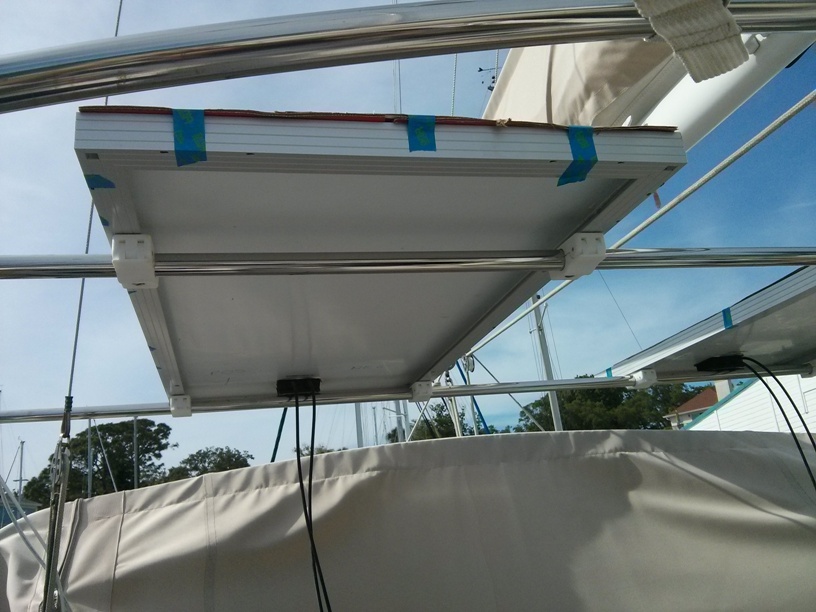
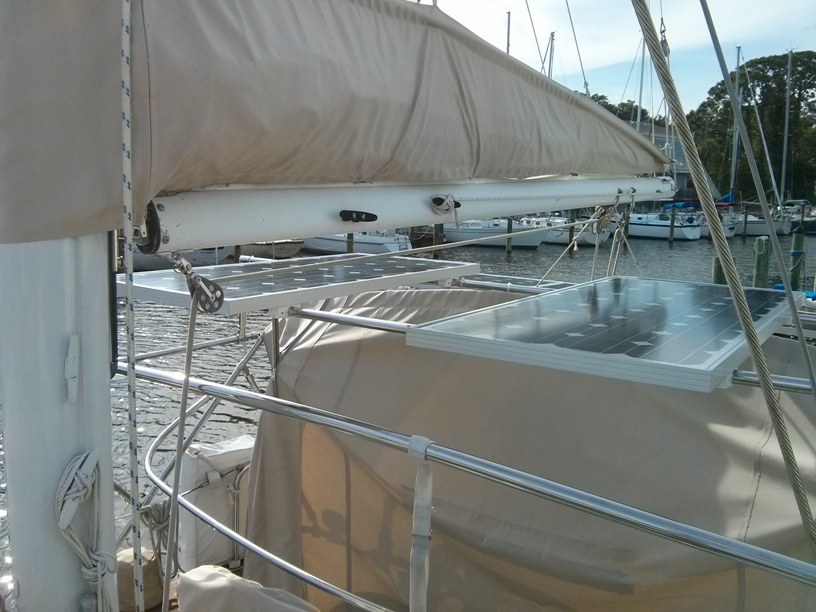
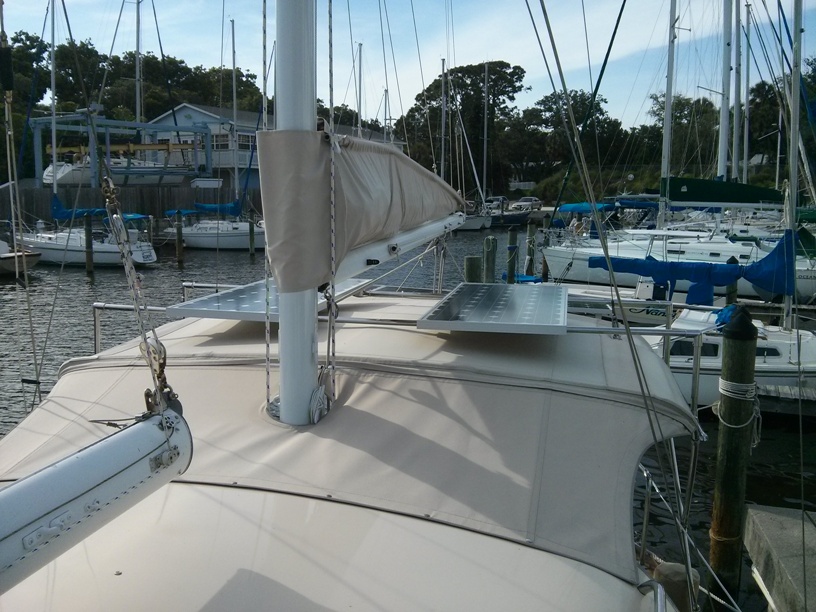
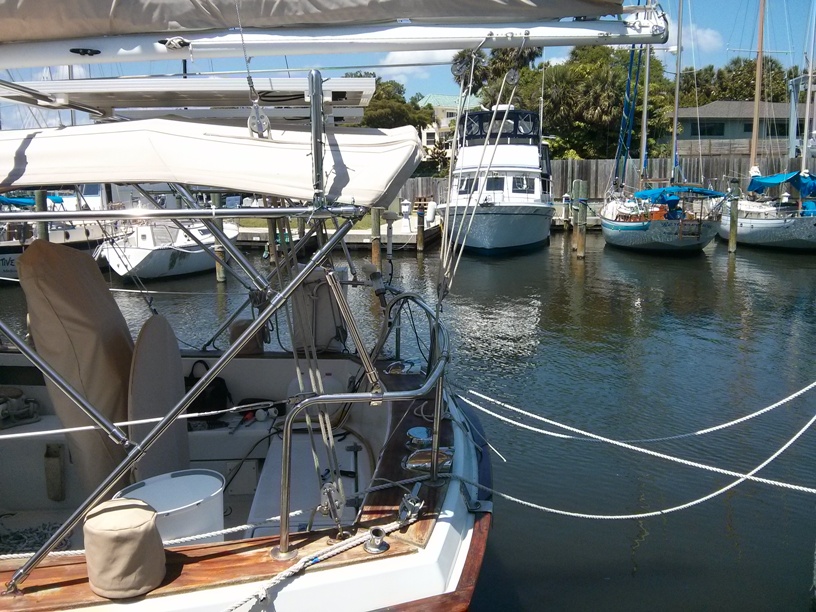
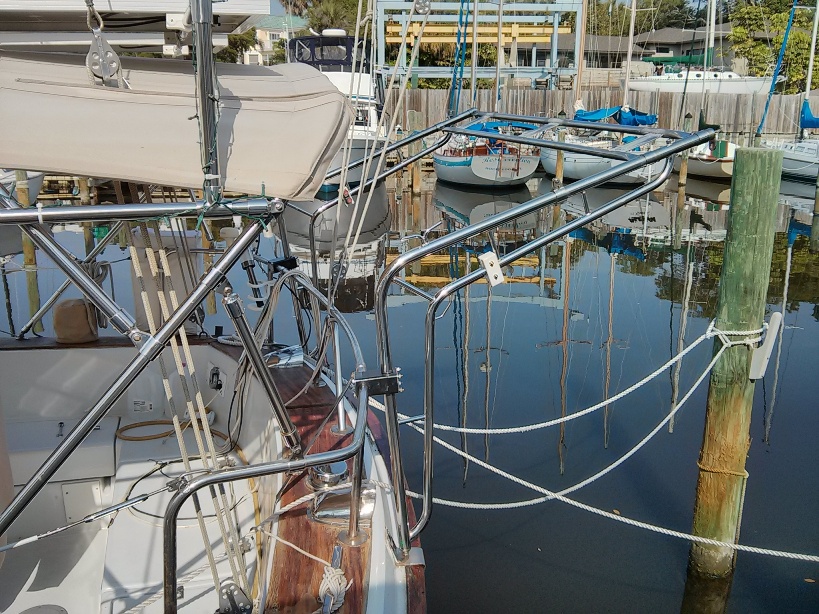
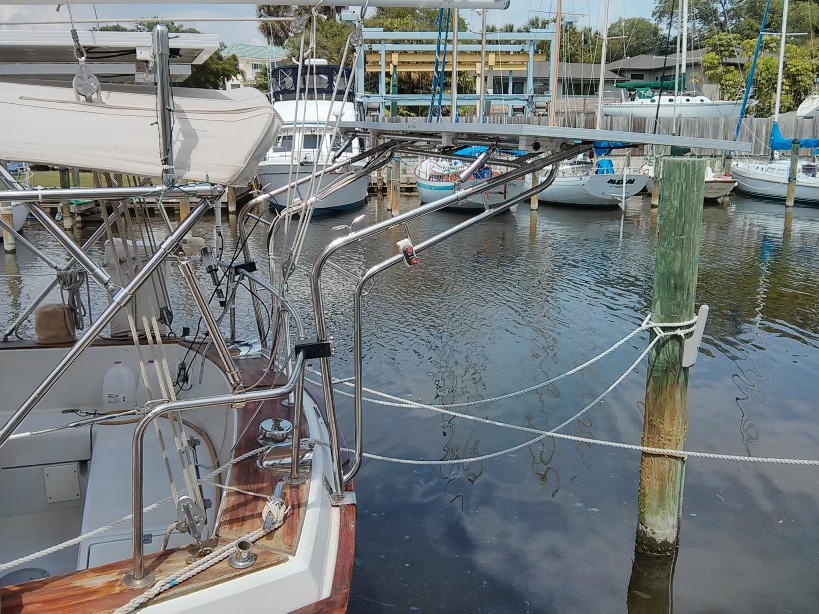
We built a frame over the bimini top to mount our last two solar panels. Now we have a total of six panels:

2b solar panels

Mounted and waiting to be wired:

2c solar panels

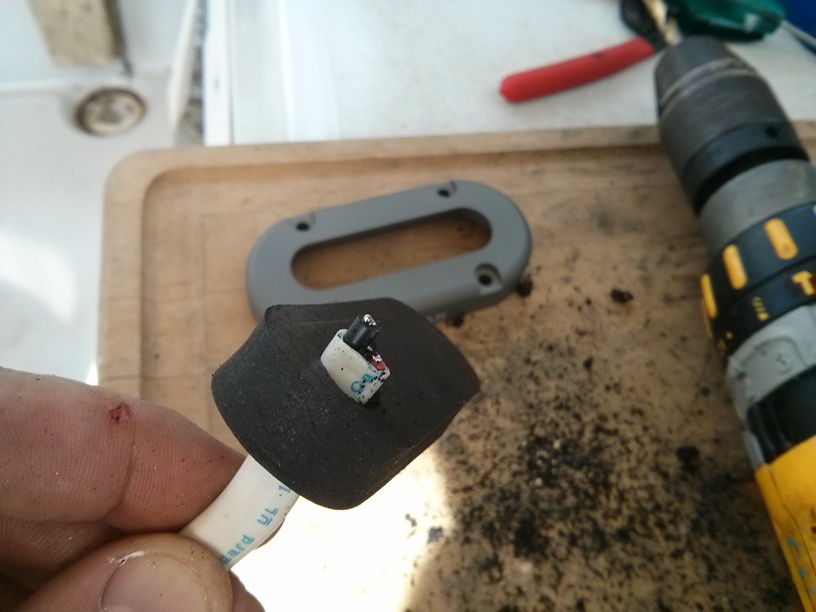
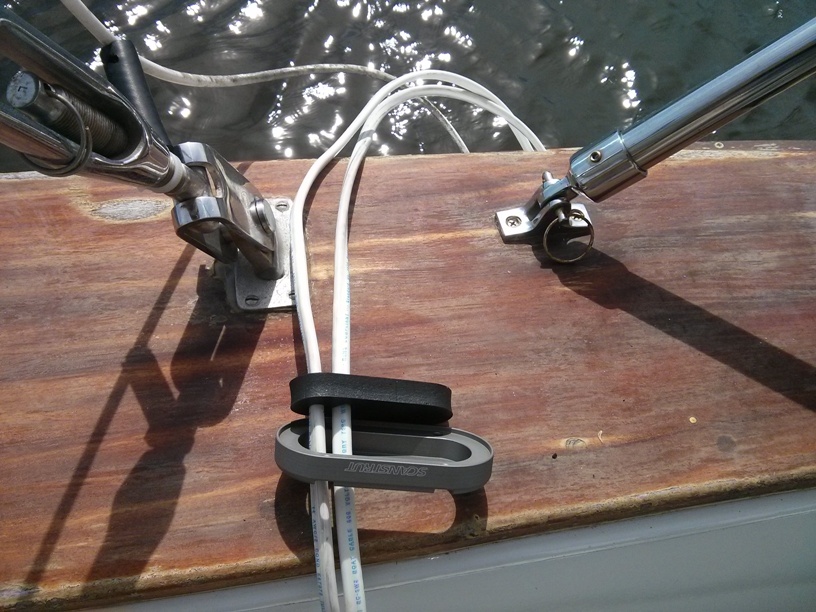
In order to run the wire from outside to in, we had to drill more holes in the boat. We used this watertight wire deck seal:

2d solar wiring

This all clamps together and screws into the side of the boat making a water-tight seal:

2e solar wiring

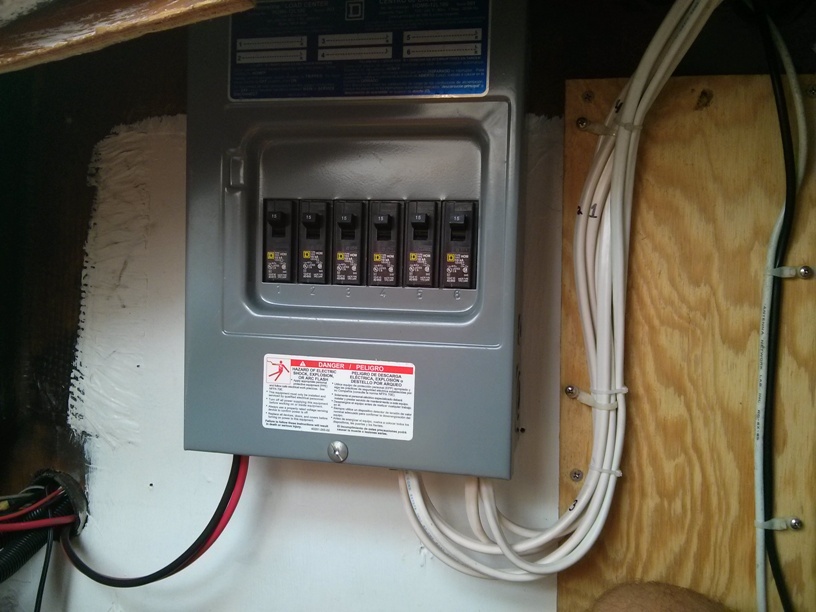
Wired into the combiner box. The box takes the electricity from all the panels and sends it to our charge controller and ultimately the batteries:

2f solar wiring

Solar panels complete:

2g solar panels

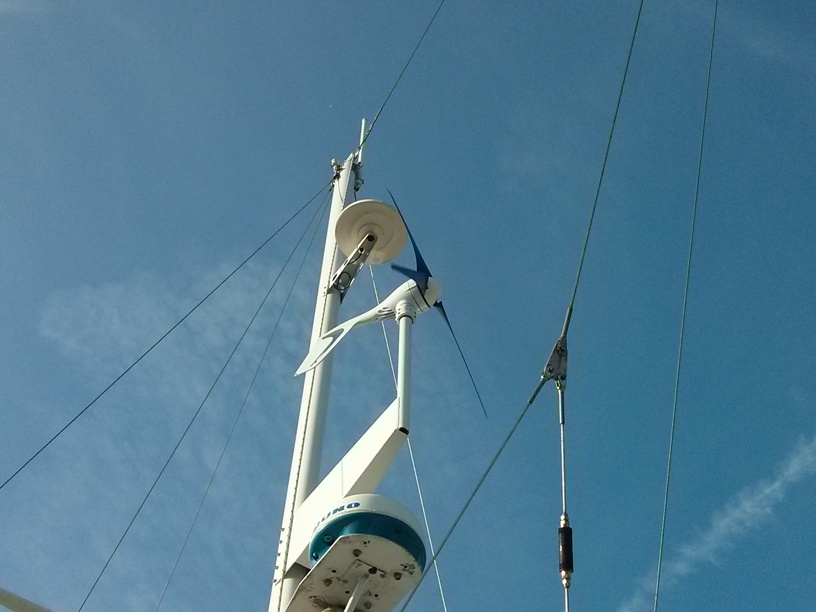
Wind generator back on and it works great! No more vibration!

3 wind generator

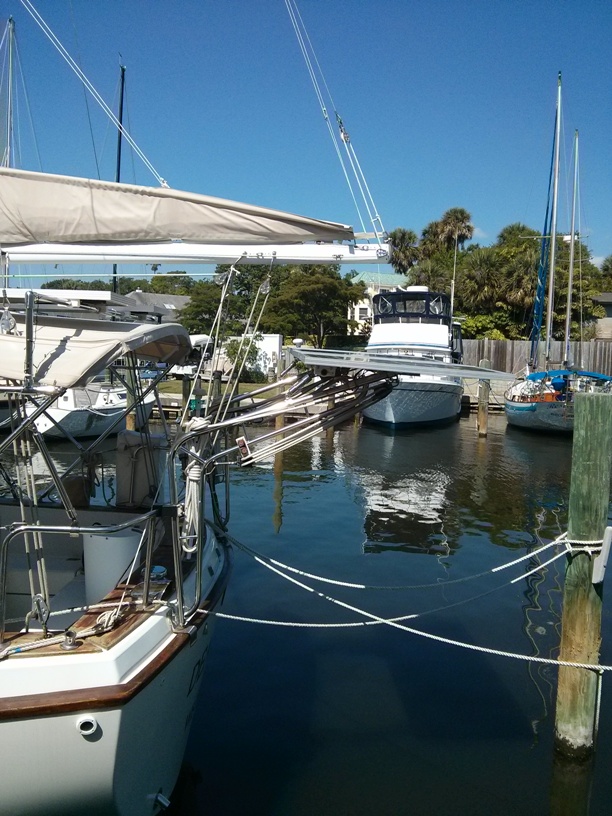
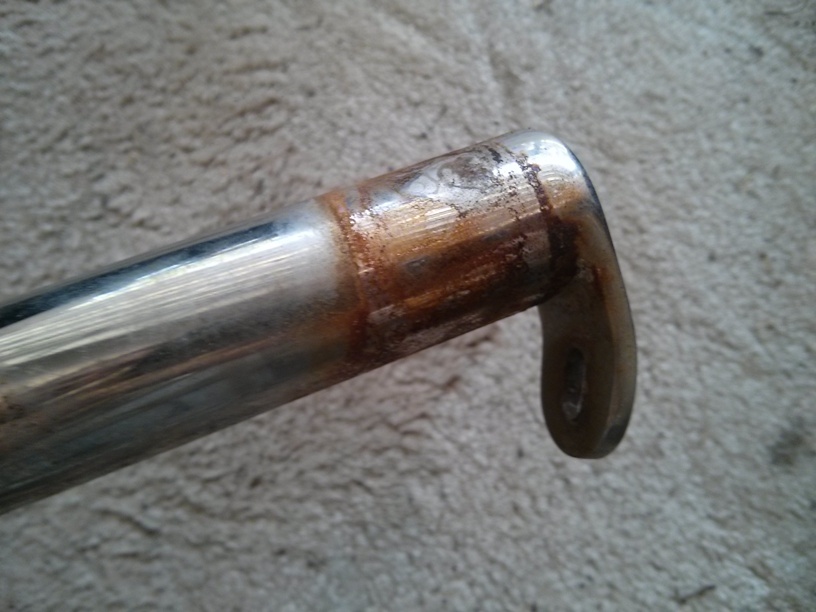
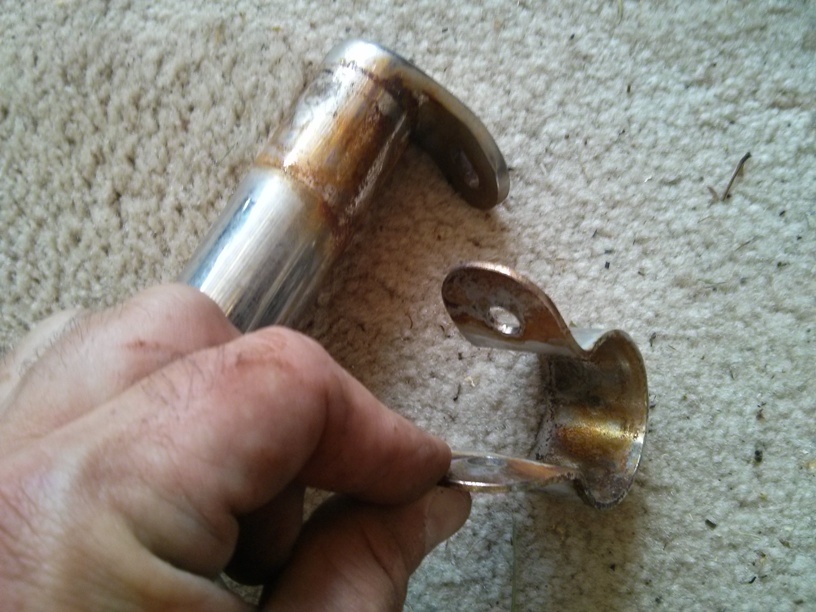
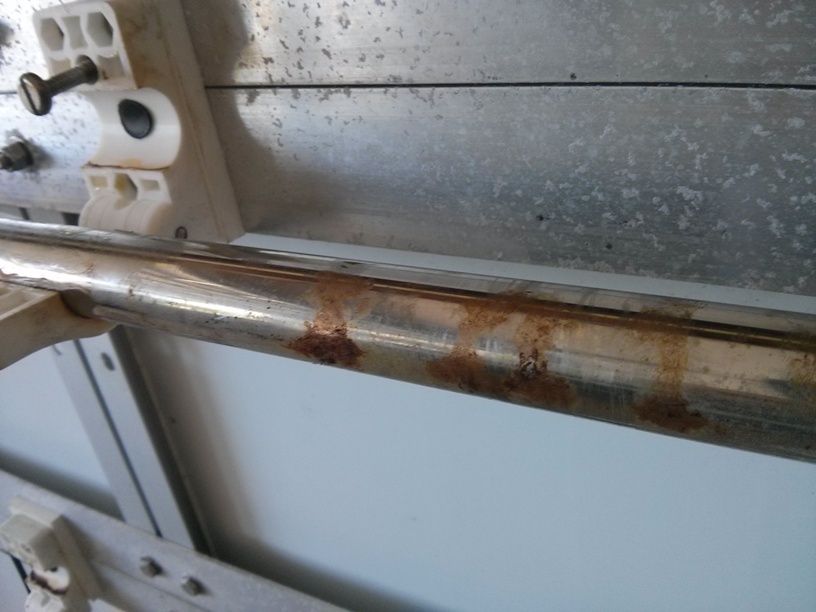
Found lots of corrosion on our davits and the solar panels mounted above them:

4 davits

Off come the solar panels…absolutely no pics of that evolution…

4a davits

Davits off:

4b davits

Lots of corrosion:

4d davits

…more corrosion…

4e davits

…and more corrosion:

4c davits and solar

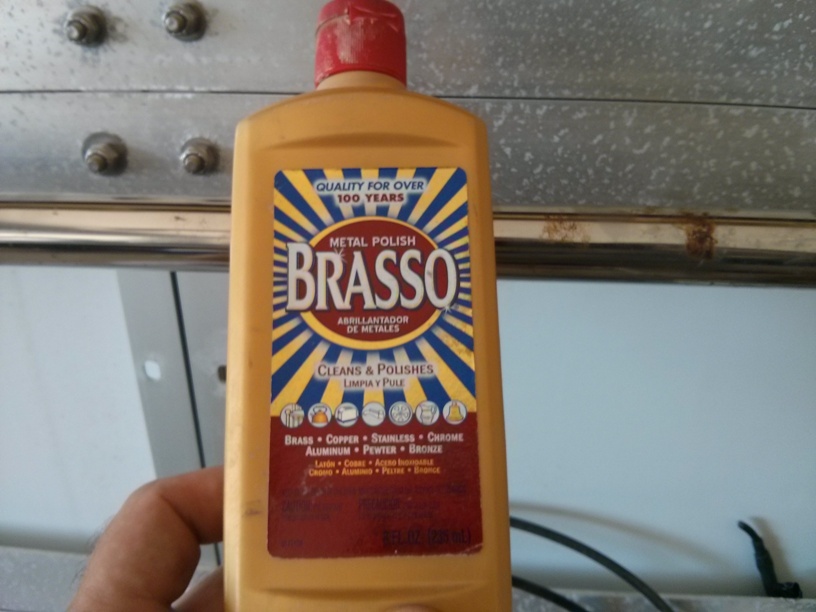
Brasso works well on stainless steel:

4f davits and solar

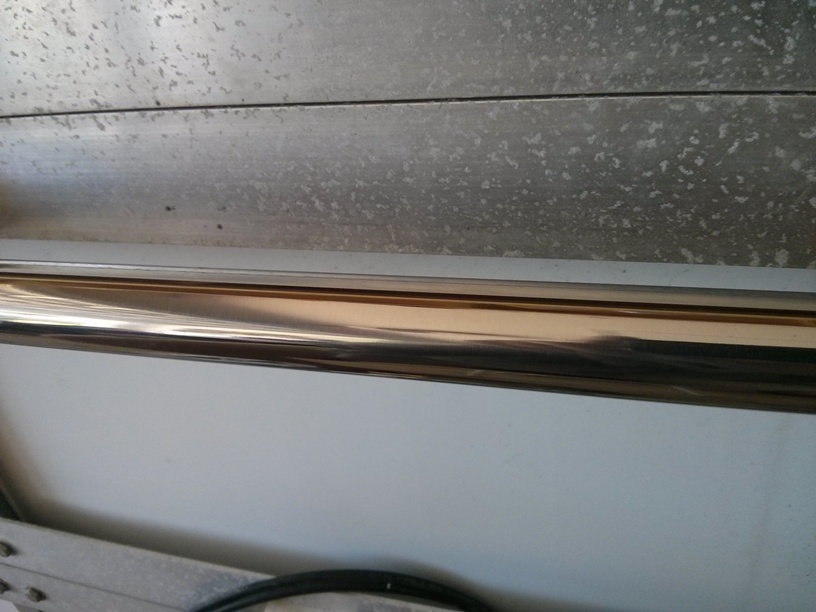
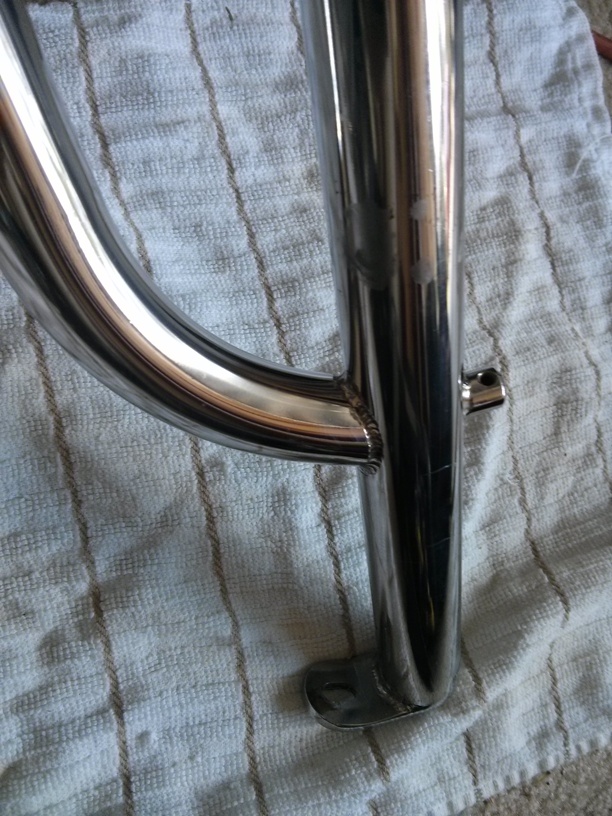
All clean:

4g davits and solar

Davits are clean:

4h davits and solar

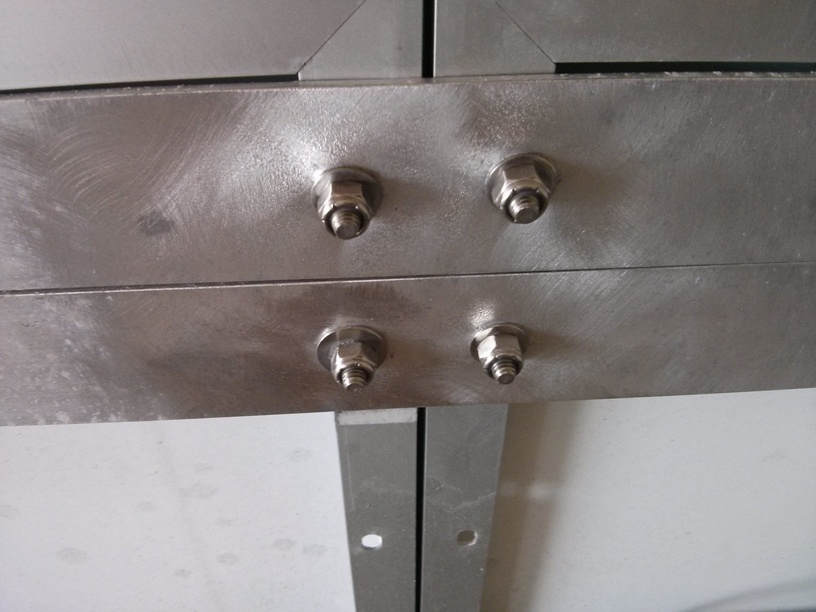
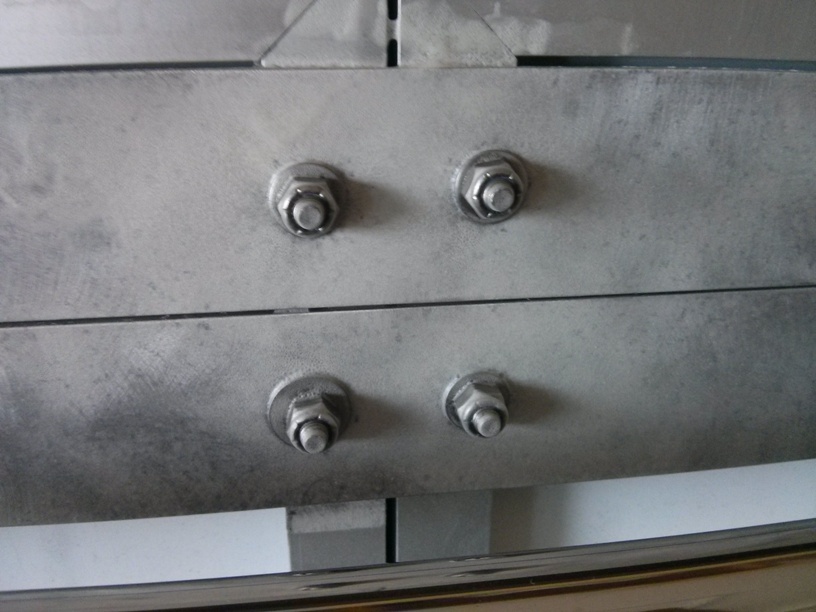
We also ground off the corrosion under the solar panels:

4i davits and solar

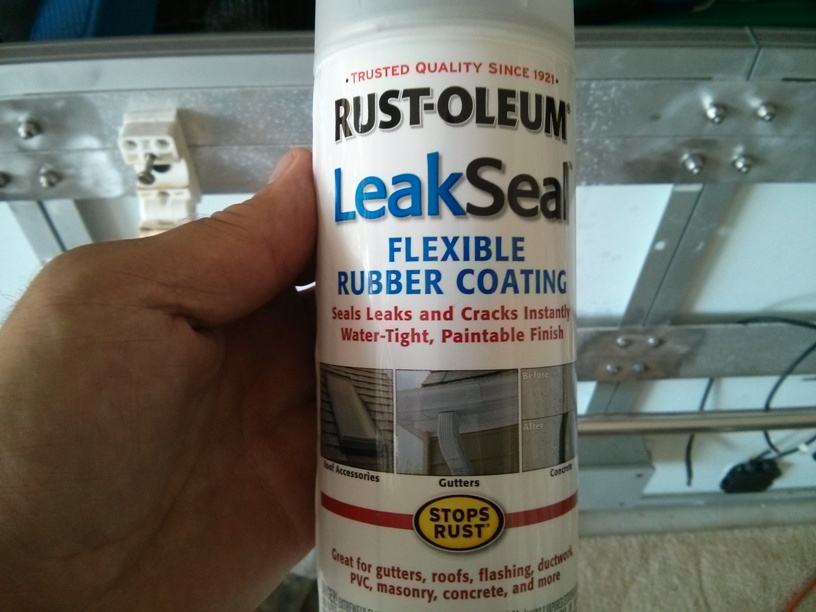
Since no one really looks under there (except me), I decided to spray this rubber coating on them and see if it prevents any further corrosion. All I need it to do is be water-tight like the label says:

4j davits and solar

Coated:

4k davits and solar

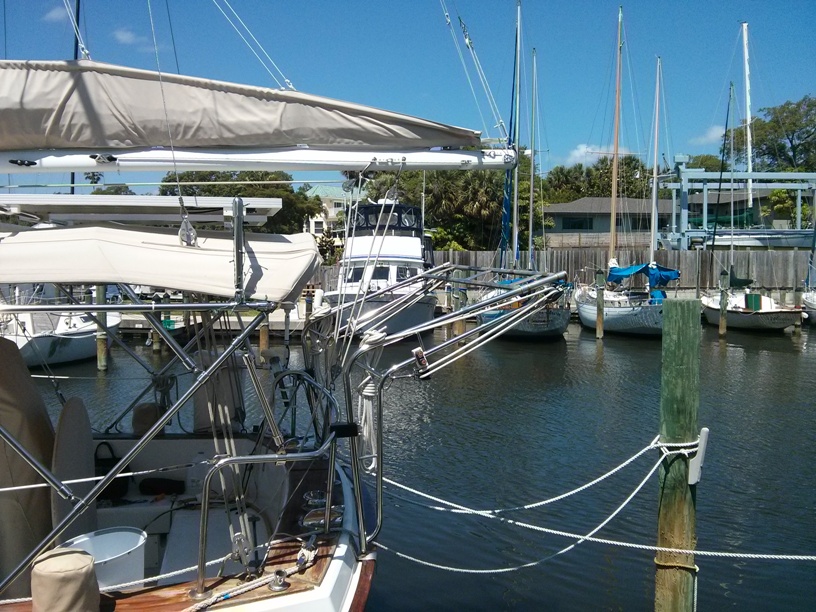
Davits cleaned and back on:

5 davits and solar

At every attachment point, we applied water-displacing corrosion preventative compound. Solar panels back on:

5a davits and solar

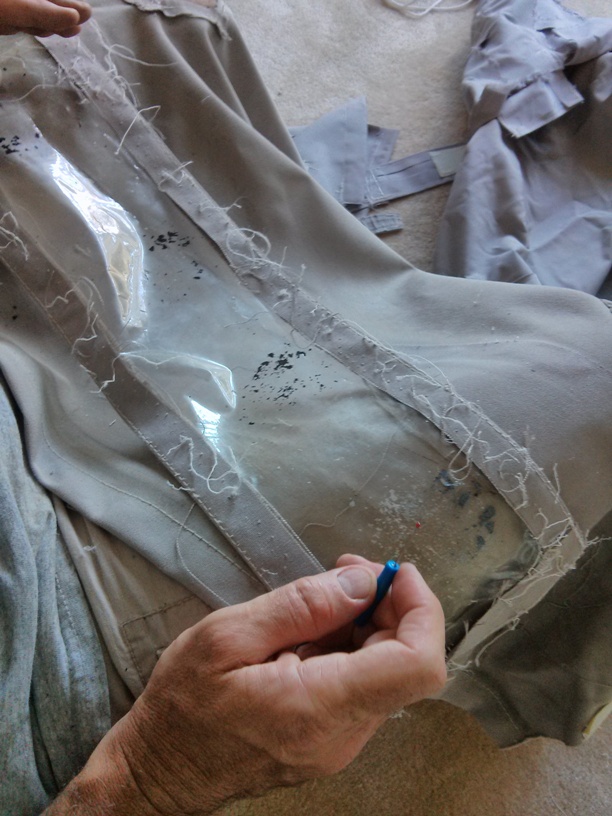
Ripped off the dinghy registration plate windows:

6 dinghy registration window

New 40-gauge windows and all the seams re-sewed:

6a dinghy registration window

Right now we are working on replacing the head, cleaning up the interior wood, and buying tons of spare parts, oh and getting some navigation charts!

Categories: Boat, General, Happenings | 2 Comments

$500 Spray Paint

The $500 can of spray paint, I’ll get to that later.

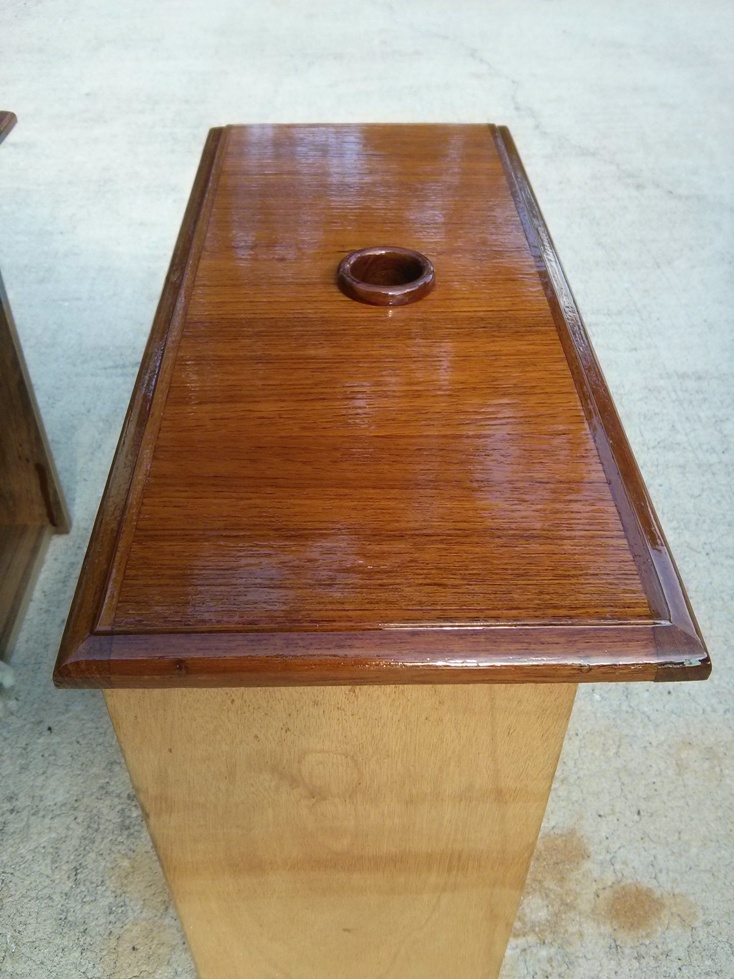
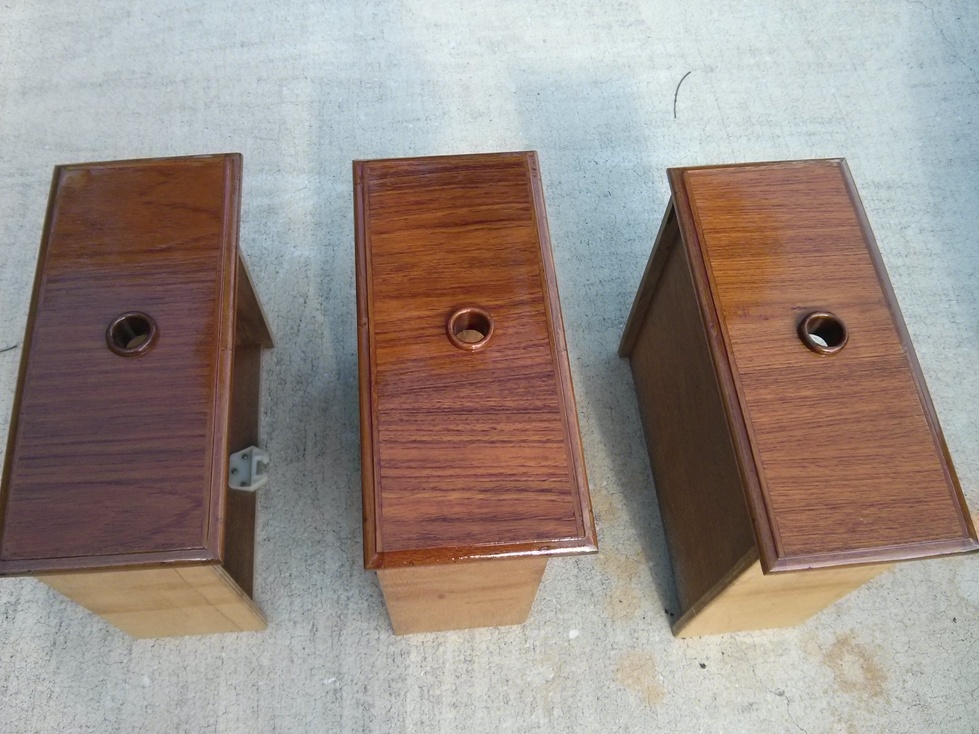
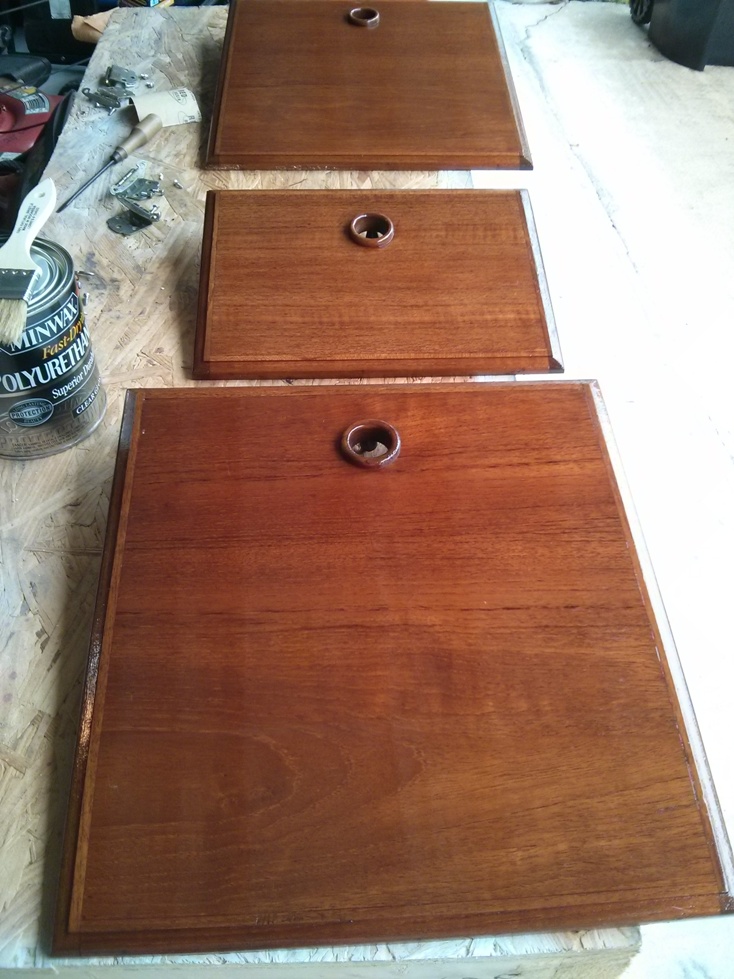
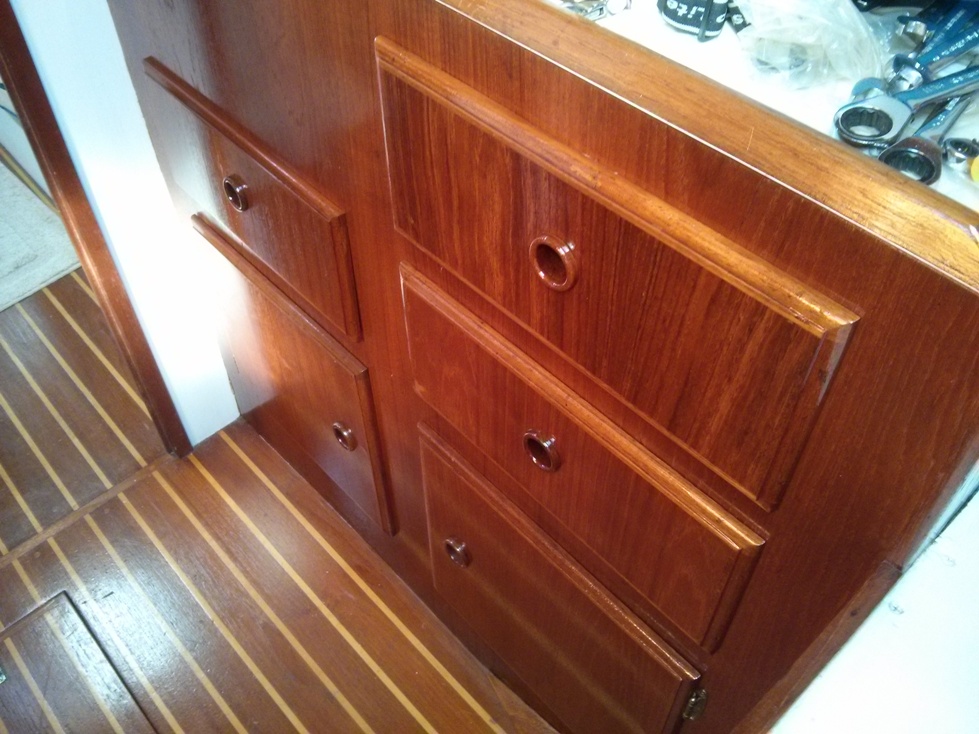
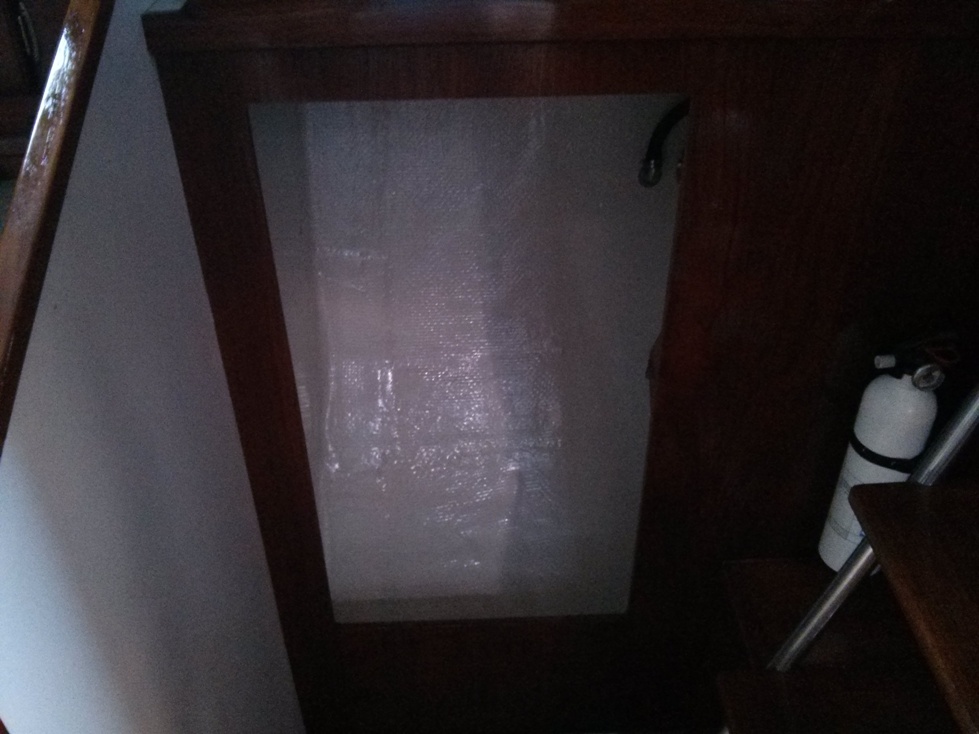
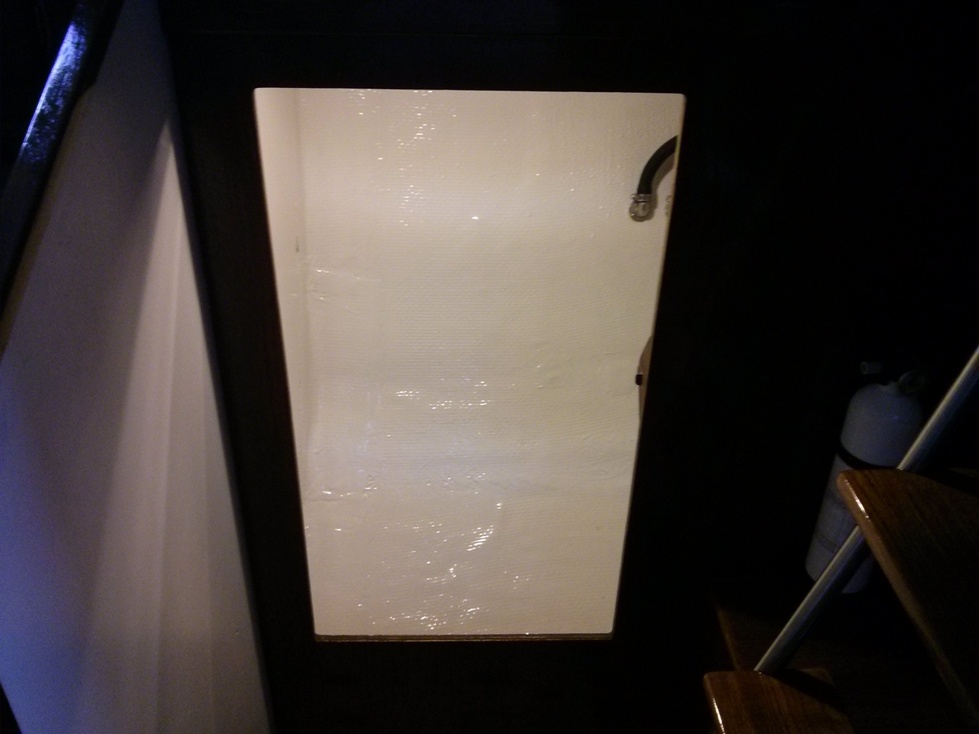
So I have been working on refinishing the V-berth and it seems to be coming along nicely. I removed the compartment doors and drawers, brought them home, cleaned, sanded and applied a couple coats of polyurethane. The pictures do not do justice; they came out really nice and shiny. I also cleaned, sanded and applied polyurethane to the built in wood as well. I’m going to refinish the sole (floor) just before we leave.

We also completed the transition to LED lights. We still had a few compartments that had incandescent lights or no lights at all. We ordered everything from our favorite LED bulb retailer, www.ledlight.com (no S at the end of light), and we’re very happy with the end result. We are now 100% LED on the interior lights. We even ordered some lights for our house and they work great!

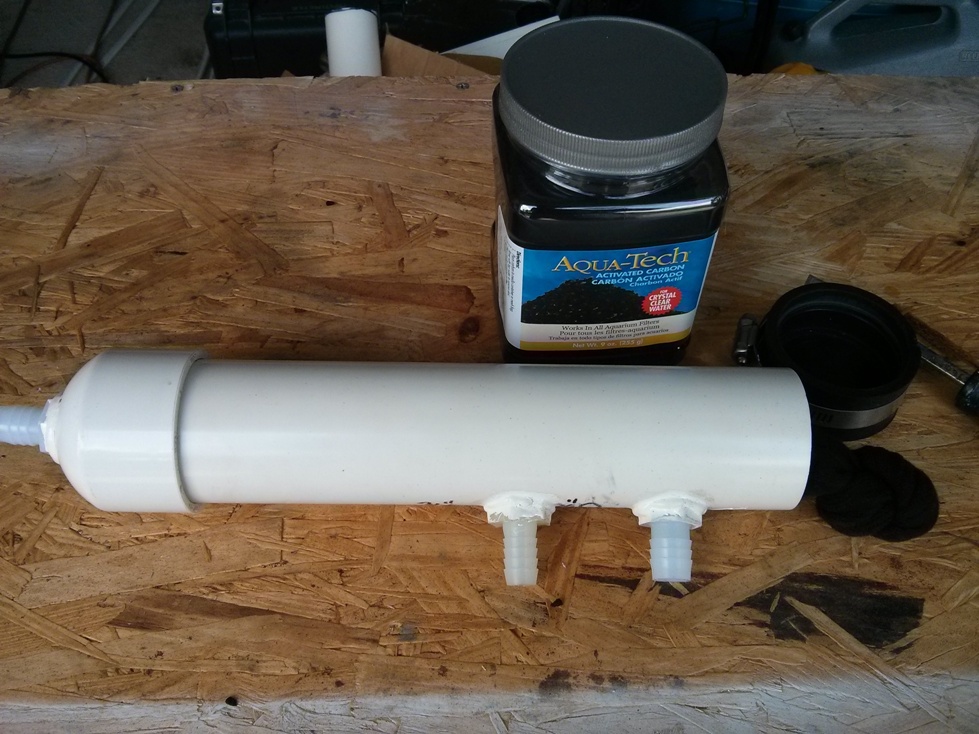
I finished the vent filter for the holding tank and vented loop. I installed the mounts, found some activated carbon at walmart, put everything together and in a couple of days I will install and connect the vent hoses. If all goes well we should smell much sweeter!

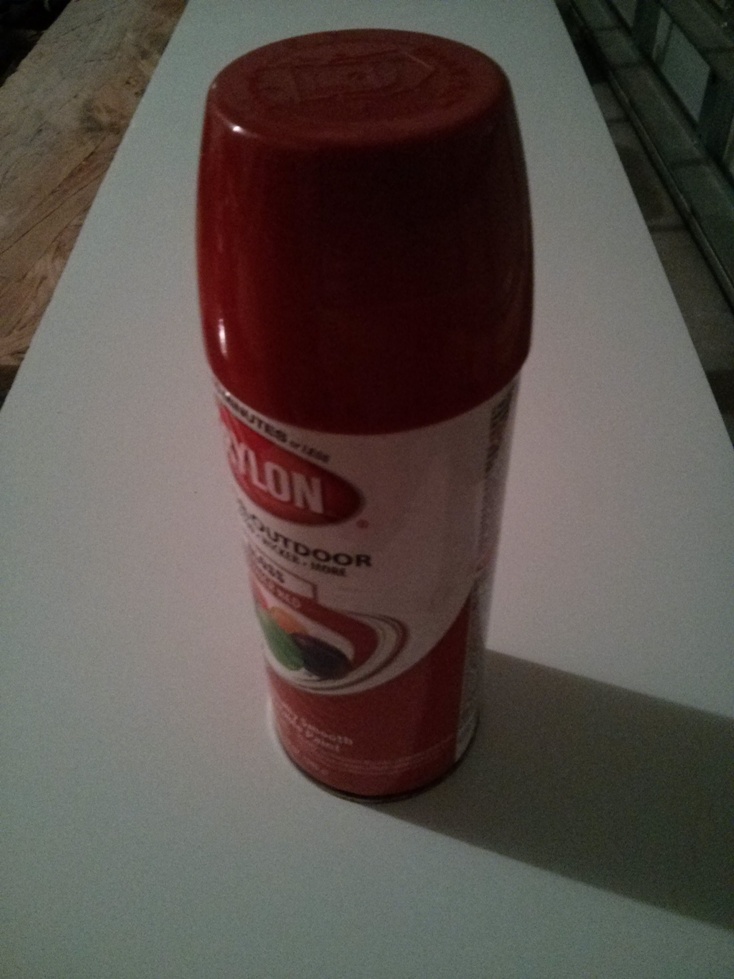
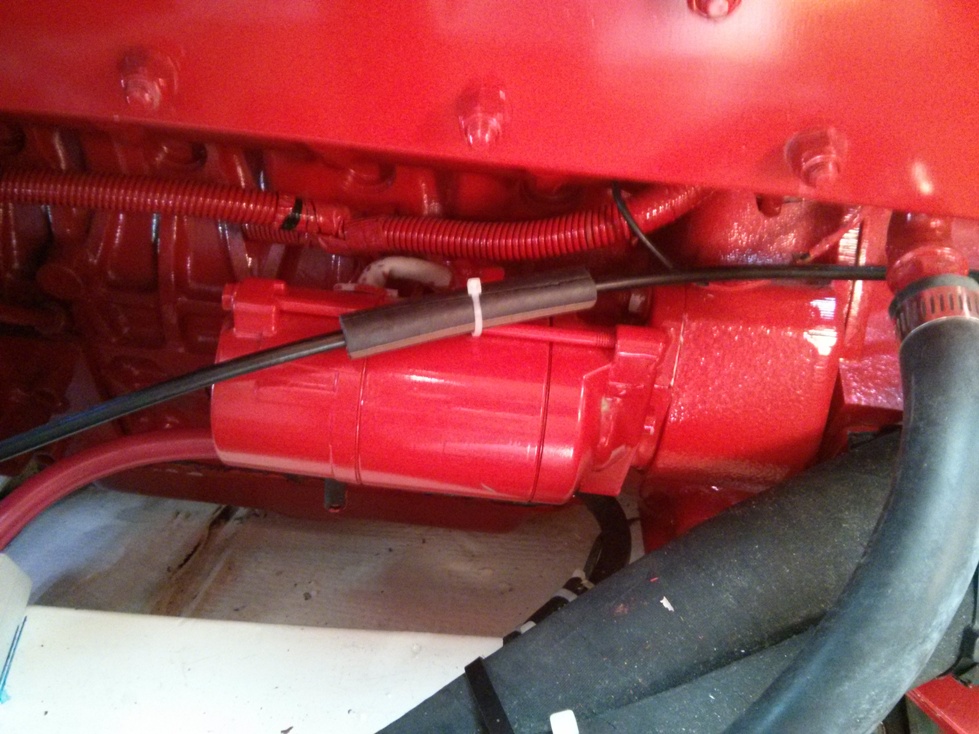
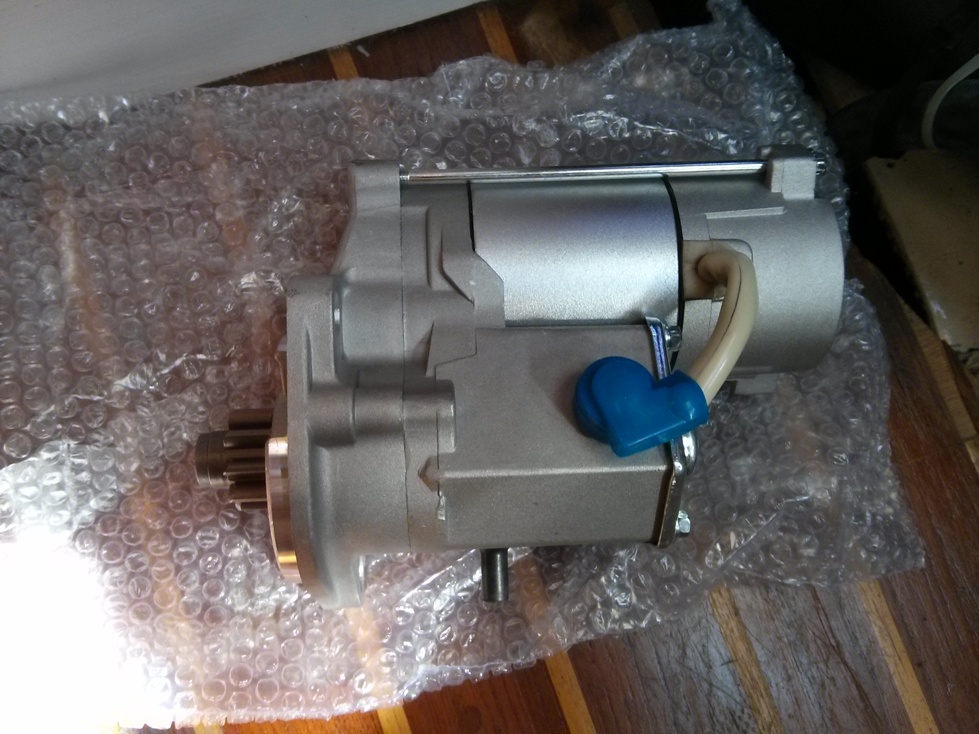
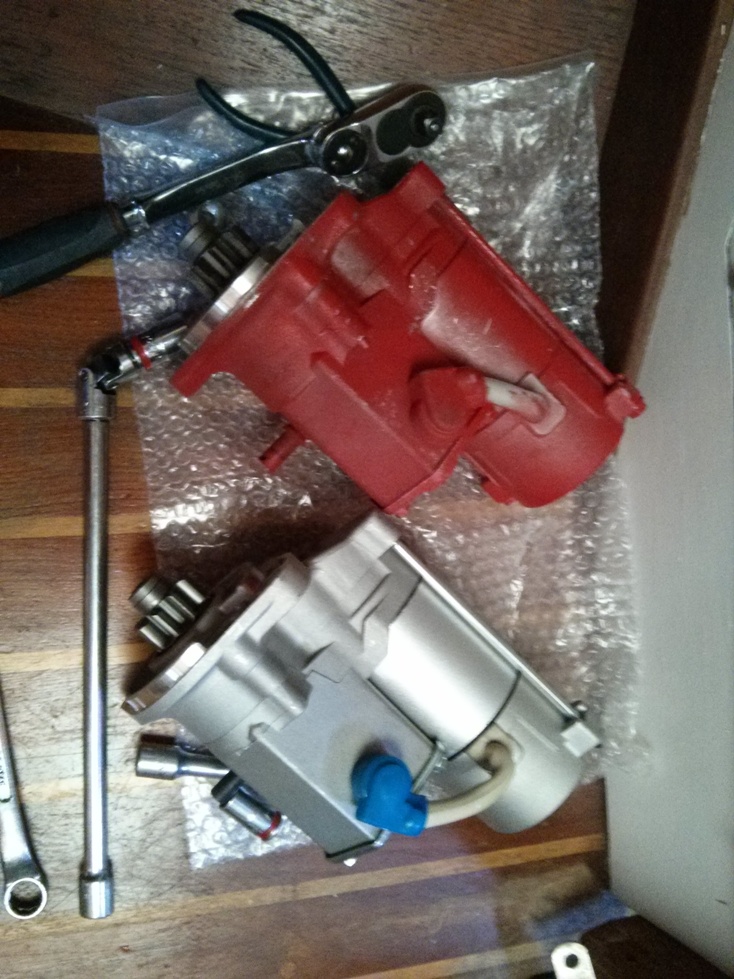
Now on to the expensive spray paint. Before we leave I have a list of spare parts I need, just for peace of mind. One of the spare parts I must have is a starter. I emailed our engine distributor and they quoted me $620 plus $30 shipping for a starter. So I started thinking that our engine is a basic Kubota tractor engine, the starter is a 9 tooth, 2kw offset gear reduction starter, and there is no reason it should cost $650. Using the basic Kubota engine model I did a little research and found plenty of aftermarket parts on the internet. Long story short an aftermarket starter for our engine is $130 with free shipping on EBay, and it works perfect. The only difference I can see between the two starters is the red spray paint. I’ll hold onto the $520, buy a can of $3.00 spray paint and paint the new starter myself!

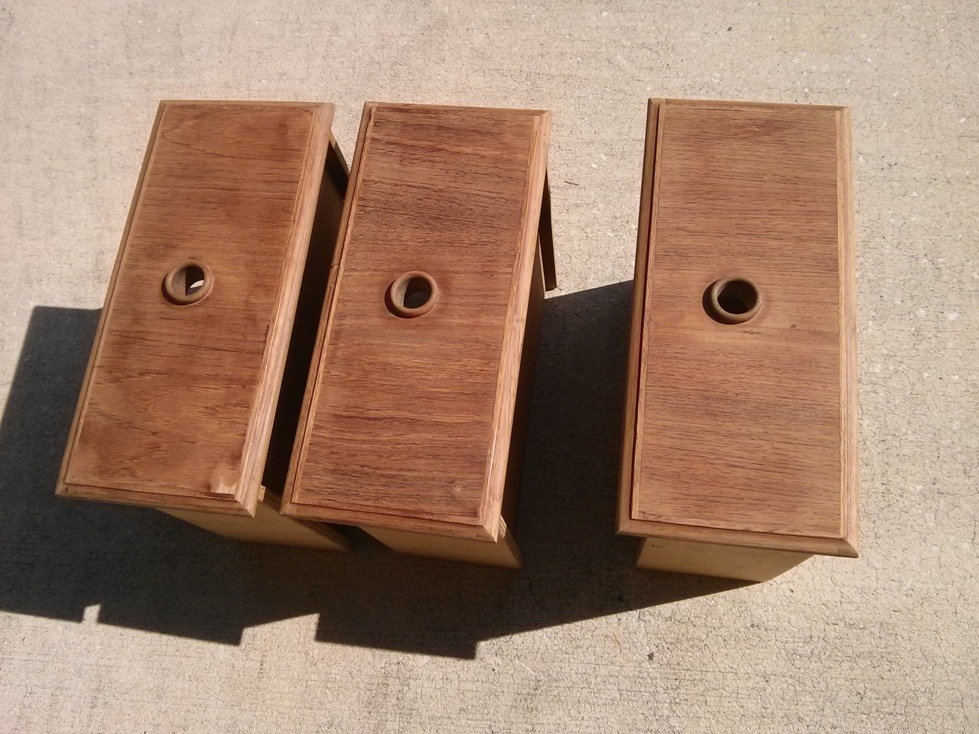
 Some shots of the drawers, doors and finished v-berth. The pictures do not do justice.

Cleaned and sanded:

1 vberth

 1a vberth

After a couple coats of polyurathane. The reflection is the sky through the trees in our yard:

1b vberth

1c vberth

1d vberth

A few shots (not the best) of the finished product:

1e vberth

1f vberth

1g vberth

New LED bulbs:

2 LED lights

It’s the little things:

2a LED lights

Off:

2b LED off

On. Makes a huge difference when you’re fishing around for something and you have light that enables one to see:

2c LED on

Magic $500 spray paint…or is this $3.00 paint?

3 $700 can of paint

OEM starter:

3a starter

New starter (ok, it needs paint):

3b starter

Hmmm, they look similar, not exact but similar. The little blue plastic thing is backwards, and then there’s the paint. I hope it works:

3c starter

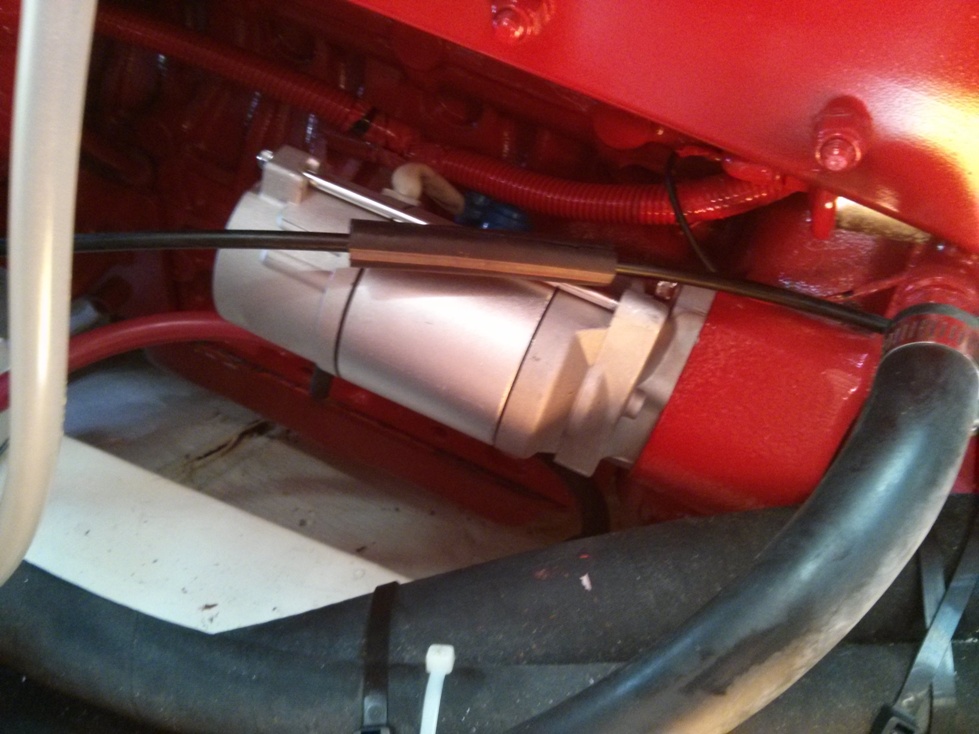
Installed, fired right up. I know, it still needs paint but $500 worth of paint? After testing the new starter I put the original back in.

3d starter

Vent filter:

4 carbon filter

Our buddy who tagged along with us to the beach and back the other day, he would not get off the beach chair. Literally would not be removed. We were very careful not to squish him!

5 our friend

 That’s all for now!

Categories: General | 1 Comment

More Progress

Here we are in another month already; it’s amazing how time flies. We are both working, Tanya full time, me part time. We are making great progress filling the cruising kitty, the boat to-do list is getting shorter and shorter and we still have several months until our departure.

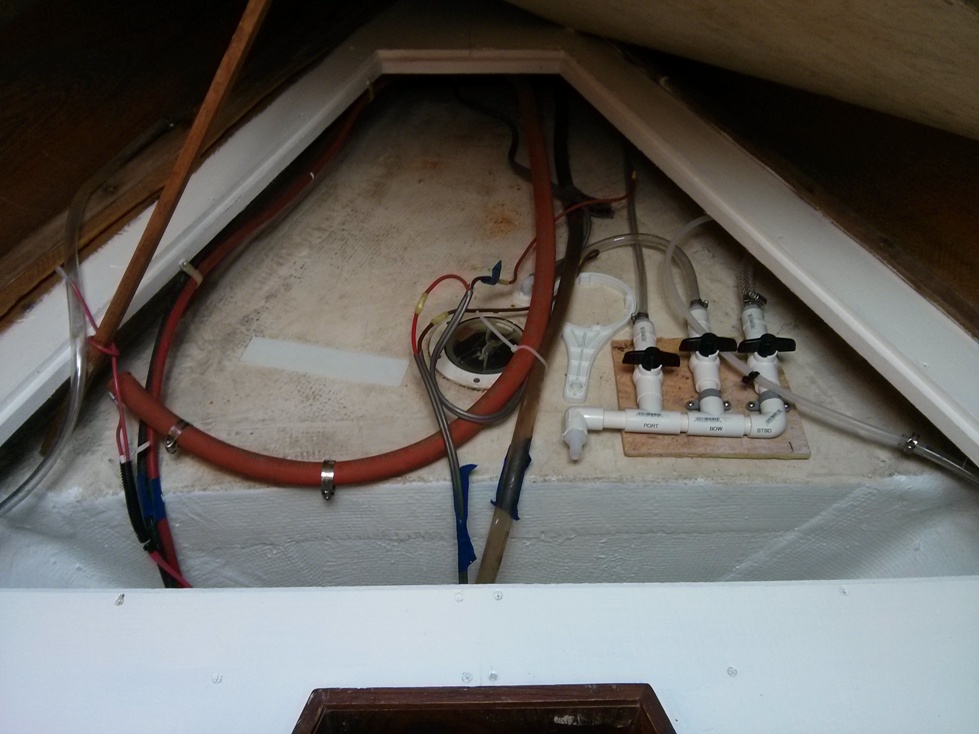
Our latest batch of projects…I removed the watermaker to investigate a pesky leak, make some minor design changes, and move the control panel to the port v-berth compartment. I brought the watermaker home, hooked it up in the garage, made note of corrections and changes that I needed to make and ordered the parts. Meanwhile I was able to refinish the compartment where the watermaker was mounted, it was in dire need of cleaning and paint. We also refinished the saloon table, replaced our 35 year old cabin lights, installed more LED bulbs, and the list goes on…

I couldn’t bring myself to take a true “before” picture but here is what the watermaker compartment looked like after I cleaned it:
1 v berth

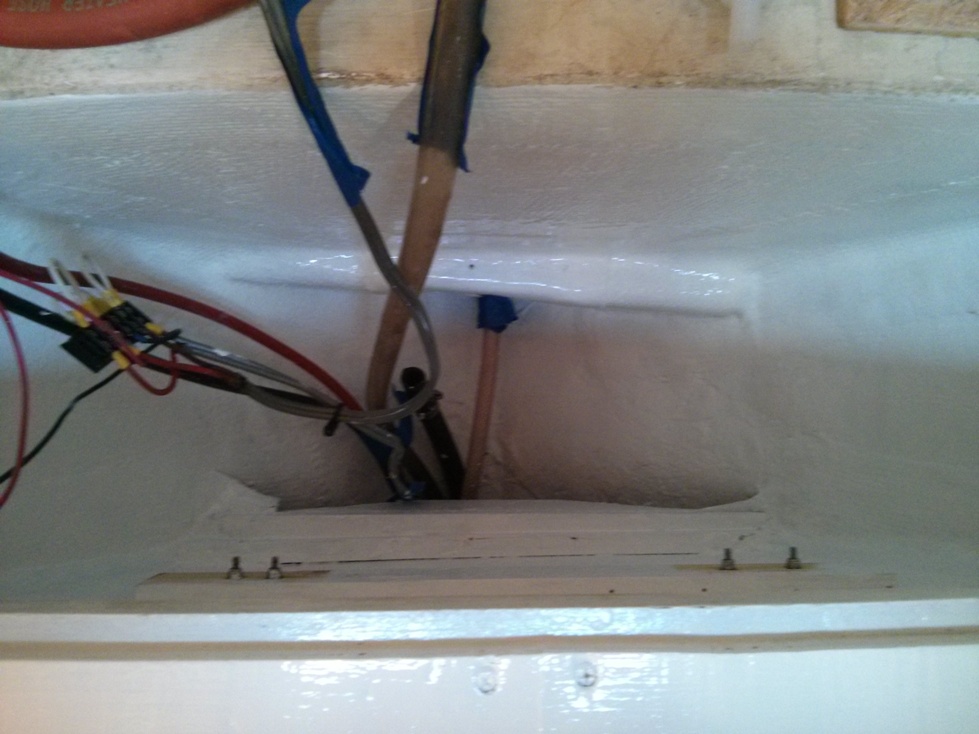
After bleach, several types of cleaners, a coat of primer and a coat of bilge coat paint:
1a v berth

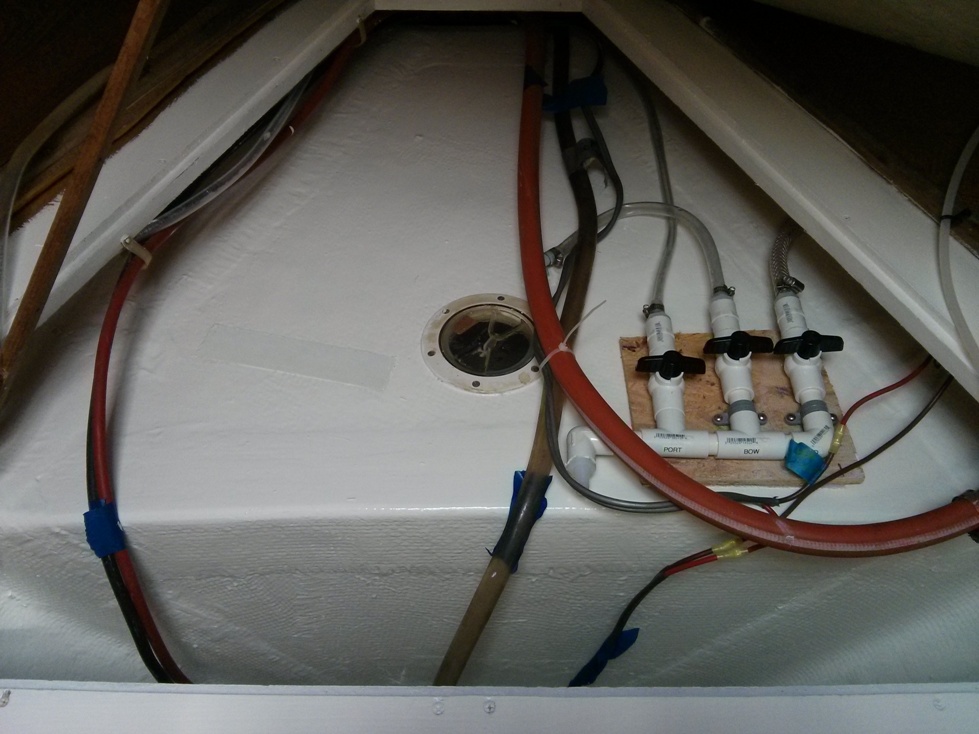
Once the changes are made to the water maker it will be reinstalled back in here. We’re really happy with the end result, clean and shiny:
1b v berth

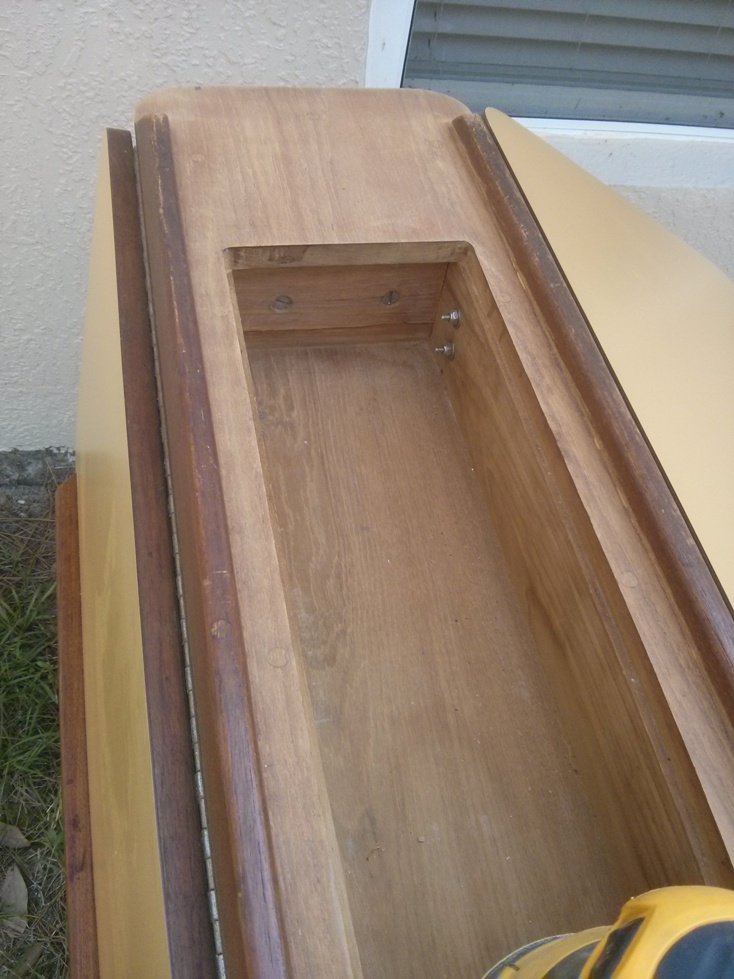
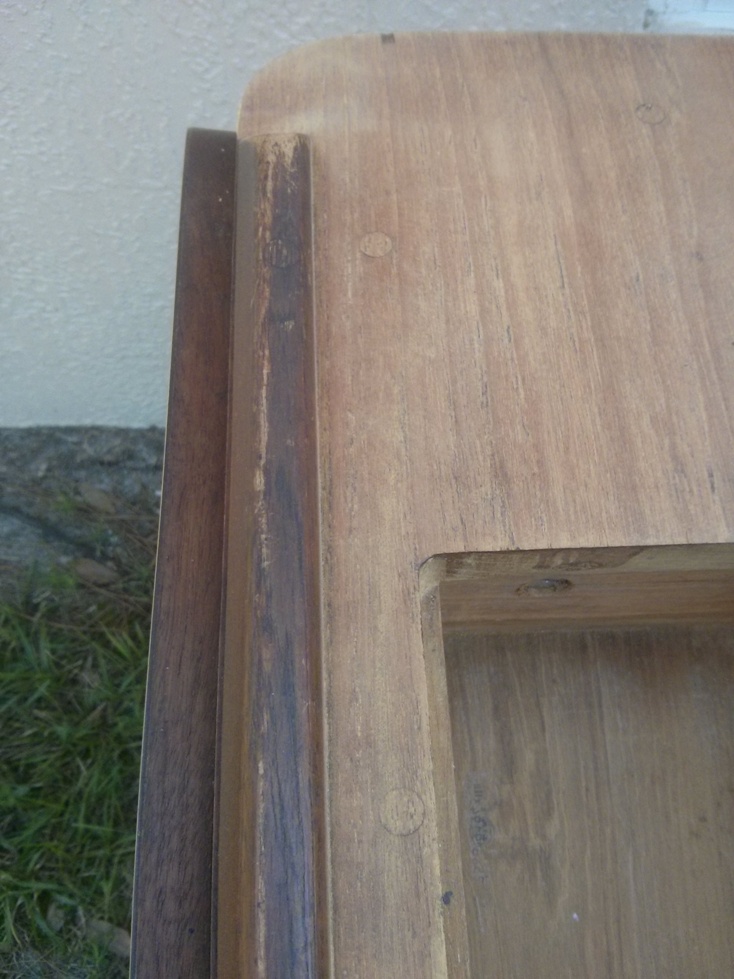
The saloon table was just like the rest of the interior wood, maybe even worse. It was coated with a chocolate brown mess of a coating and years of “other” stuff. This shot was after sanding the table top and prior to sanding the fiddles on either side:
1c table

1d table

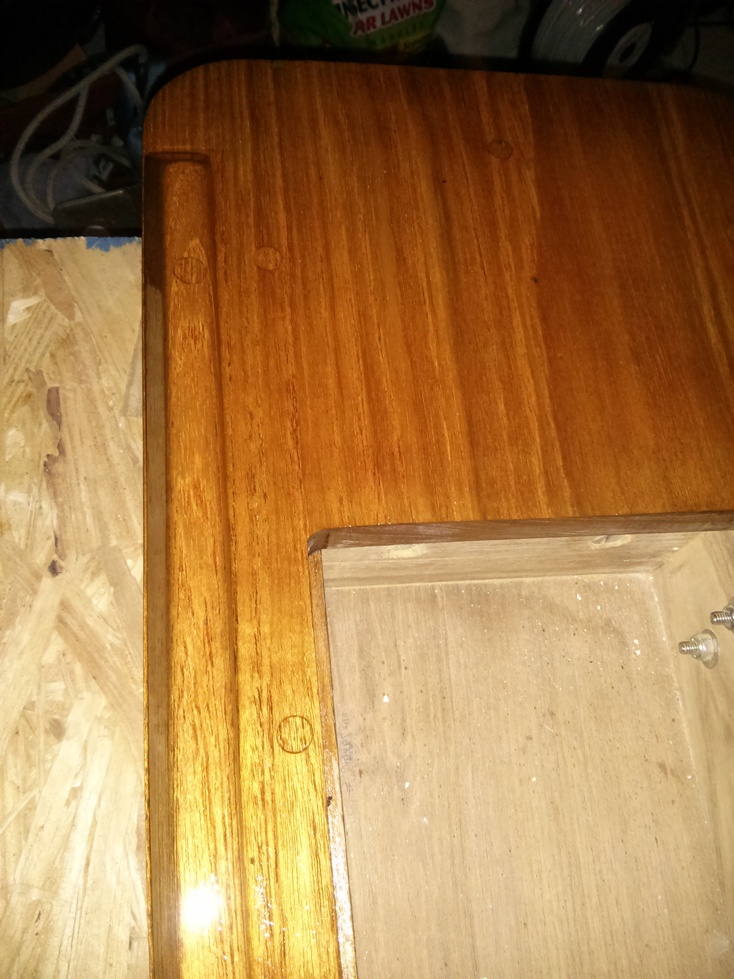
Same table after cleaning, sanding and one coat of varnish:
1e table

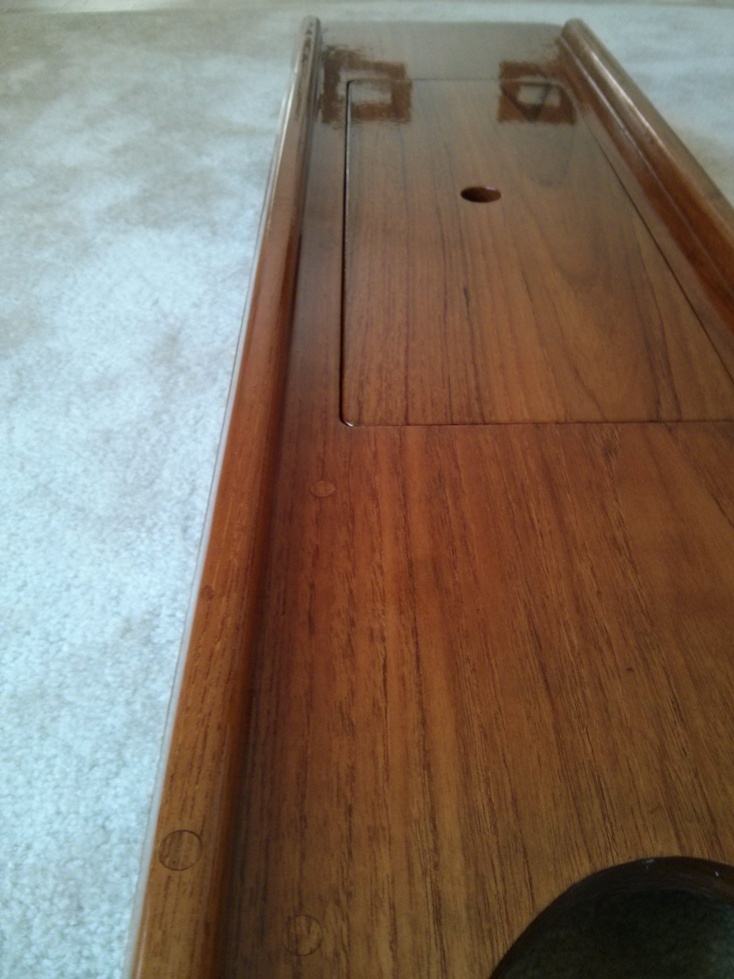
The two square reflections on the far end of the table are from two pictures hanging on a wall about 12 feet away:
1f table

The finish looks wet but this has been dry for about two weeks:
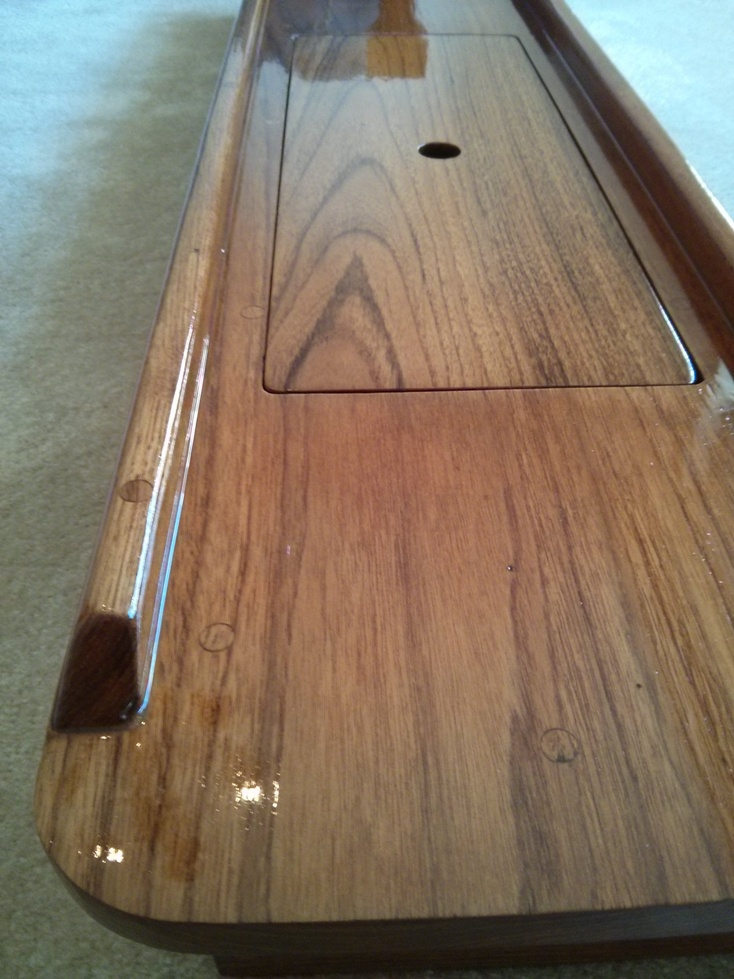
1g table

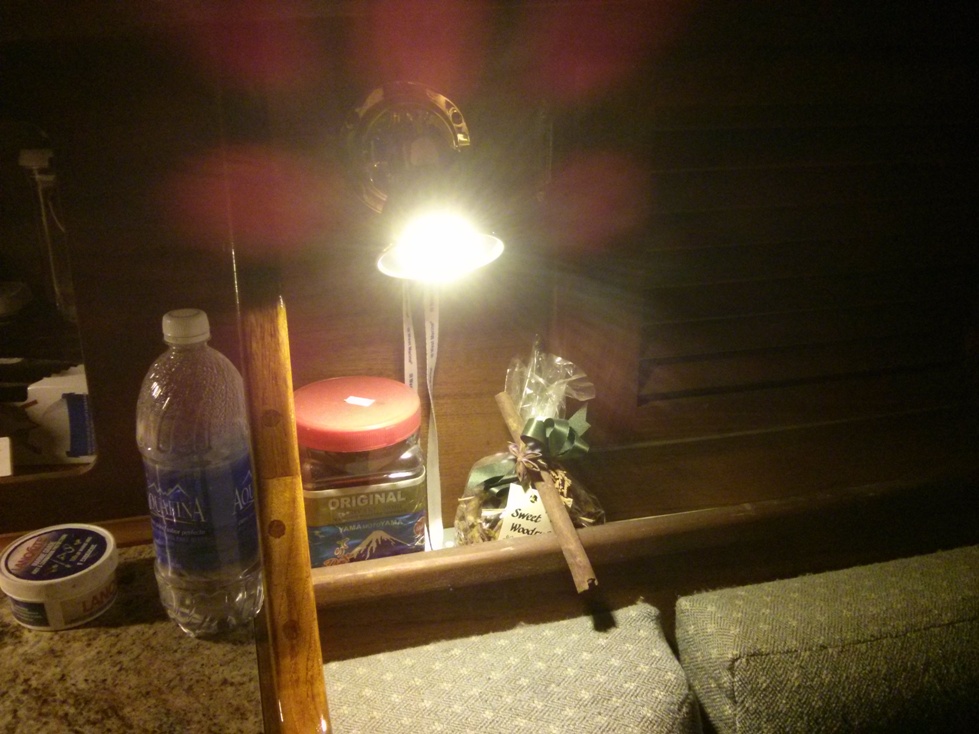
I mentioned before we bought some new lights (among other things) for the cabin:
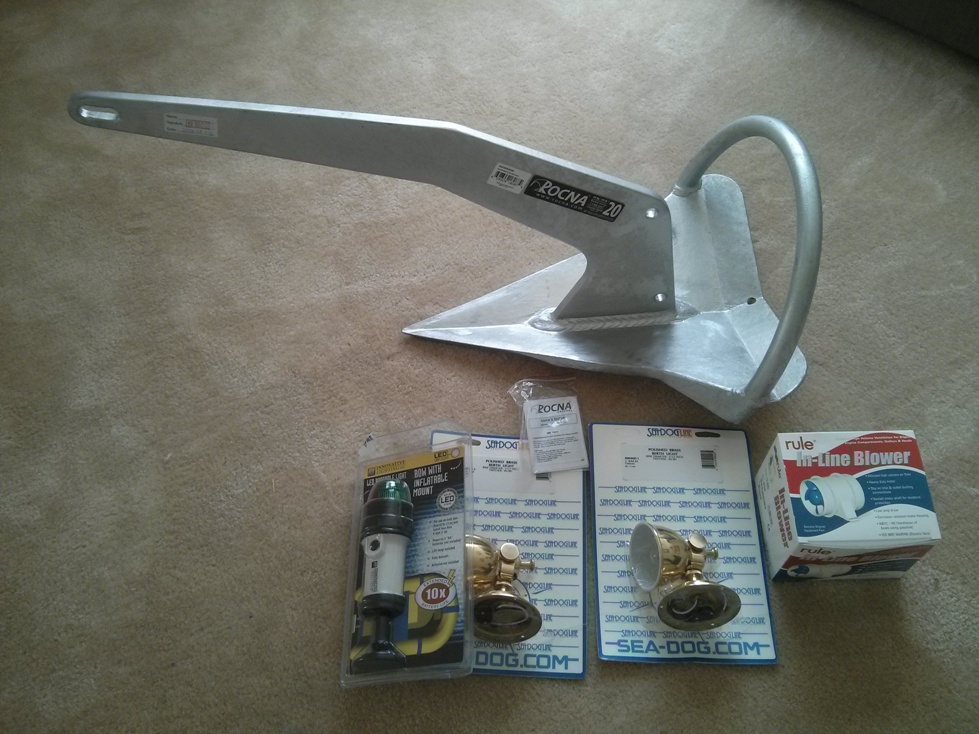
1h anchor and lights

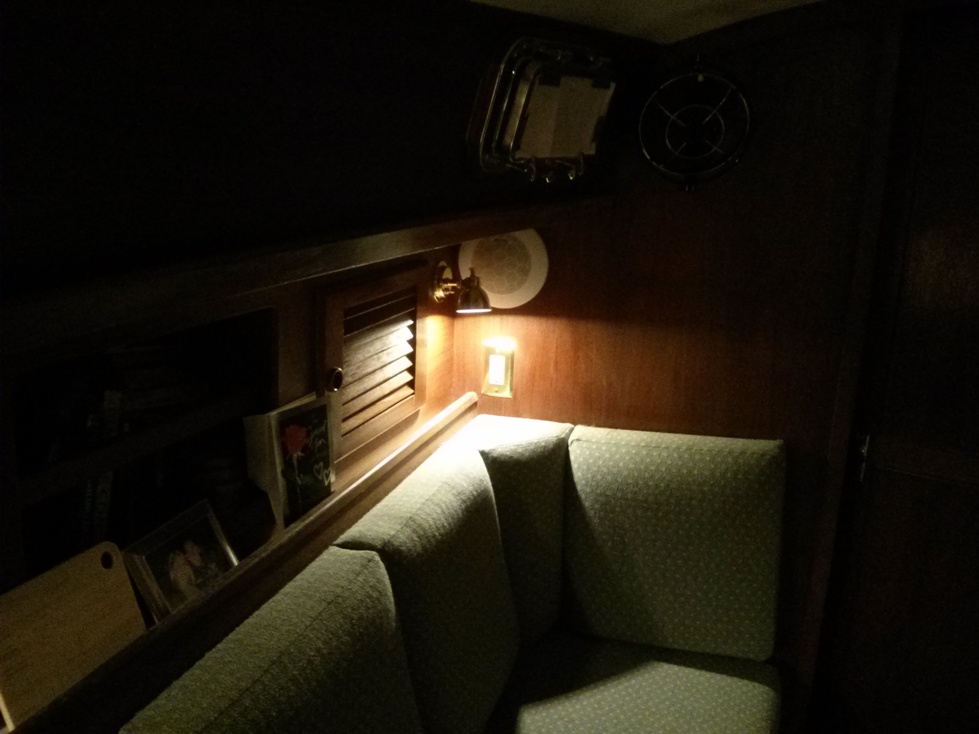
Tanya installed the lights just the other day, they look great:
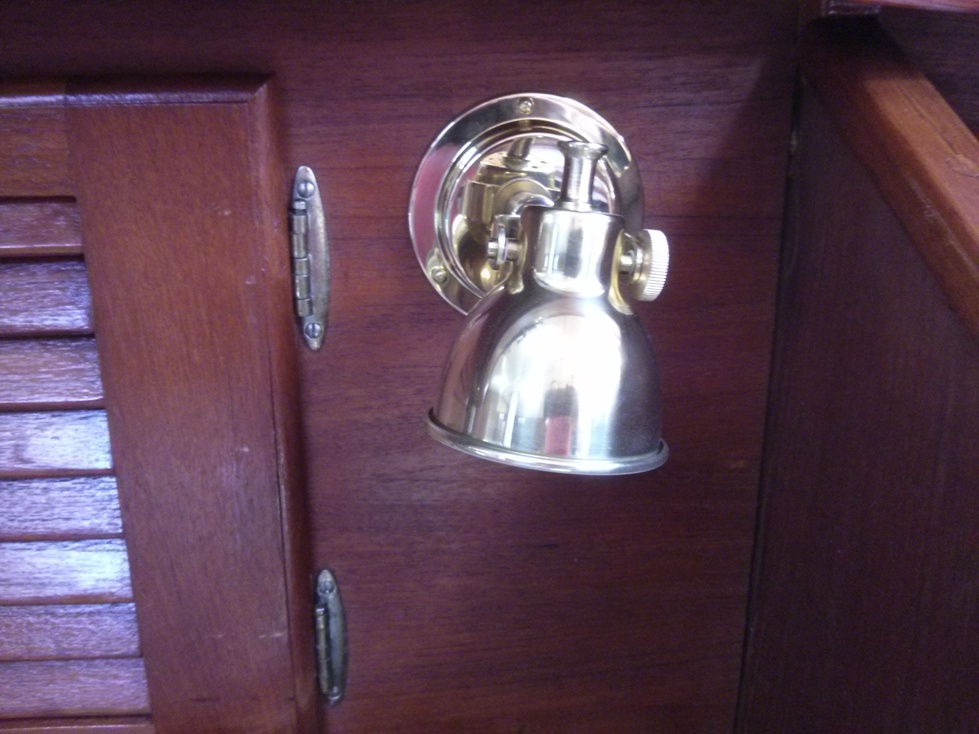
1i saloon lights

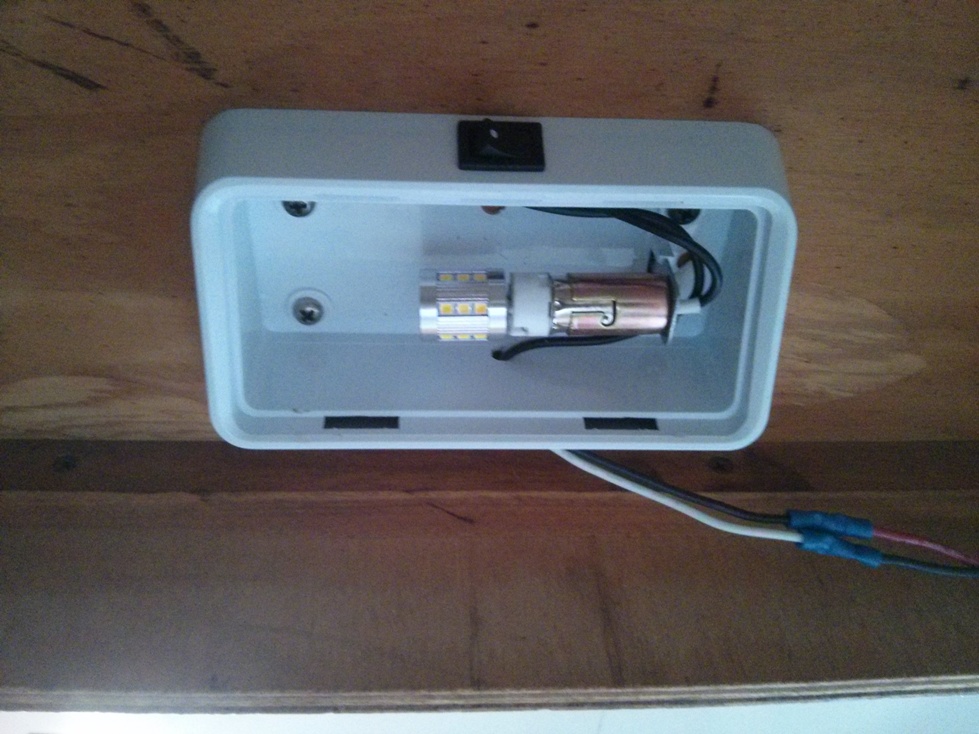
Then we installed socket converters and LED bulbs:
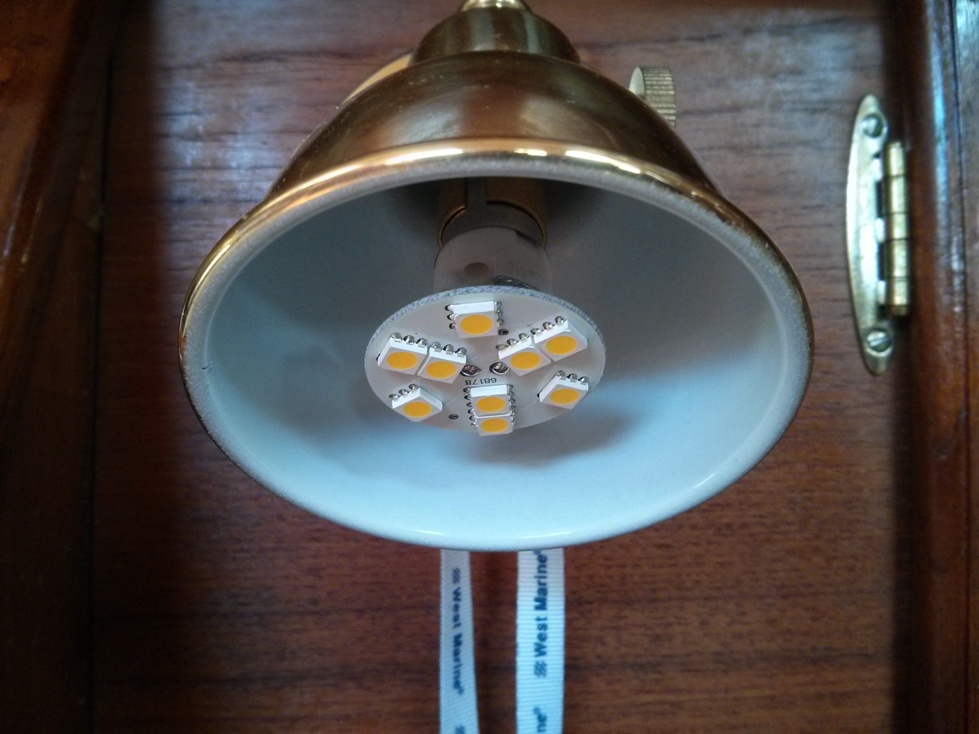
1j led bulb

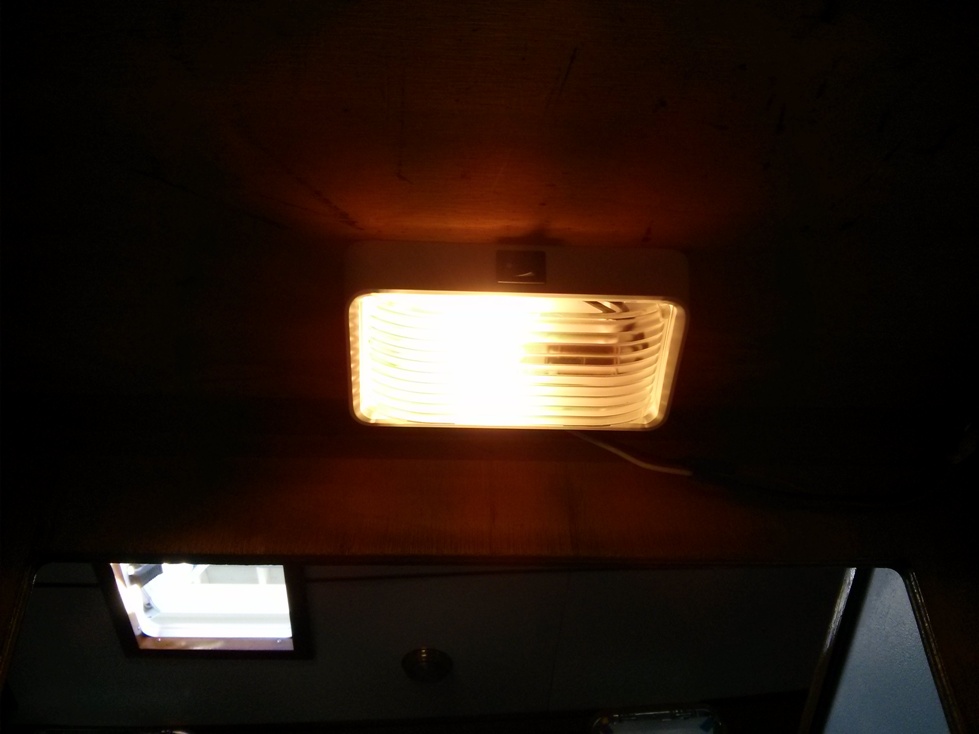
They are very bright:

1k led bulb

Aimed downward they produce a beautiful warm white glow:
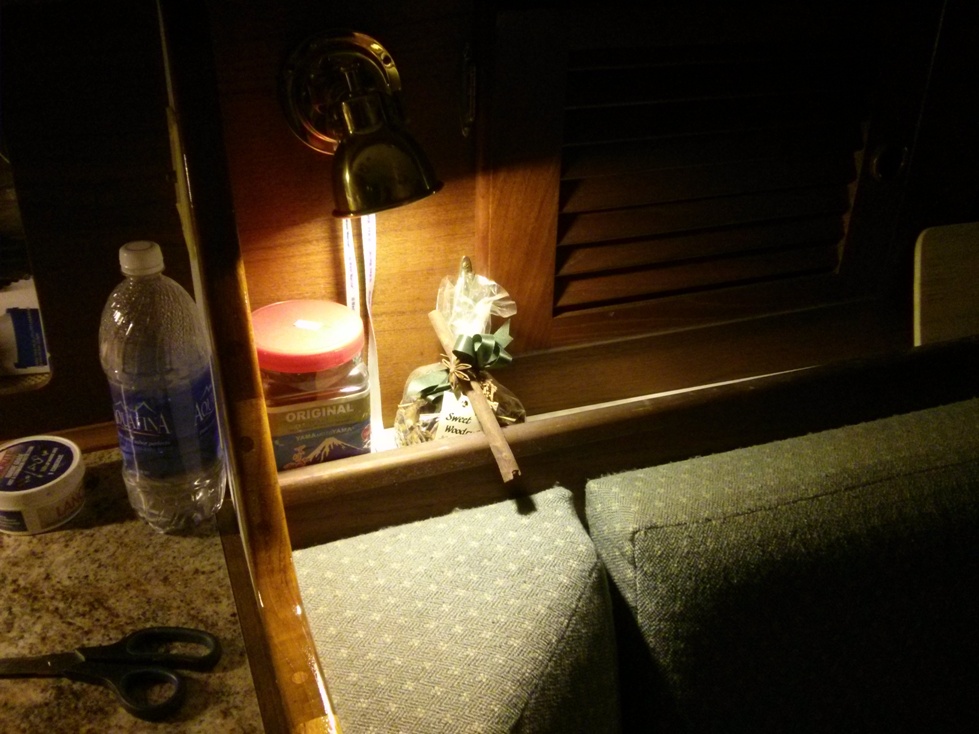
1m led bulb

1l led bulb

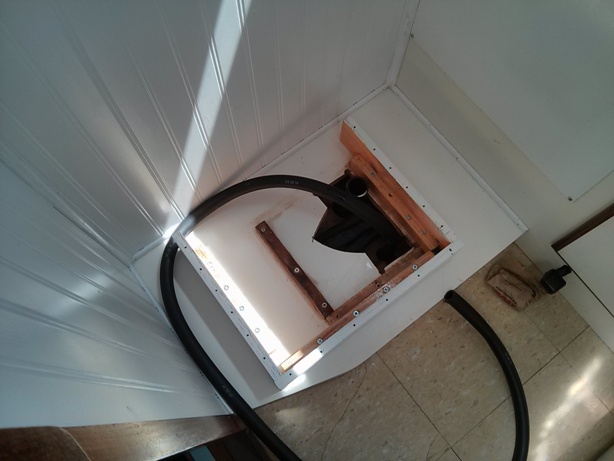
Our last head (toilet) had been rebuilt about three times in one year and each time it failed quicker than the last, so we ripped it out. There used to be a toilet there:
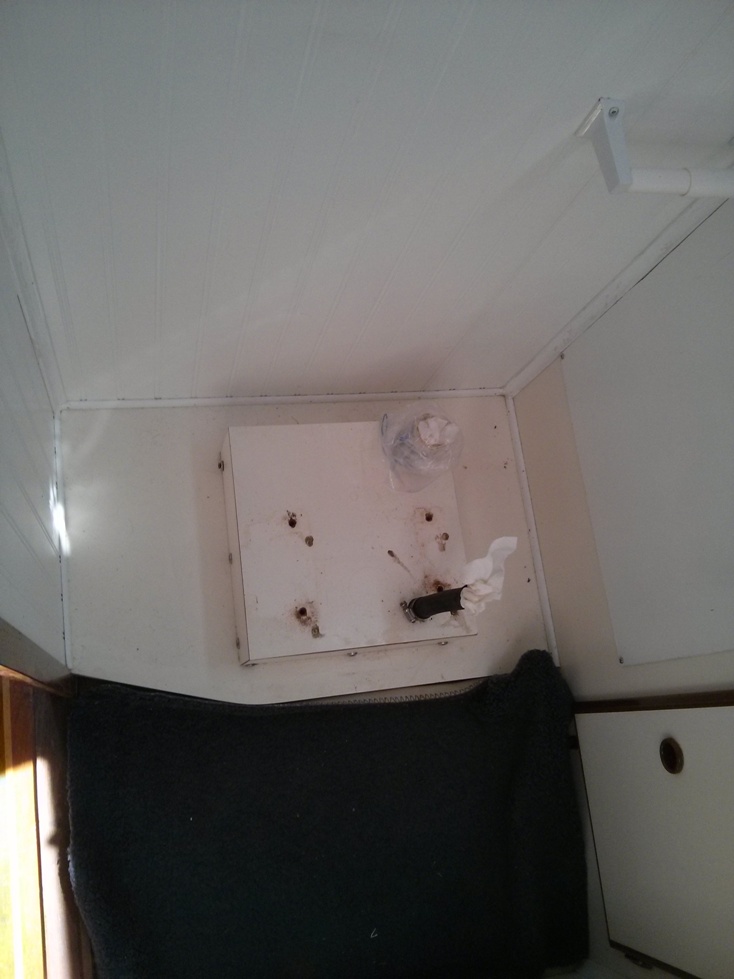
2 head

Our last head was an expensive brand with expensive replacement parts. This time we opted for a main stream brand with more reasonably priced parts. We have used this head before on our last boat and were very happy:

2a head

I also made a filter to try and curb the odors from the various tank vents we have. All the vent tubes from the holding tank and vented loops will enter this pvc pipe, the pipe is filled with activated carbon, then all will be vented outside the boat. The carbon should absorb most of the odors and the rest should expel overboard:
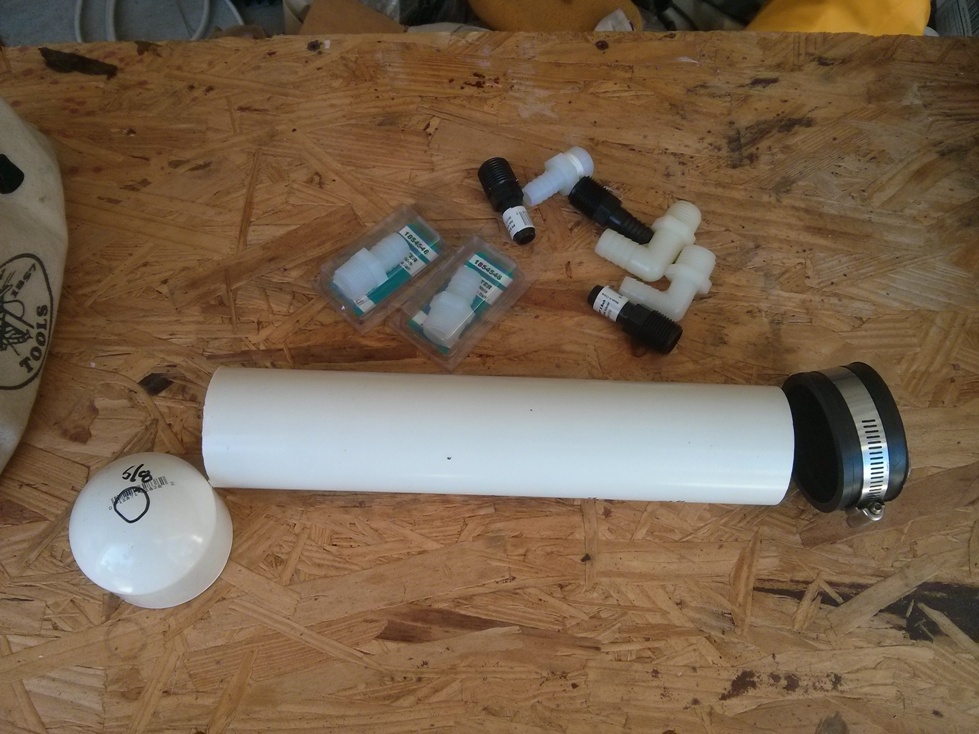
2b vent filter

Everything smelly will enter this pipe and either stop being smelly or vent overboard. Can’t wait to hook it up:
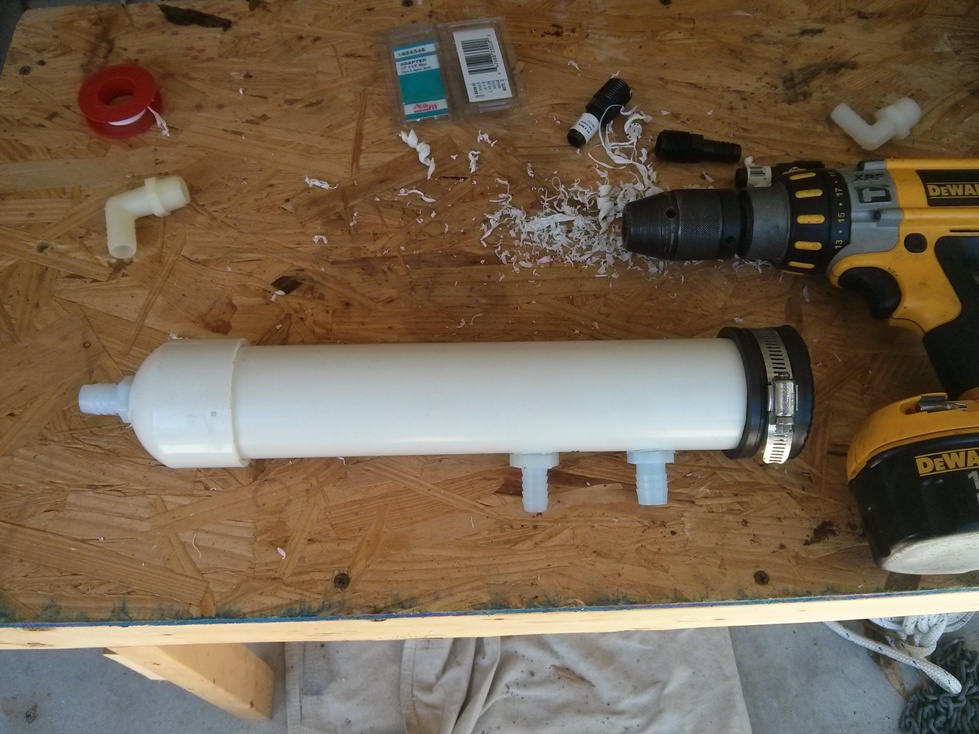
2c vent filter

Also got some monster 8/3 cable to run power to the watermaker:
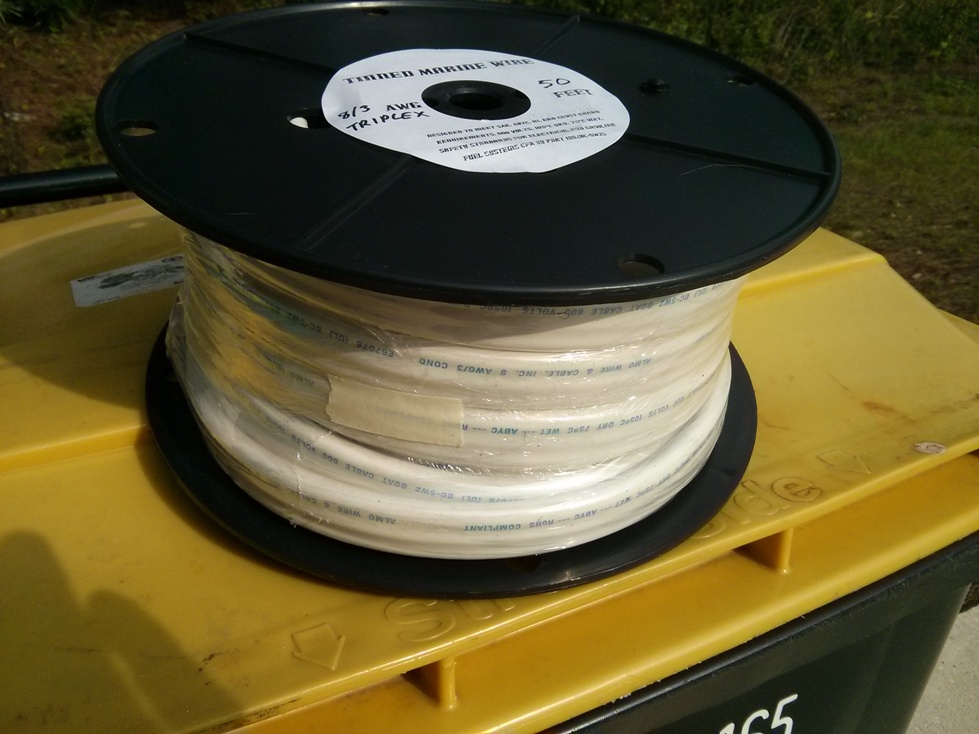
3 cable

We ran a couple of stainless steel tubes across the top of the bimini to mount two additional solar panels:
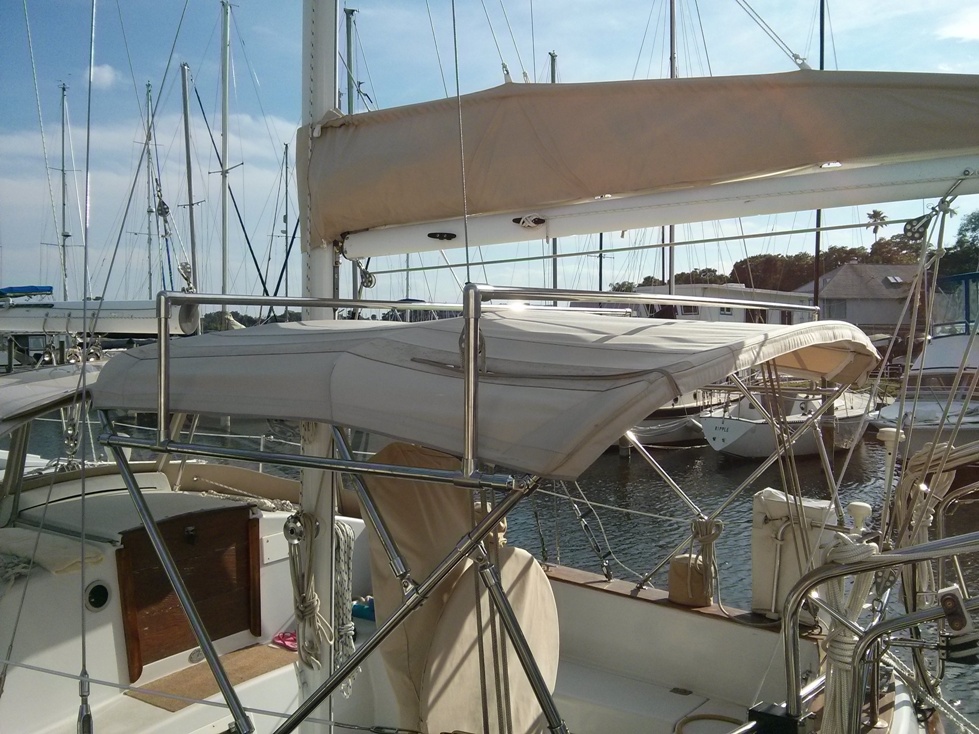
3a solar panel mount

We are making great progress toward our November departure!!

That’s about it for now.

Categories: Boat, General, Happenings, Refit, Repairs | 2 Comments