Fuel Tank and Lights

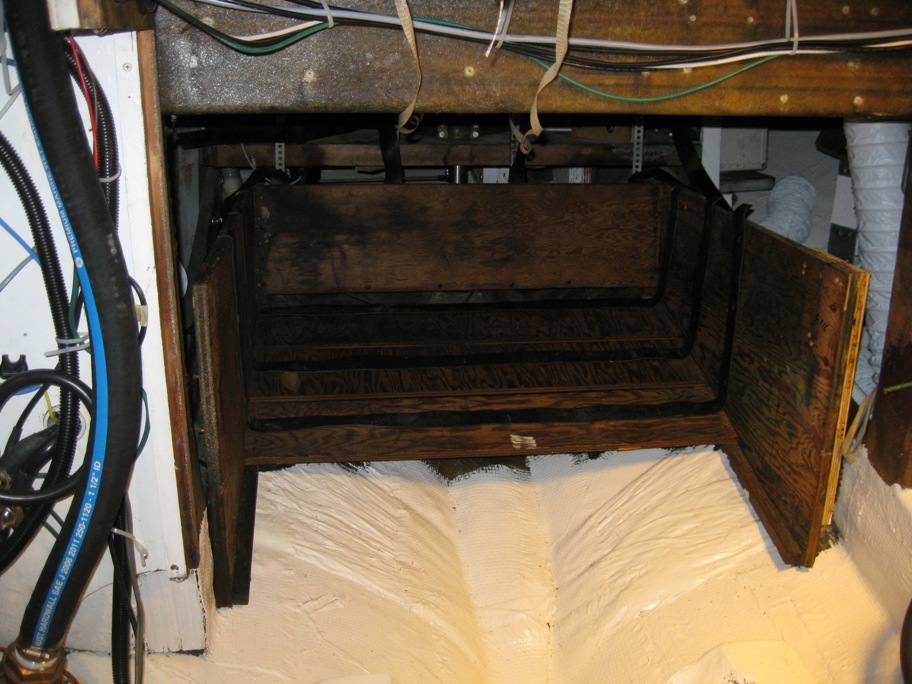
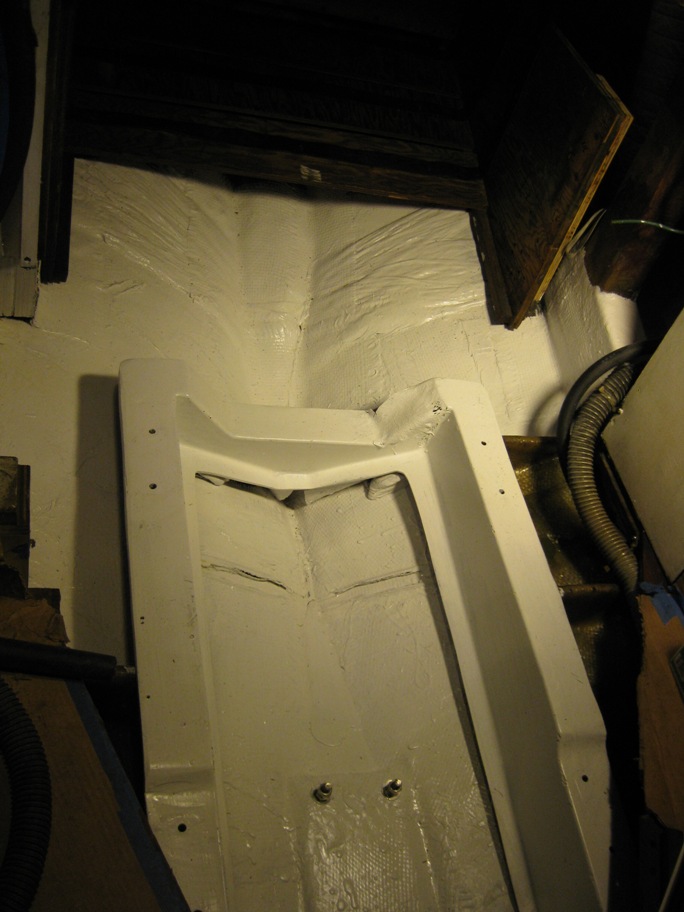
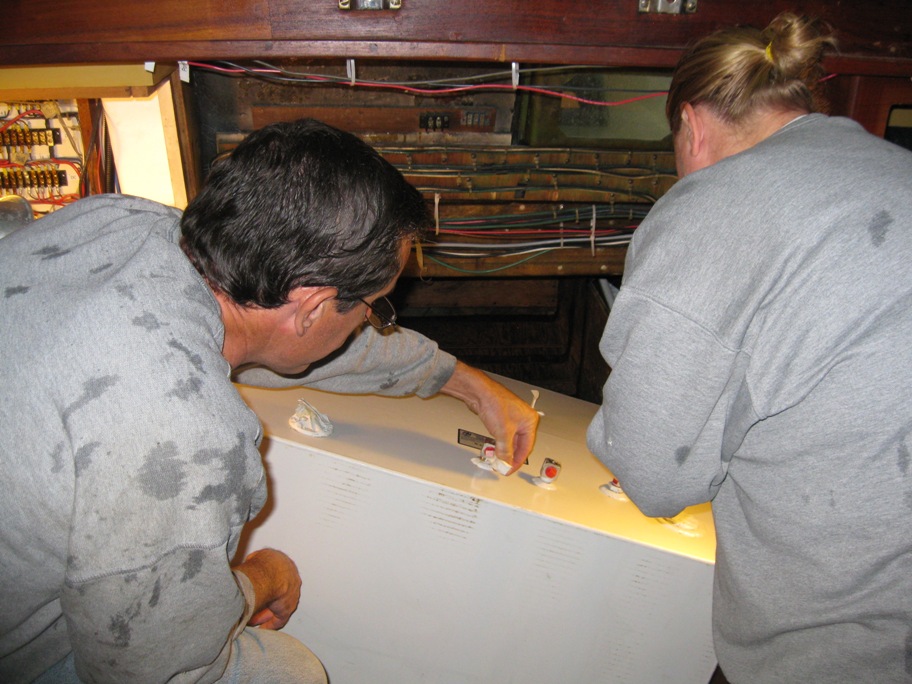
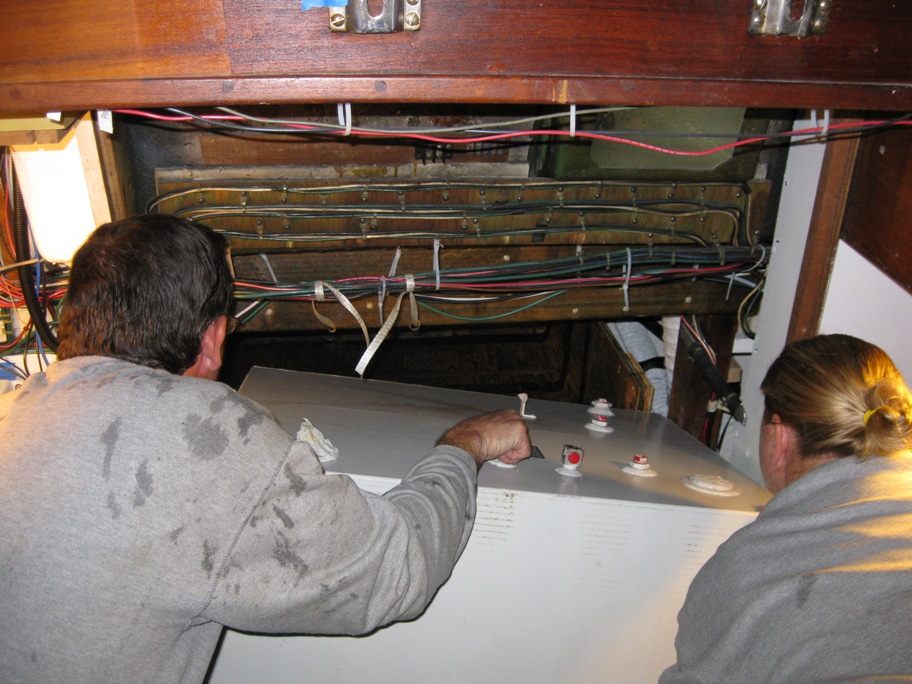
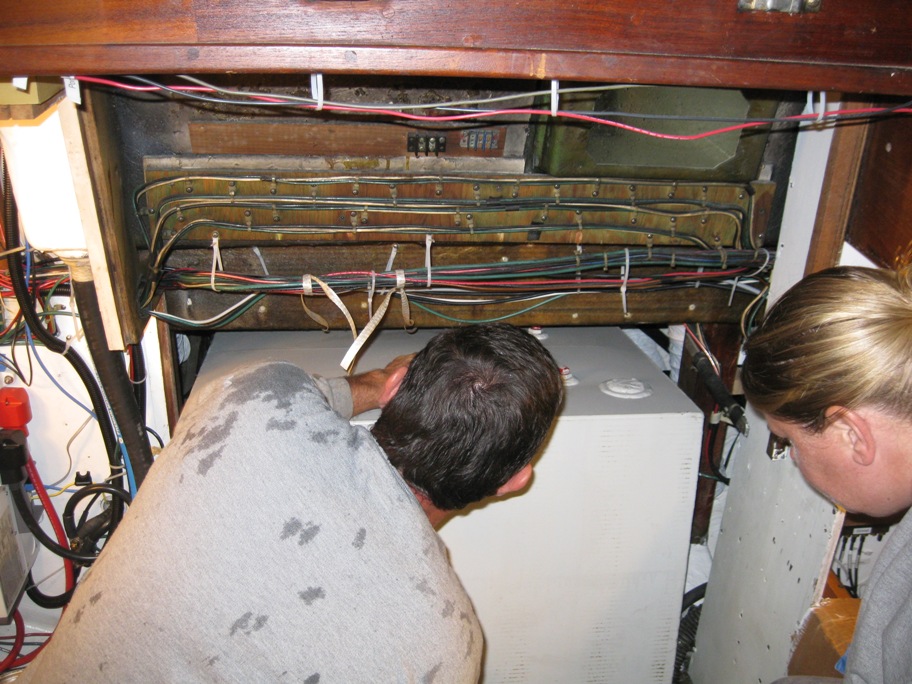
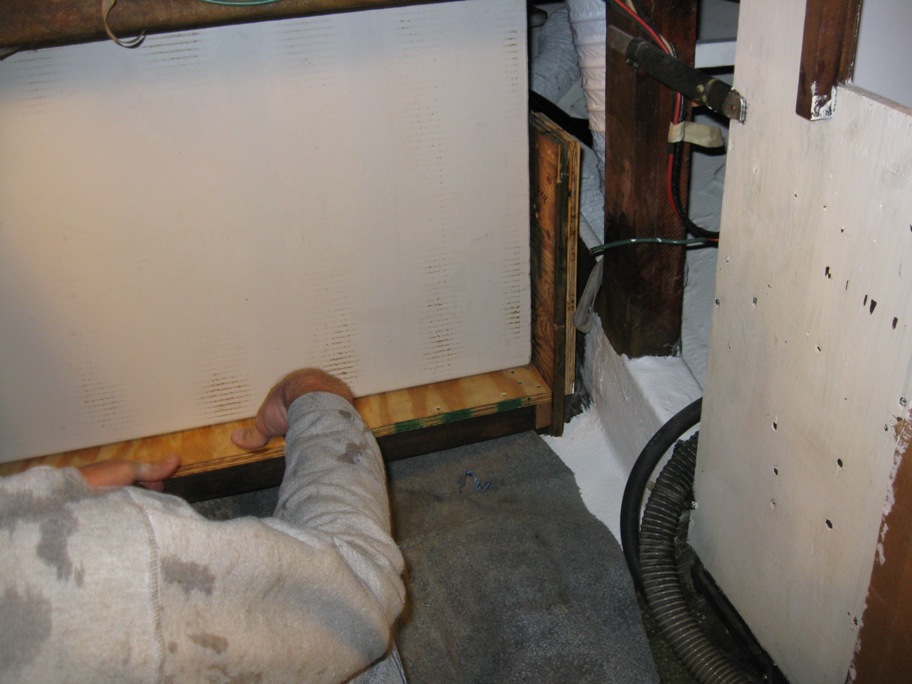
The fuel tank is in, strapped down, grounded and the lines are being run to the generator. Now that the fuel tank is in we are finishing installation of the engine room LED lights.

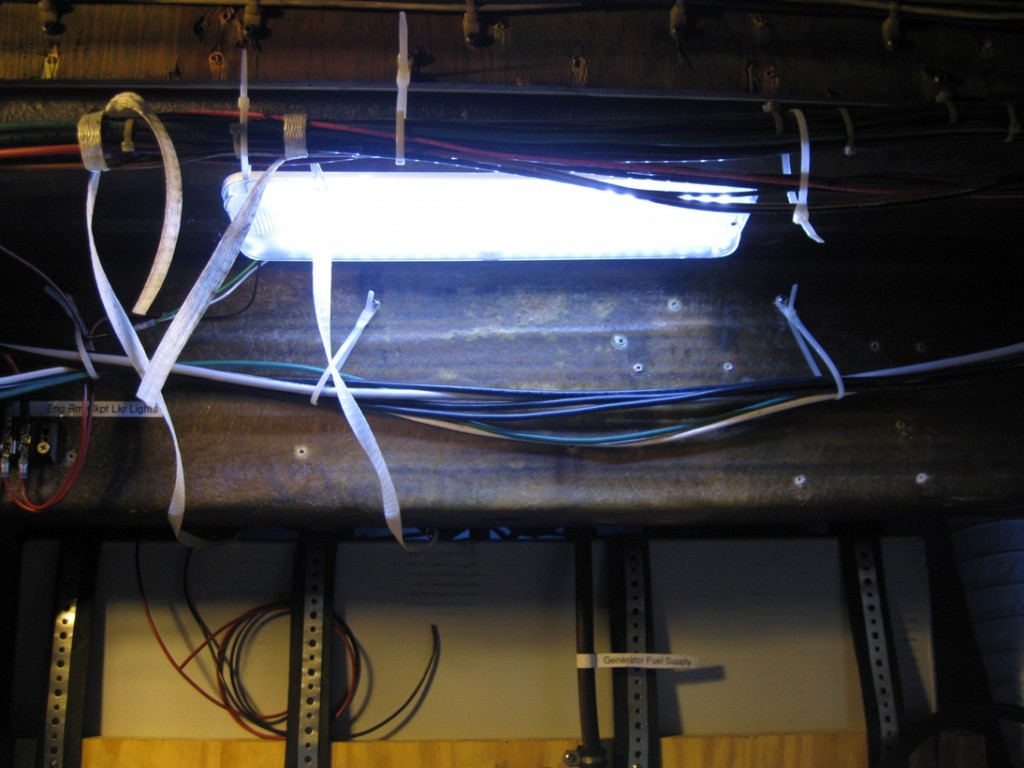
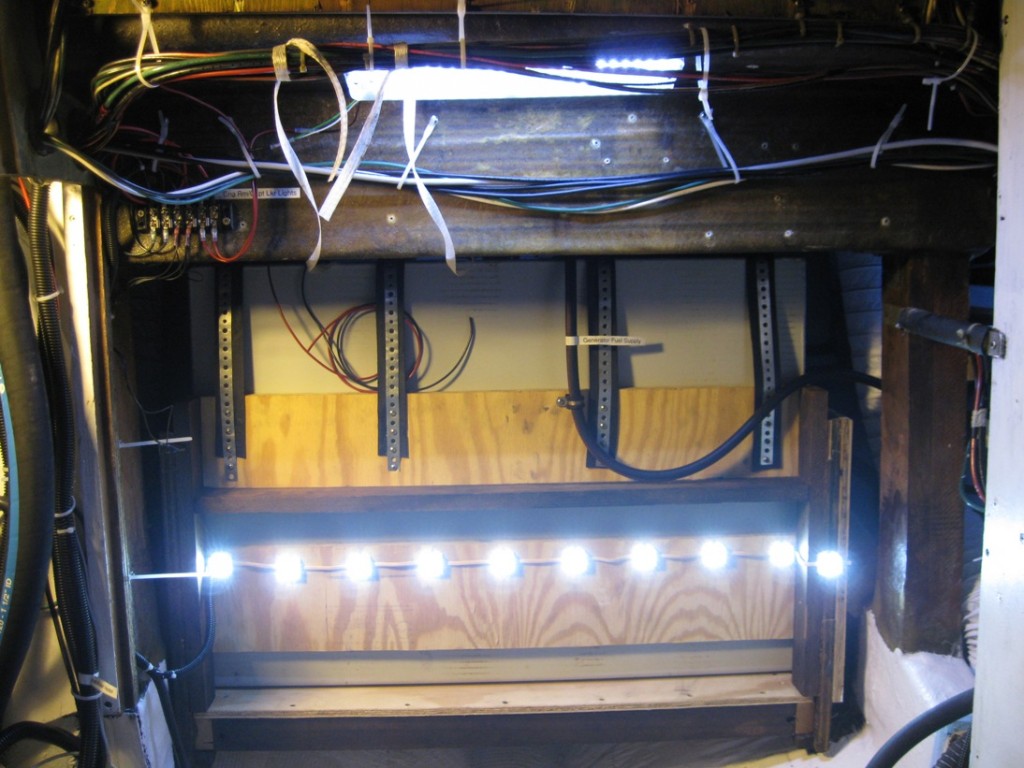
Tank is strapped down. Overhead LED light shining down into the engine area:

LED cluster/strip lights to illuminate the front of the engine:

Categories: Boat, Refit | Tags: , | Comments Off on Fuel Tank and Lights

Fuel Tank, Paint, New Engine

We are back! We went sailing aboard the Schooner Isaac Evans out of Rockland Maine. Thanks to the Captain and Crew for a great time! We are back to work now, cleaning, painting, and installing the fuel tank. Bob installed the last of the windlass wiring and then built a base plate to mount it on the boat! We also made a run to Connecticut to pick up our new engine.

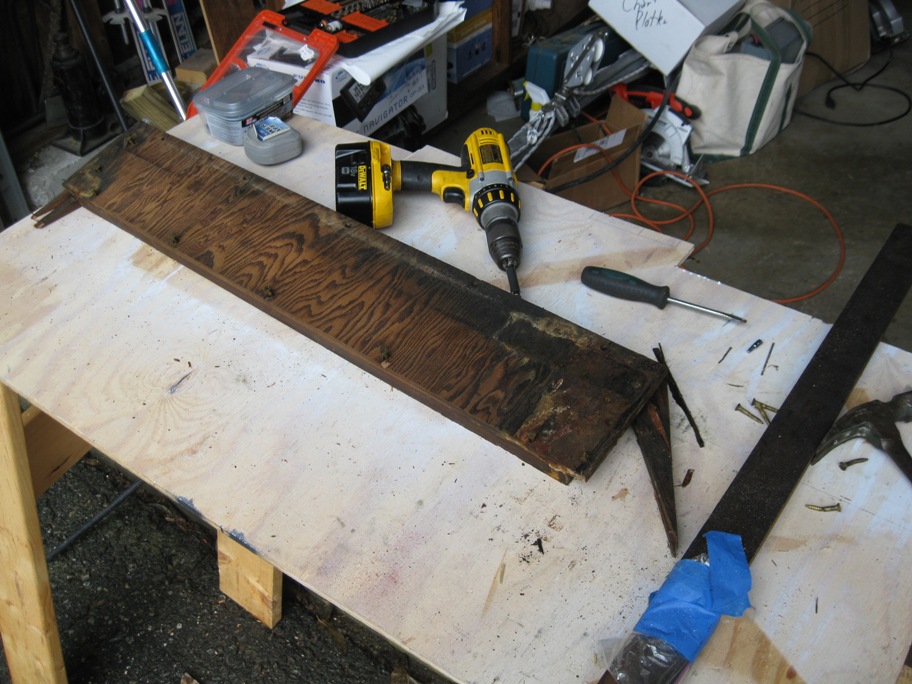
When we removed our old fuel tank we found the cradle in need of repair. We replaced the parts and put the cradle pieces together. The bottom piece that supports the lowest point of the tank, it was beyond repair:

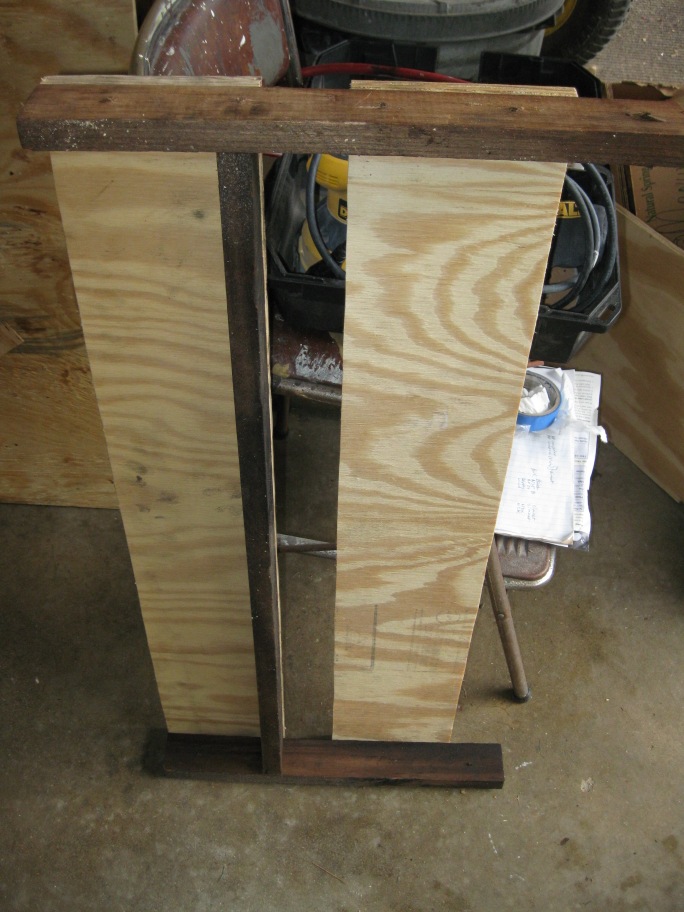
Front part of the cradle (sitting on end) all back together. This piece goes across the front of the tank and will hold it in place:

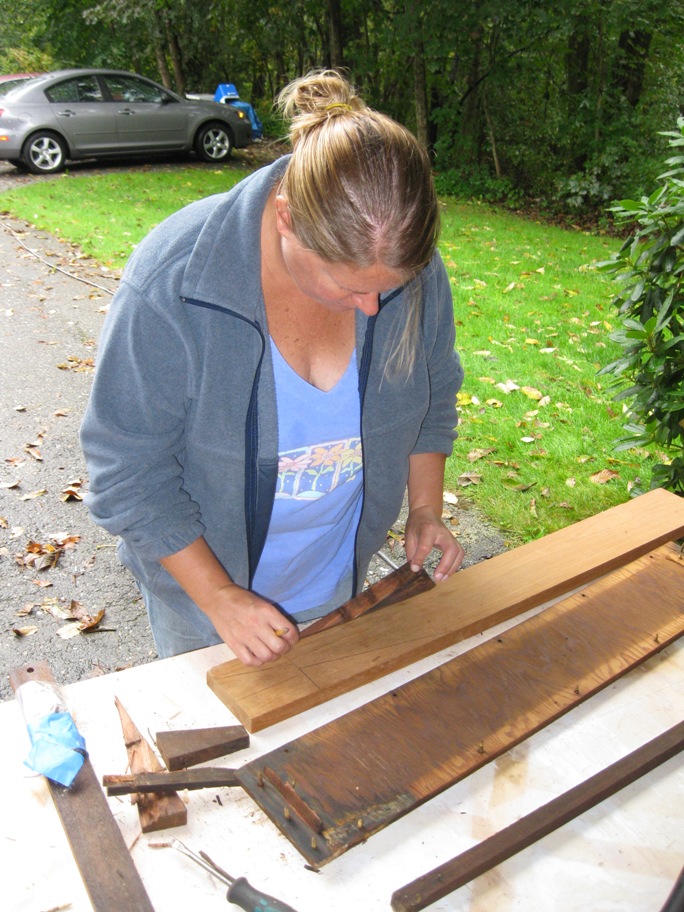
Tanya fabricating new pieces out of Mahogany:

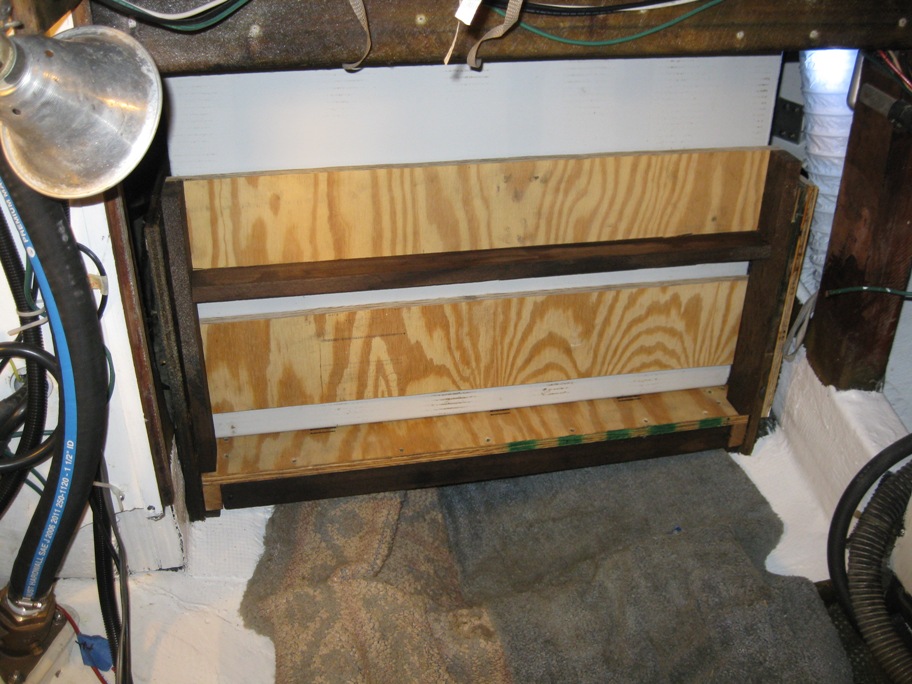
Fuel tank cradle in the boat, waiting to receive the new tank. Once the tank is in place the bottom and front pieces of the cradle will be screwed in place. Painted the area with Interlux primer and Bilgekote:

We also painted the engine area. This is just the primer. We’ll coat the area with Bilgkote before the engine goes in:

The new fuel tank is in the boat:

The new tank is aluminum so it’s a bit easier shoving it up into the cradle:

Almost in there:


Tank is in, bottom of the cradle in place:

Front of the cradle in place. We still need to connect lines and strap the tank in place:

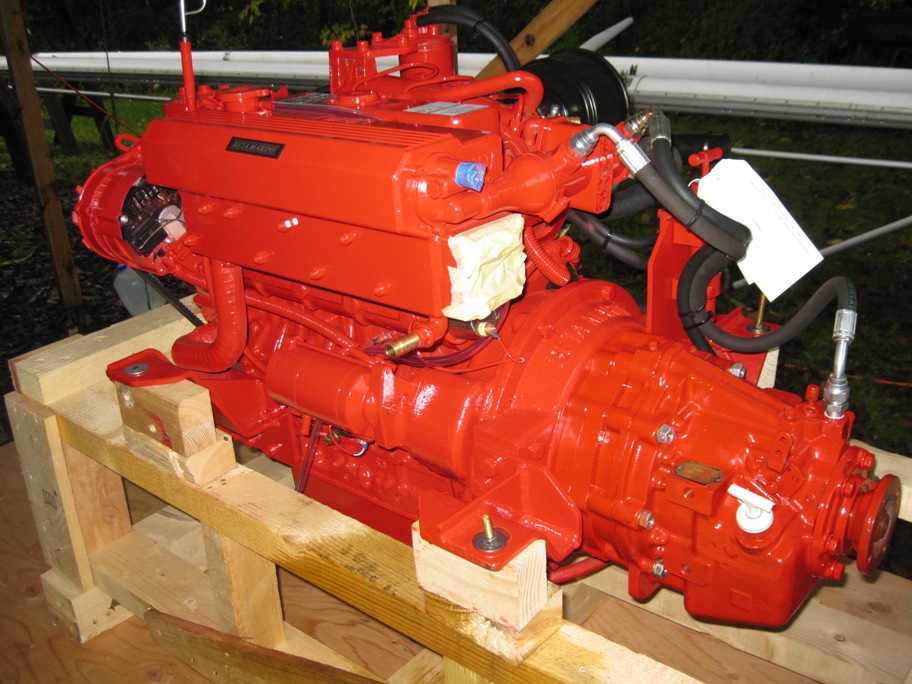
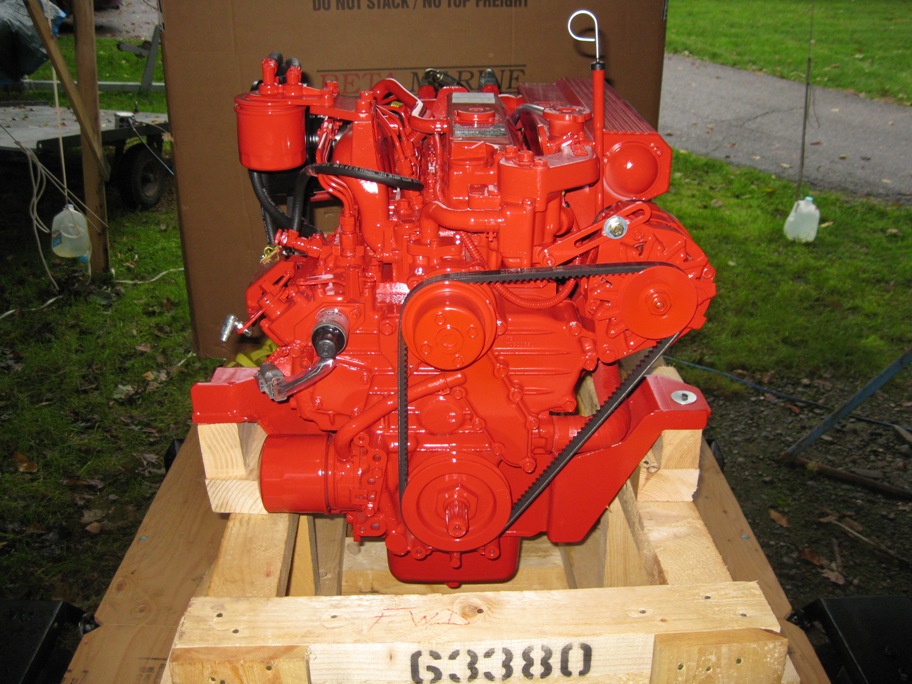
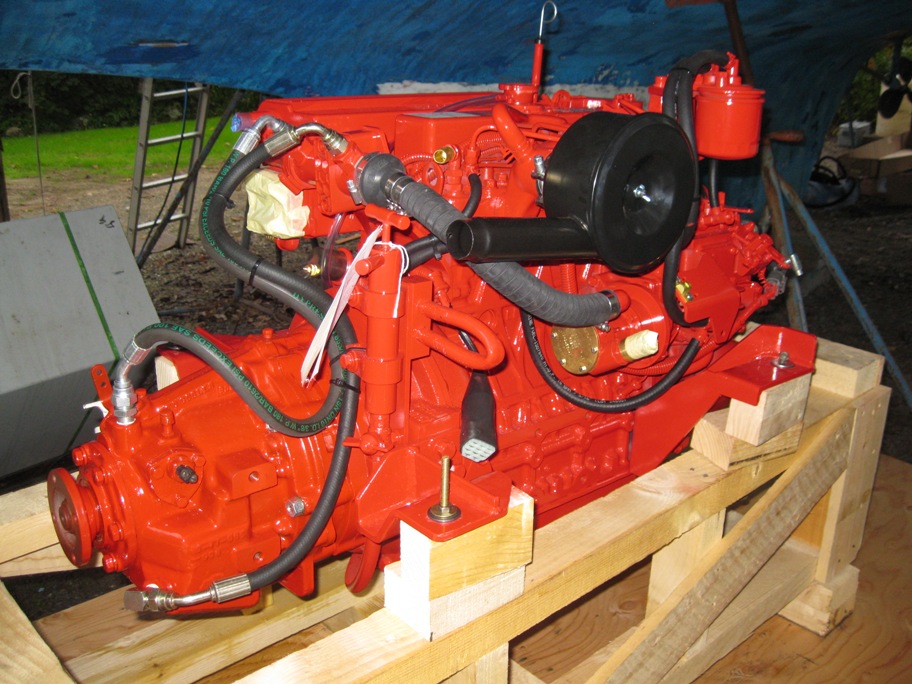
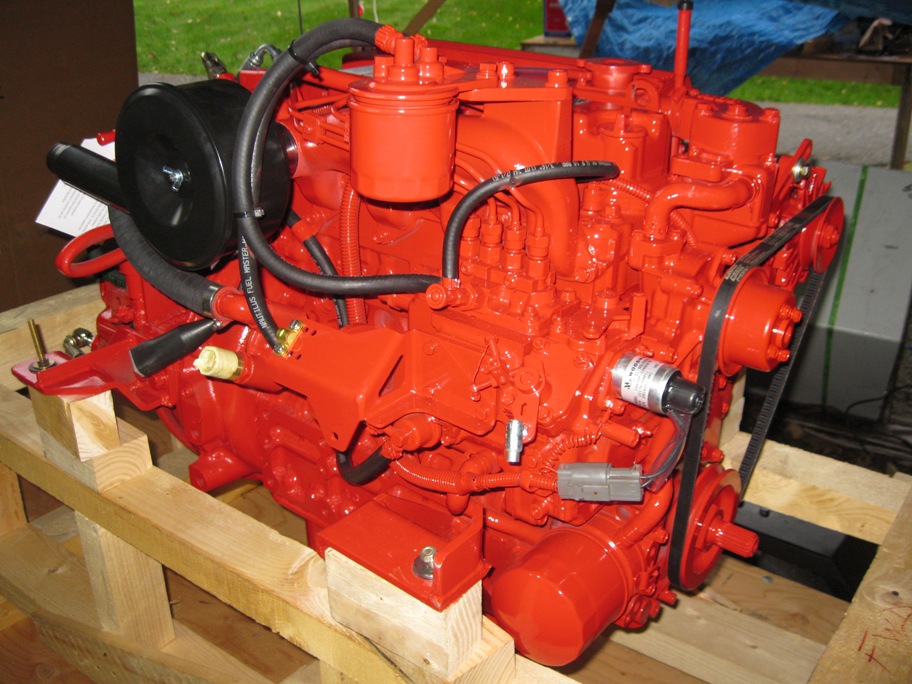
Here are a few shots of our new Kubota engine, marinized by Beta Marine:

We went with a Borg Warner Velvet Drive transmission, 1:1 ratio:

It’s very red:

With any luck we will get the engine, batteries, and v-drive in the boat this week. In between everything we will install the new ports. Stay tuned…

Categories: Boat, Refit | Tags: , , , , , , , , , | 2 Comments

Still Working

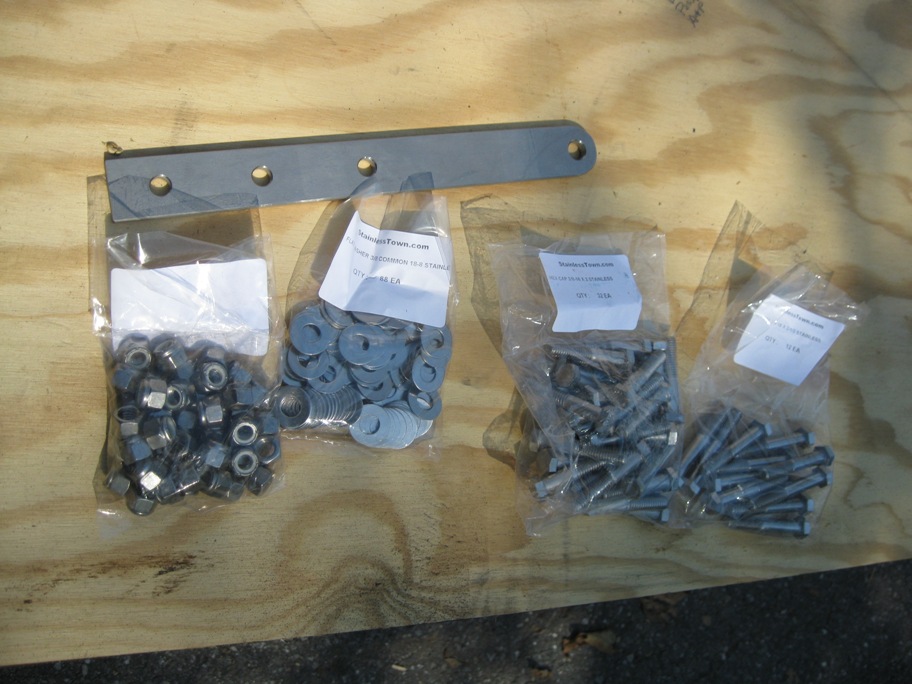
We’re still working toward the goal! We’ve been hard at it. My Mother is varnishing the interior teak pieces. My Sister has been steadily working on the fiberglass, filling holes and cutting others and installing thru hulls. Bob continues to work on the electrical system, a huge job. He has also started the installation of the windlass.  We received the new stainless steel hardware for the chain plates and also the new battery cables. We painted the cabin sides, installed the fresh water filtration, rebuilt the foot pumps, started paneling in the head, installed the new pedestal guard and navpods, installed the electronics and wired their data sharing network, and fired up the refrigeration…among other things…

Chain plate hardware from www.stainlesstown.com
 

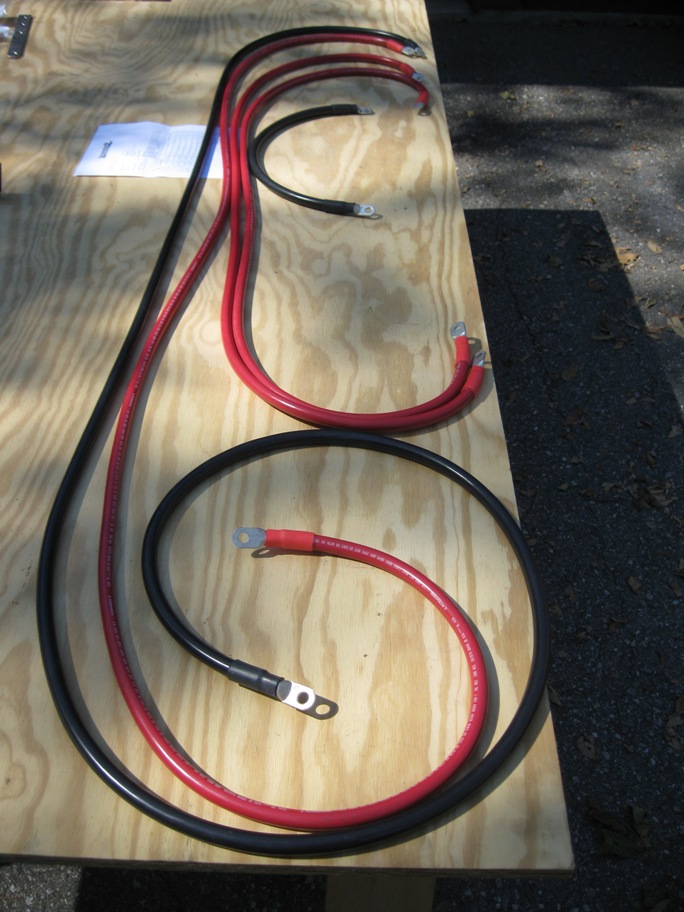
Custom battery cables. Bob already installed them.
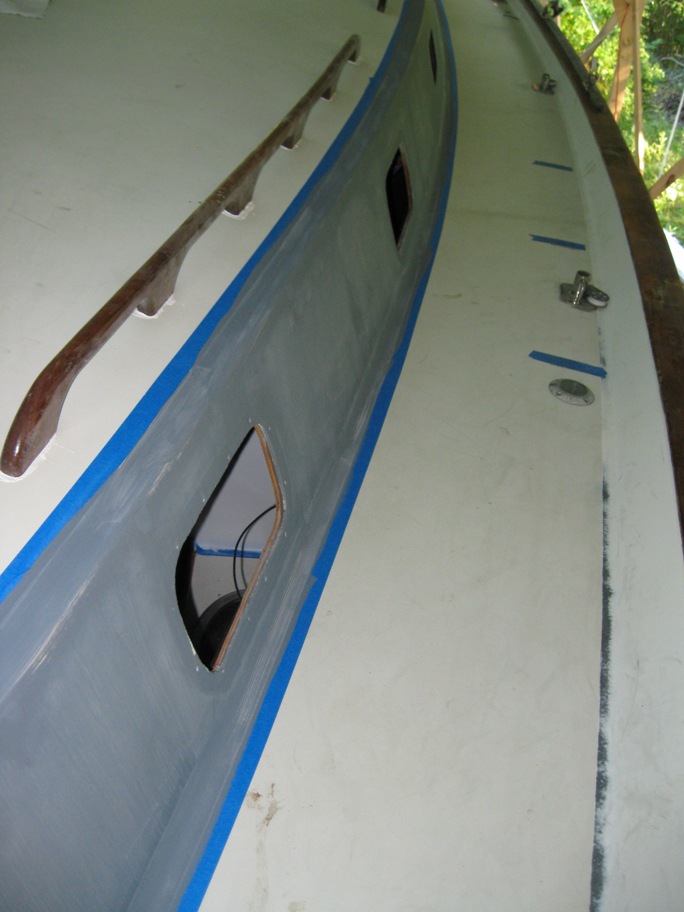
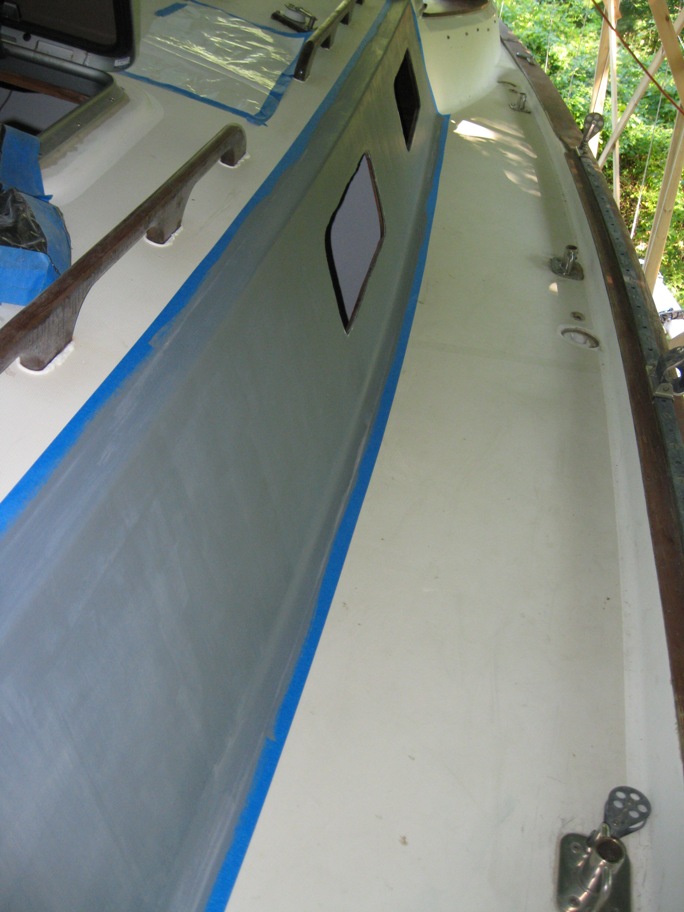
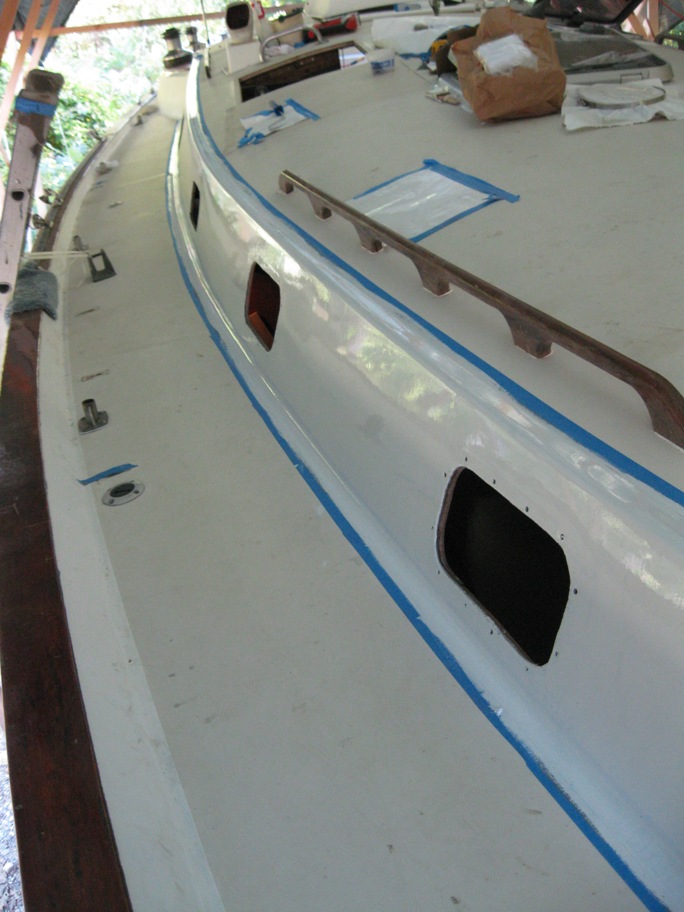
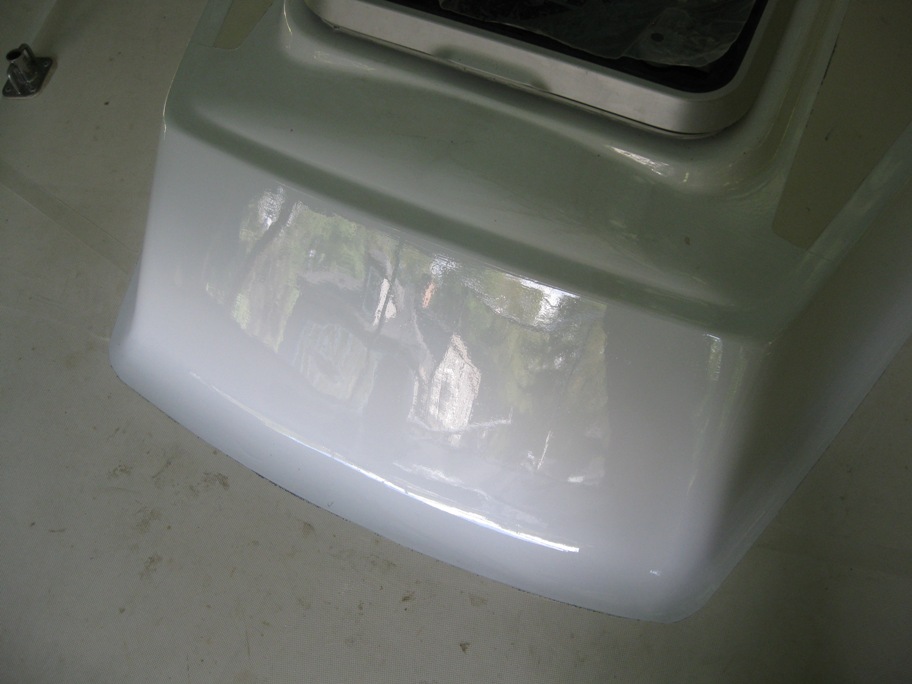
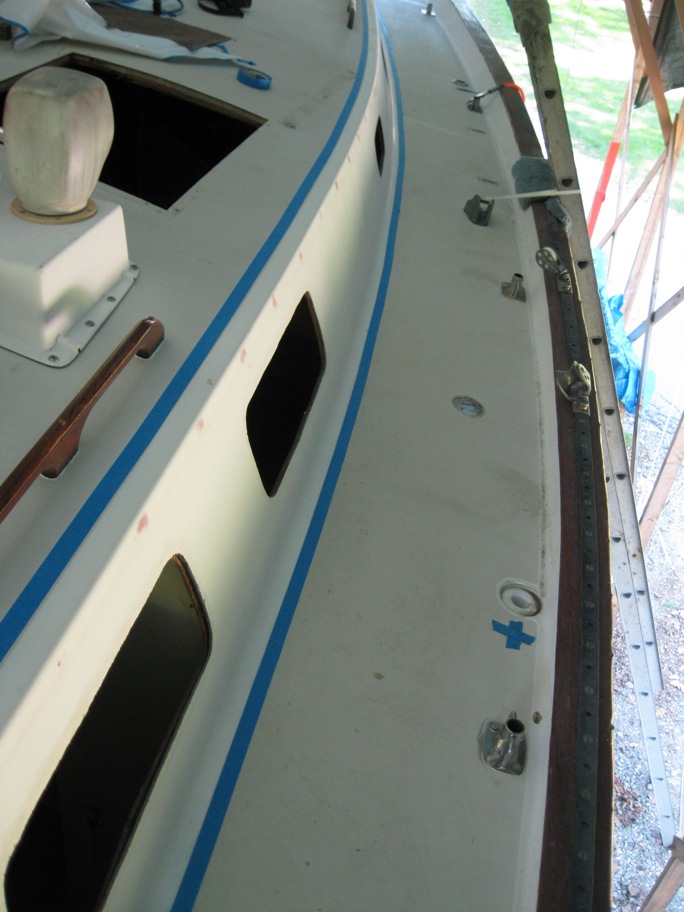
We wanted to get the cabin sides painted before we install the new ports. We removed the teak eyebrow piece, filled the holes, sanded, and taped. Ready for primer: 
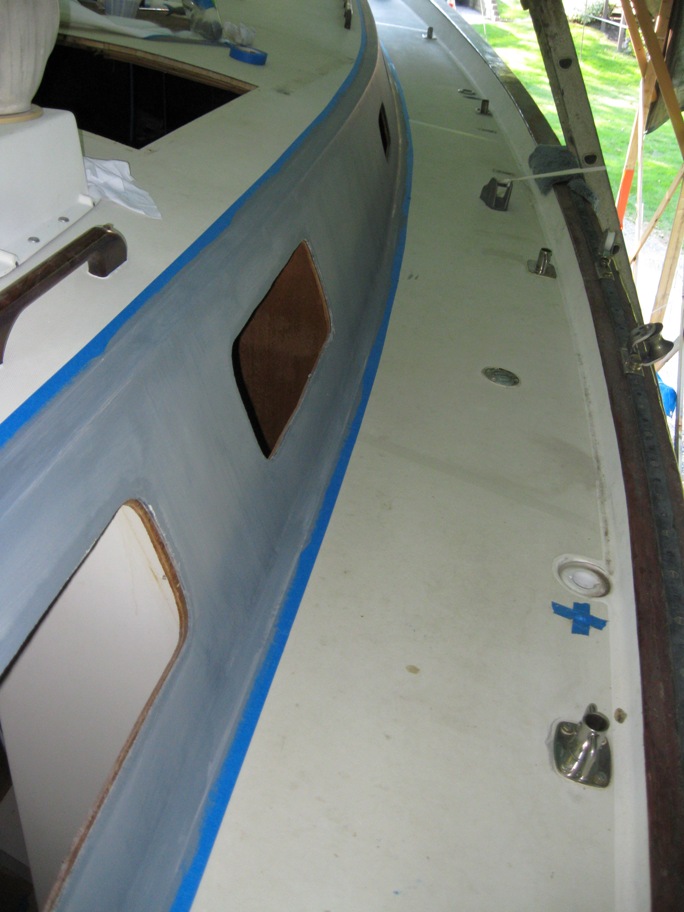
Primed then sanded and ready for white Awlgrip:
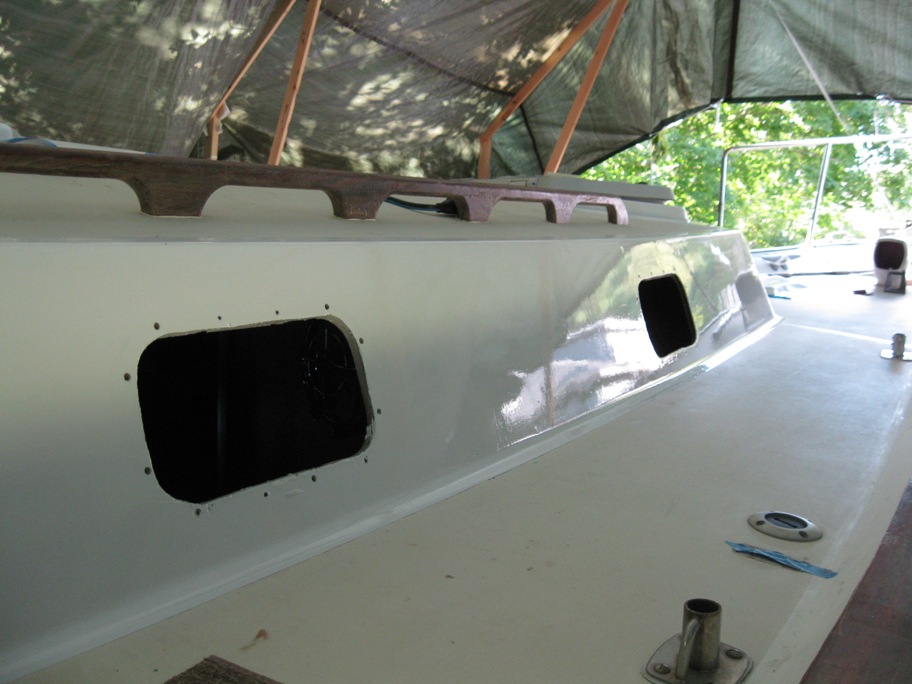
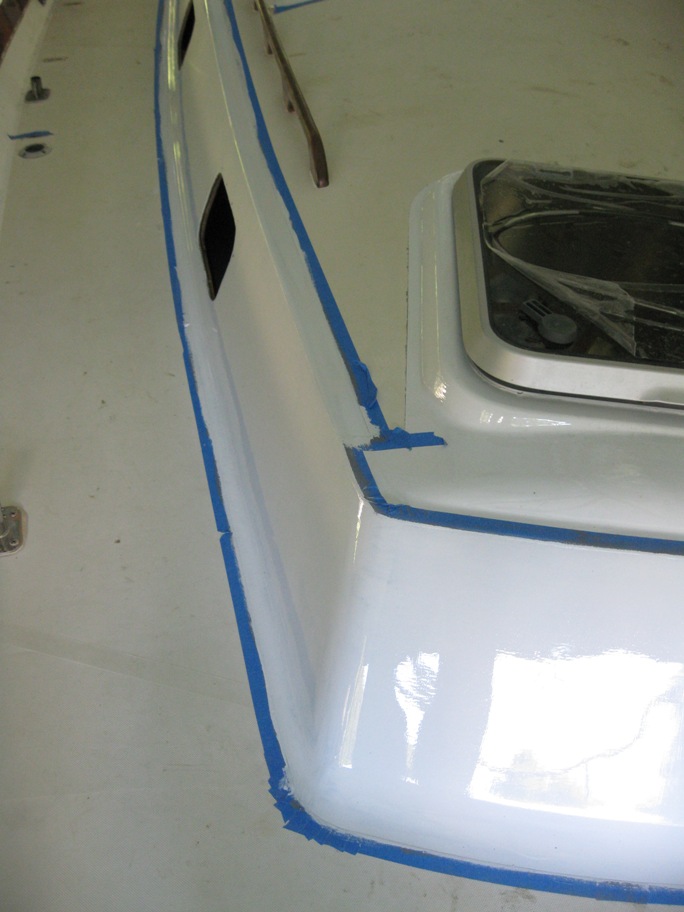
Awlgrip:
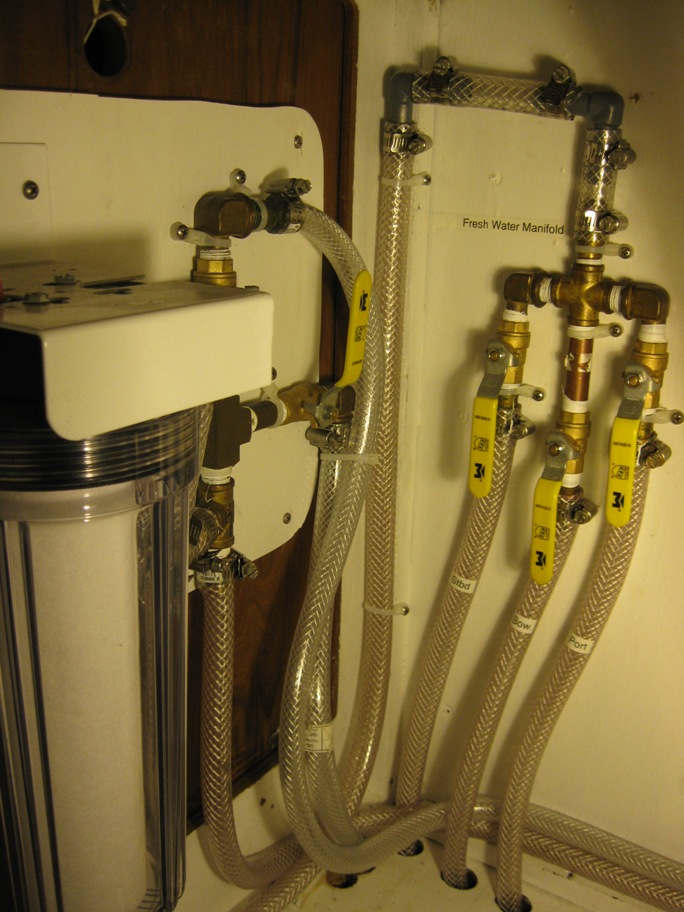
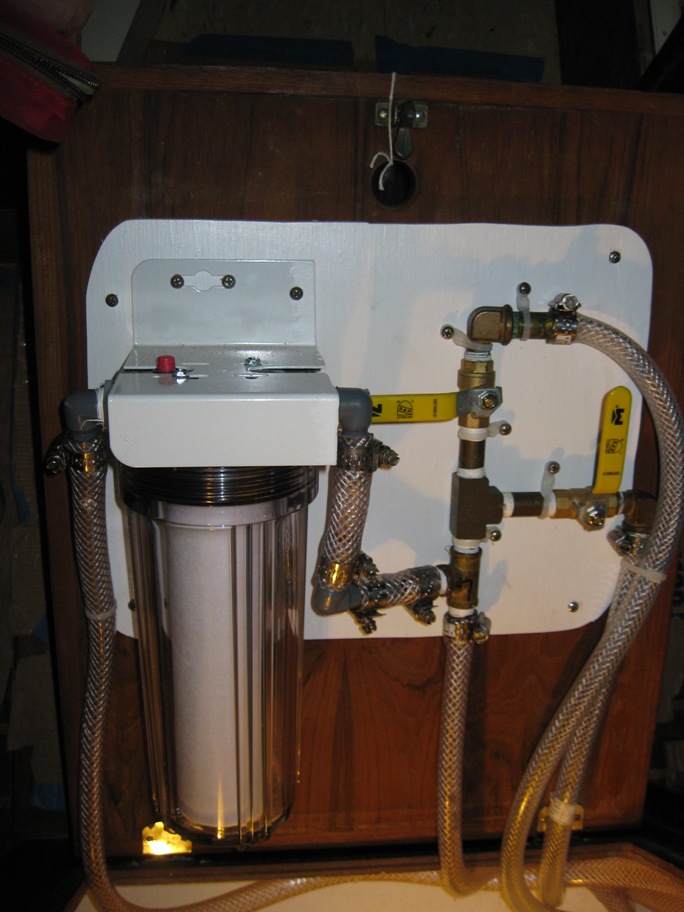
Fresh water filtration:
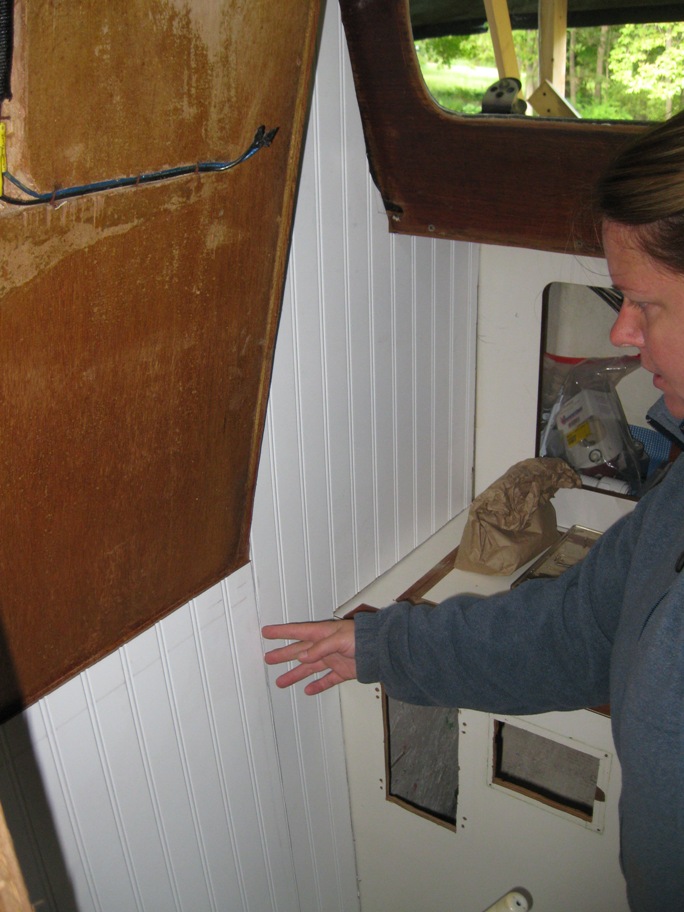
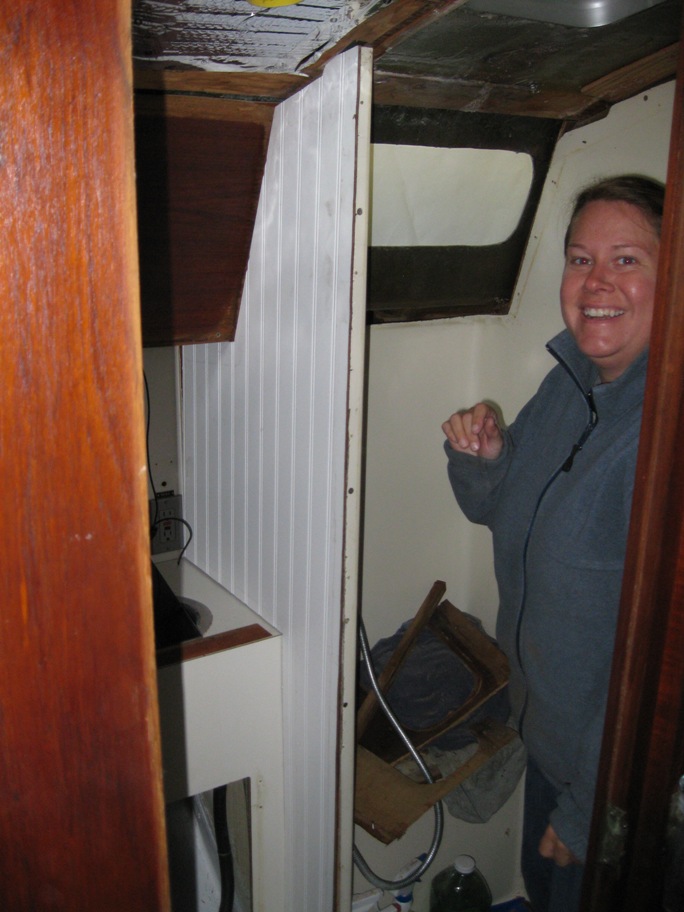
Tanya hard at work cutting and installing the paneling in the head:
 

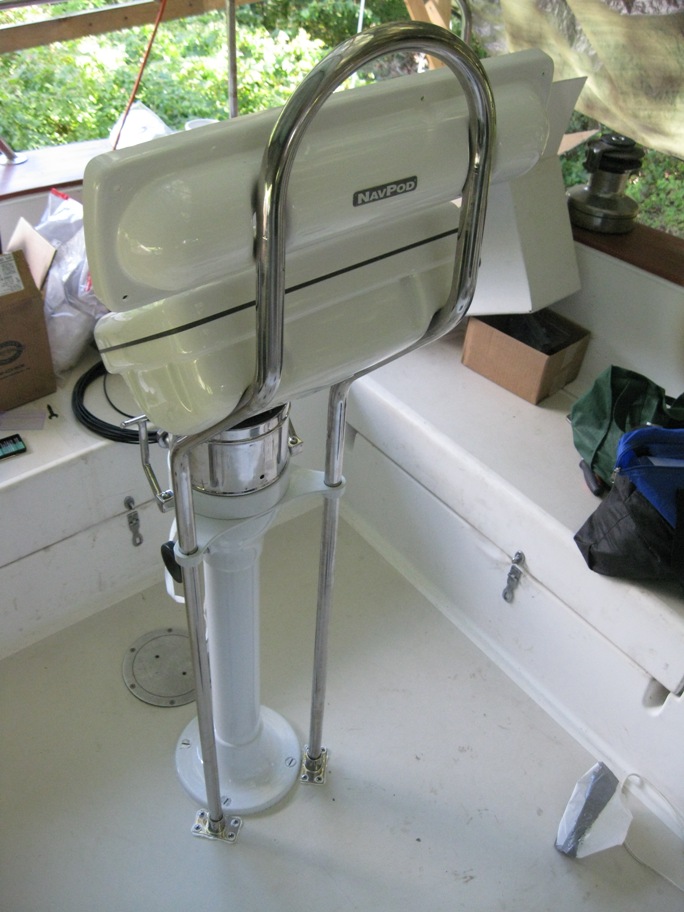
Reinstalled the pedestal (thanks Joan!). Installed the new guard and navpods:
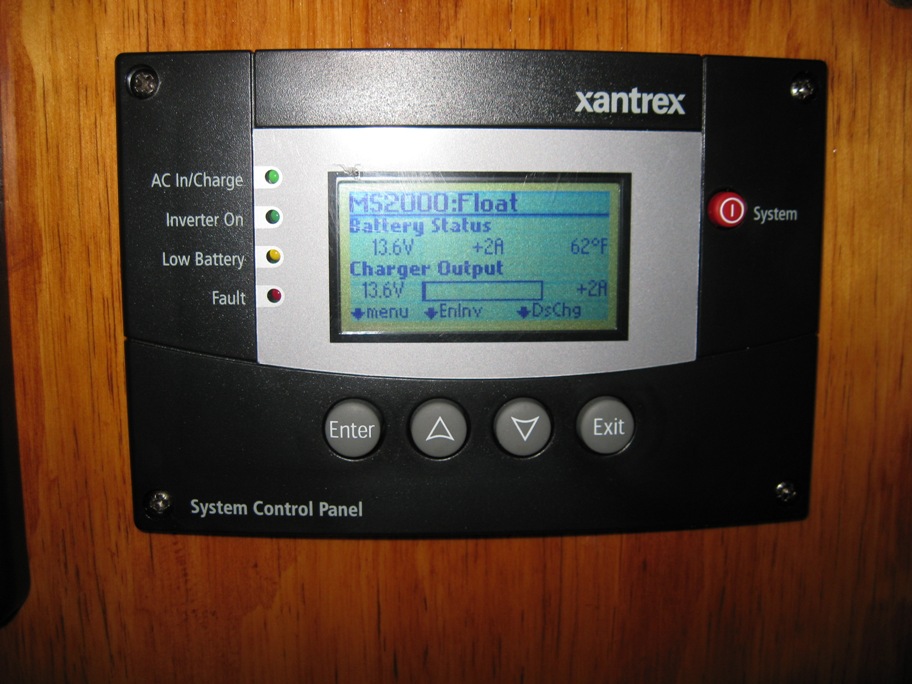
We have installed the electronics. Xantrex inverter/charger remote:
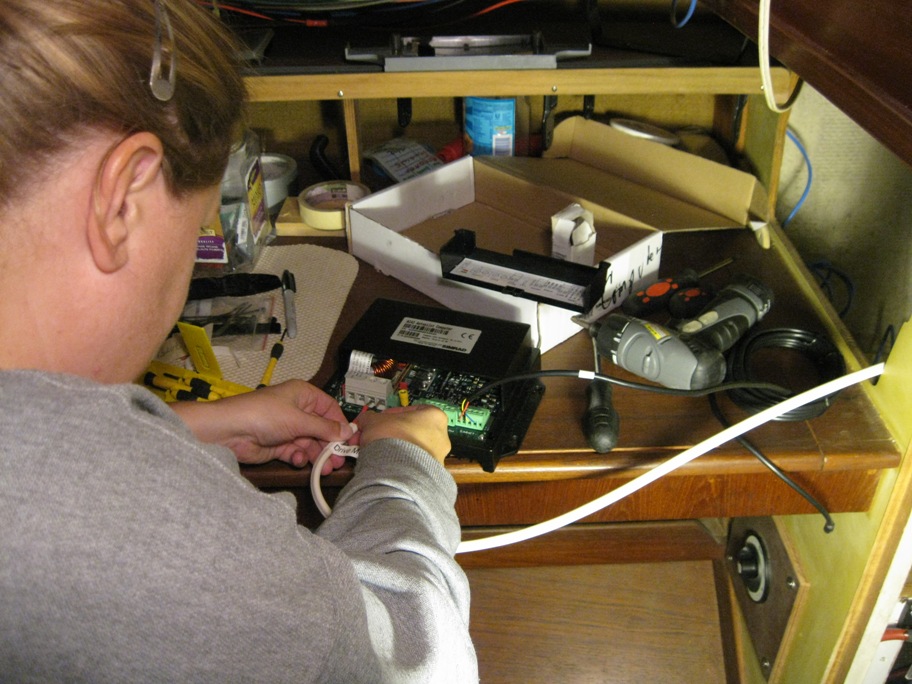
Tanya wiring the autopilot computer:
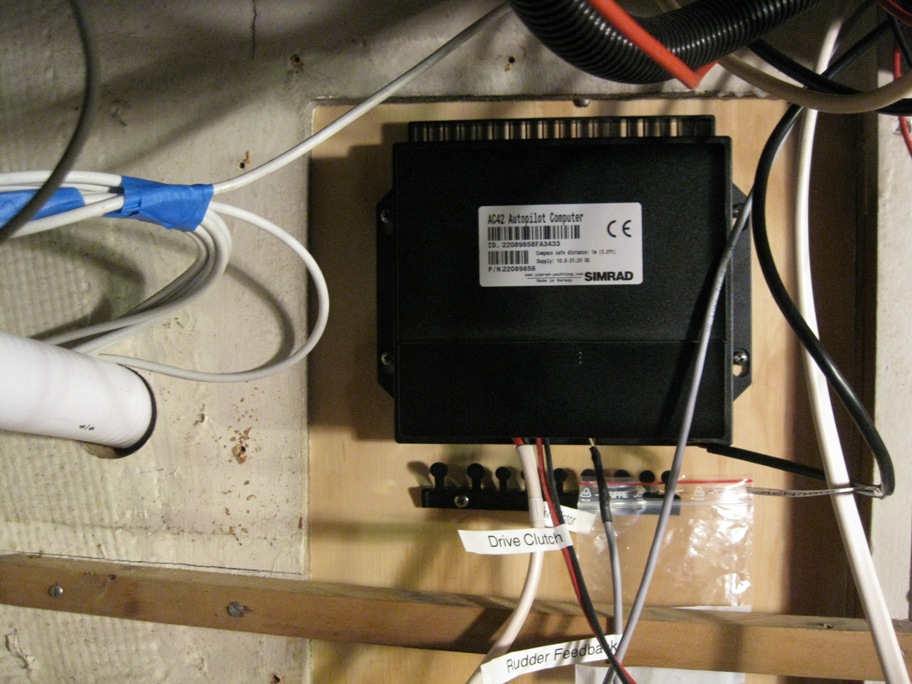
Computer mounted to the wall. We’ll clean up the wiring when were done with all the wiring.
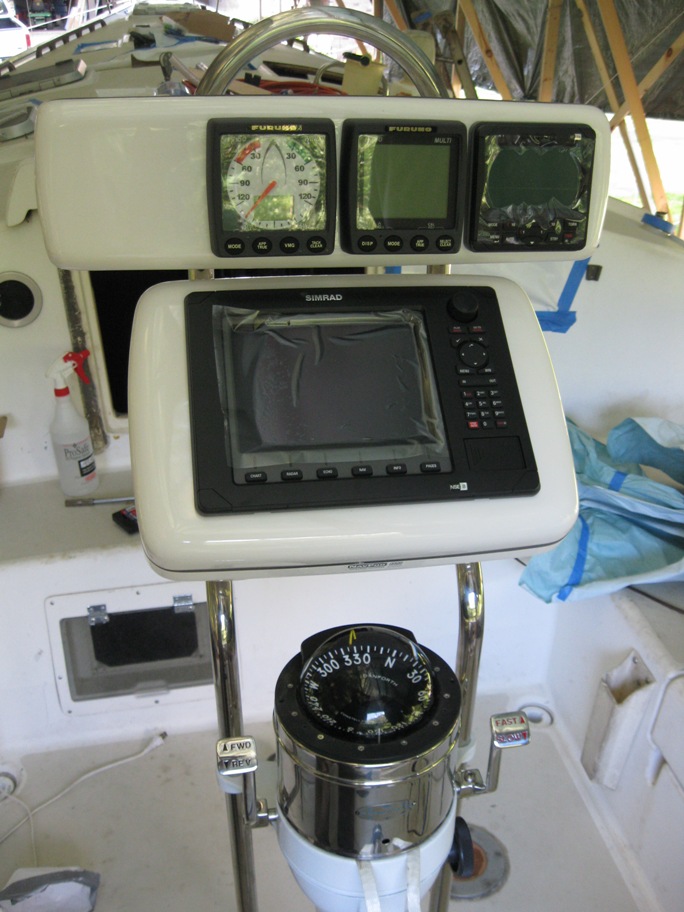
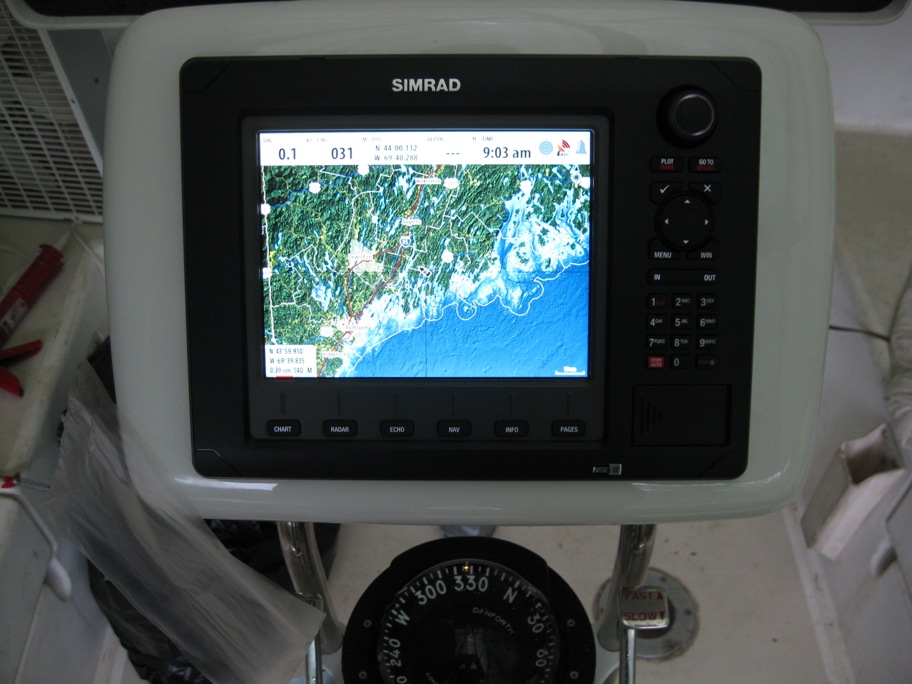
Electronics at the helm, Simrad NSE8 chart plotter, Simrad autopilot, Furuno depth and wind:
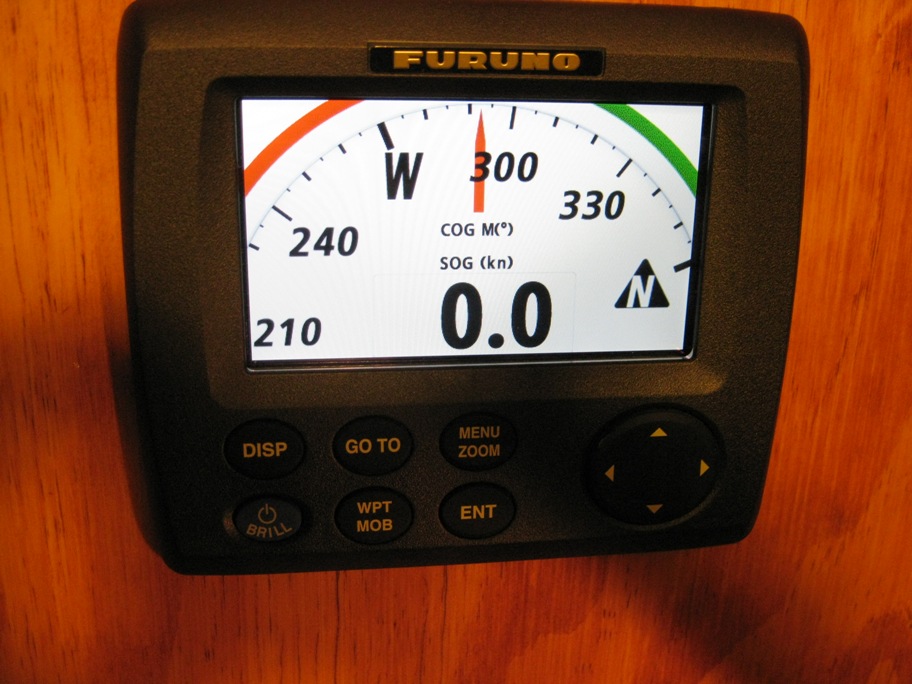
Furuno GP 33 gps navigator at the nav station:
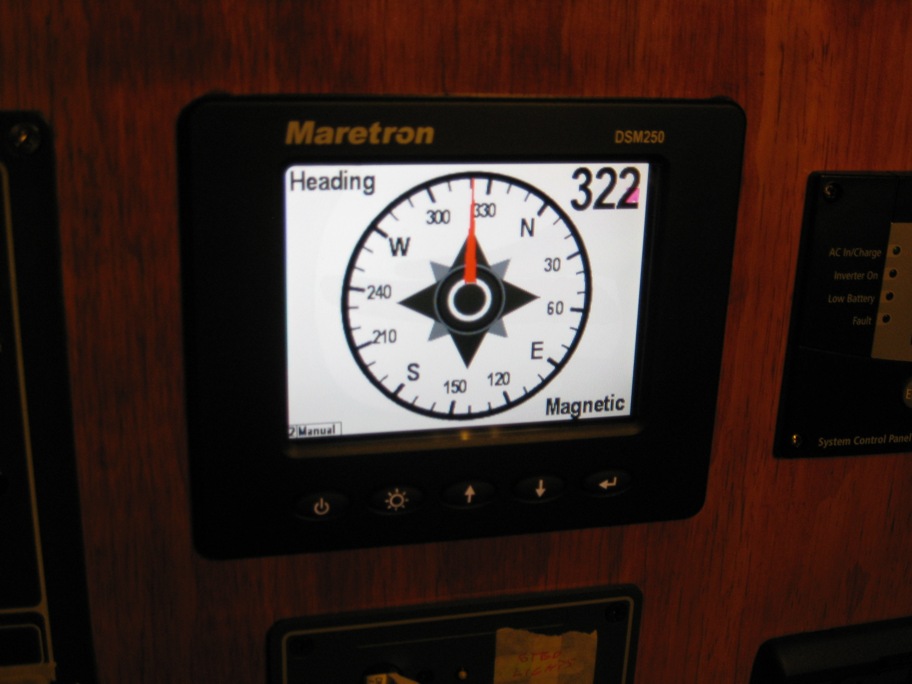
Maretron DSM 250 color monitor at the nav station:
Simrad NSE8 chart plotter:
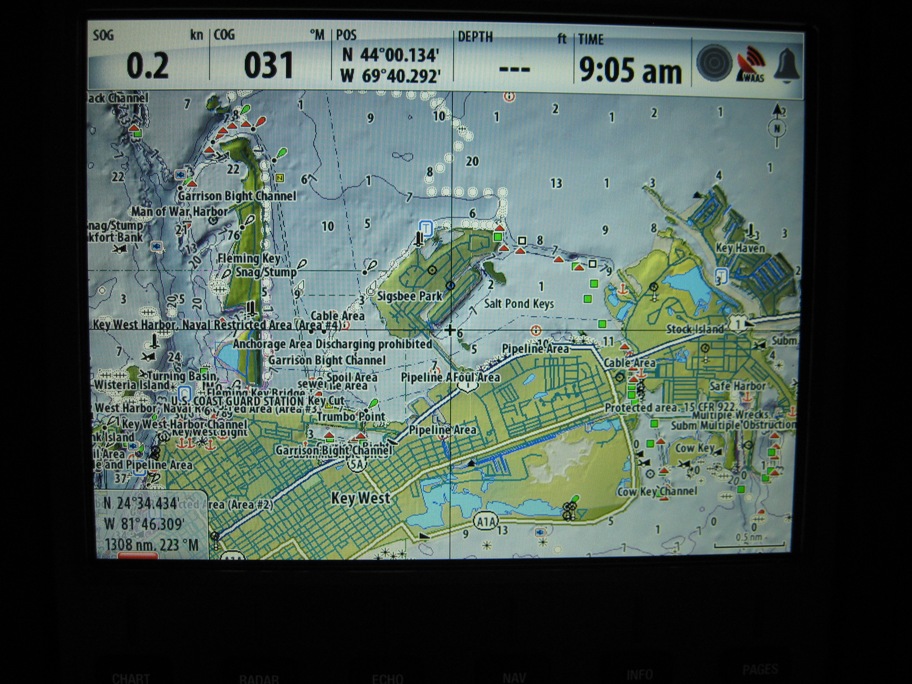
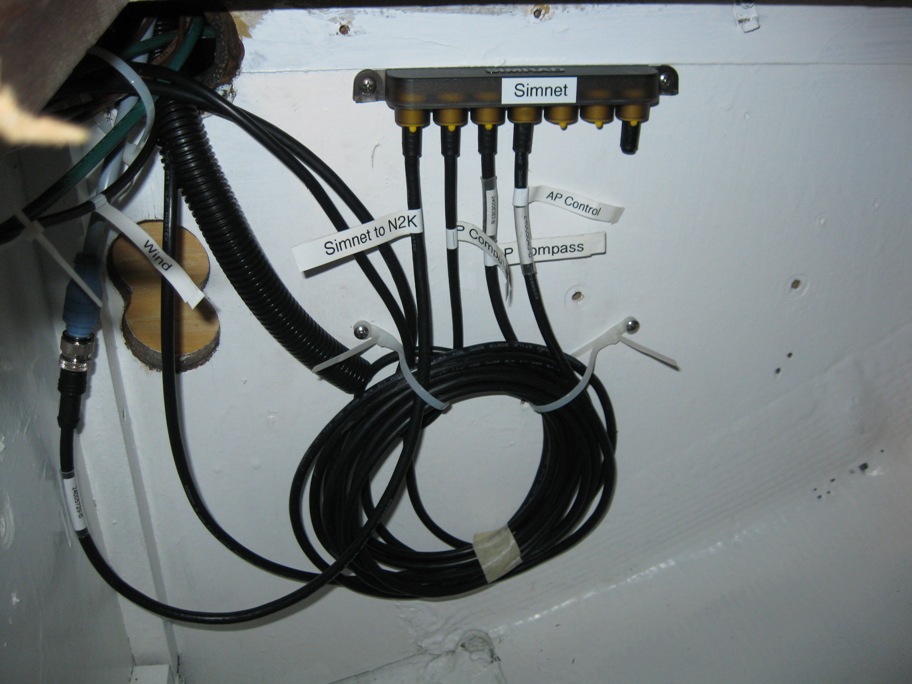
We installed a NMEA 2000 network so the electronics can share data. All the electronics at the nav station and the helm can share data. Yeah, we’ll fix up the wiring later:
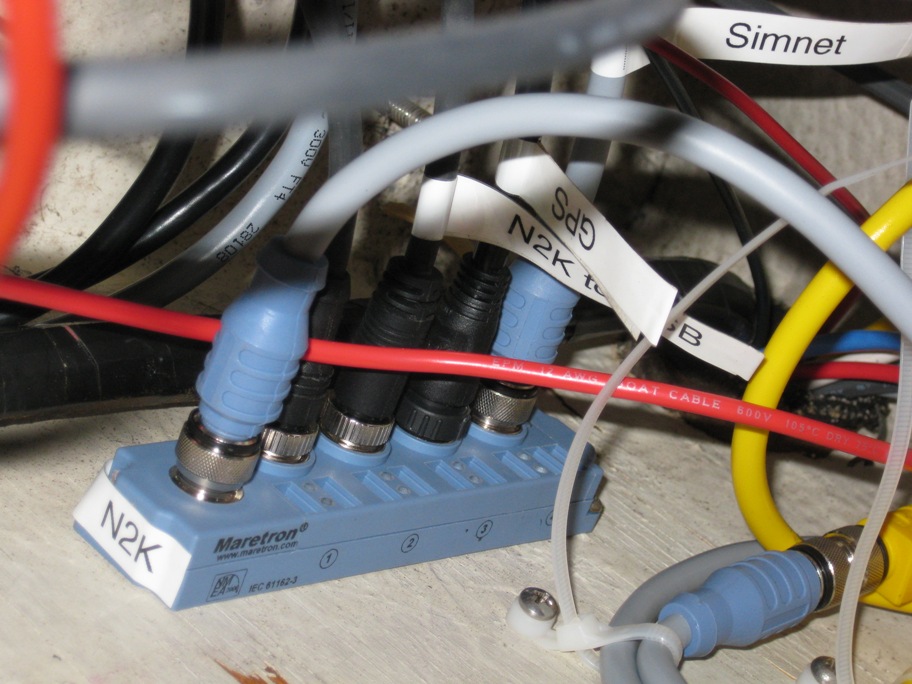
The Simrad products use a similar network with different connectors, but use the same data sharing protocol. Their network is called SimNet. We networked the Simrad products together then tied the two networks together. Unbelievably, it all worked! It was actually pretty simple, plug and play for the most part.
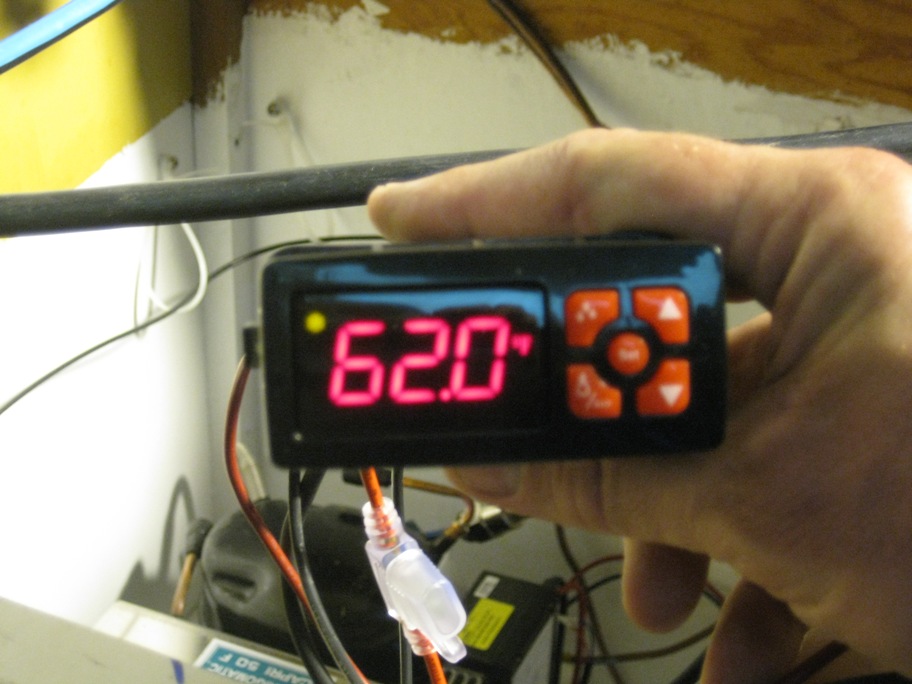
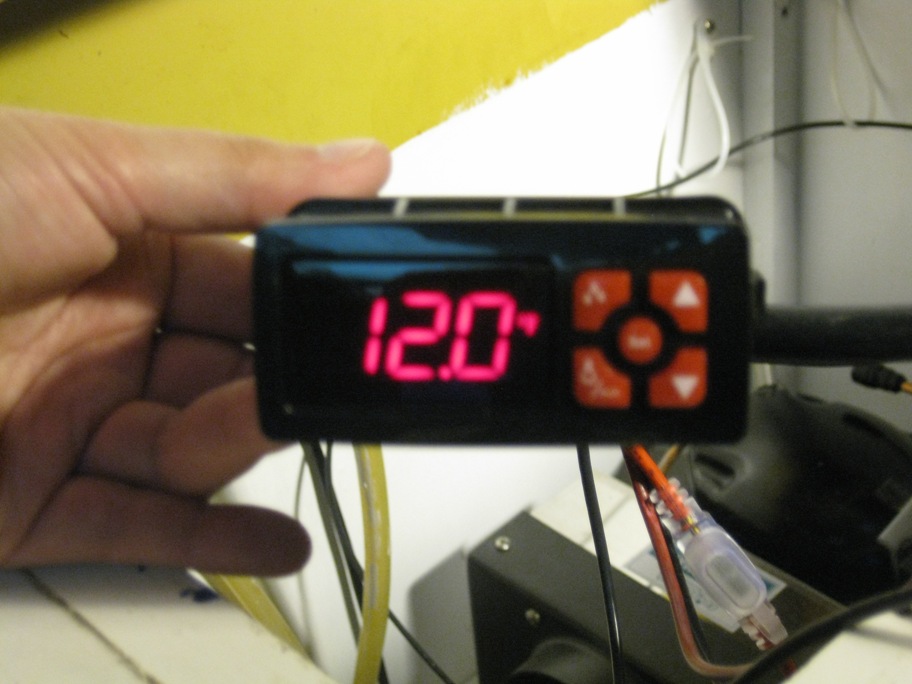
We finally tested the refrigeration, it worked perfectly! It took just under an hour to drop the temperature down to 12 degrees F.
Thanks to everyone for all the help!! We’re taking a few days off to go sailing!

Categories: Boat, Refit | Tags: , , , , , , , , , , , , | Comments Off on Still Working

Update

We’re still making progress. I have been doing some interior painting. Bob installed the last hand rail and continues to work on the wiring. The cabin sides have been sanded and prepped for paint and the cockpit is going back together nicely.

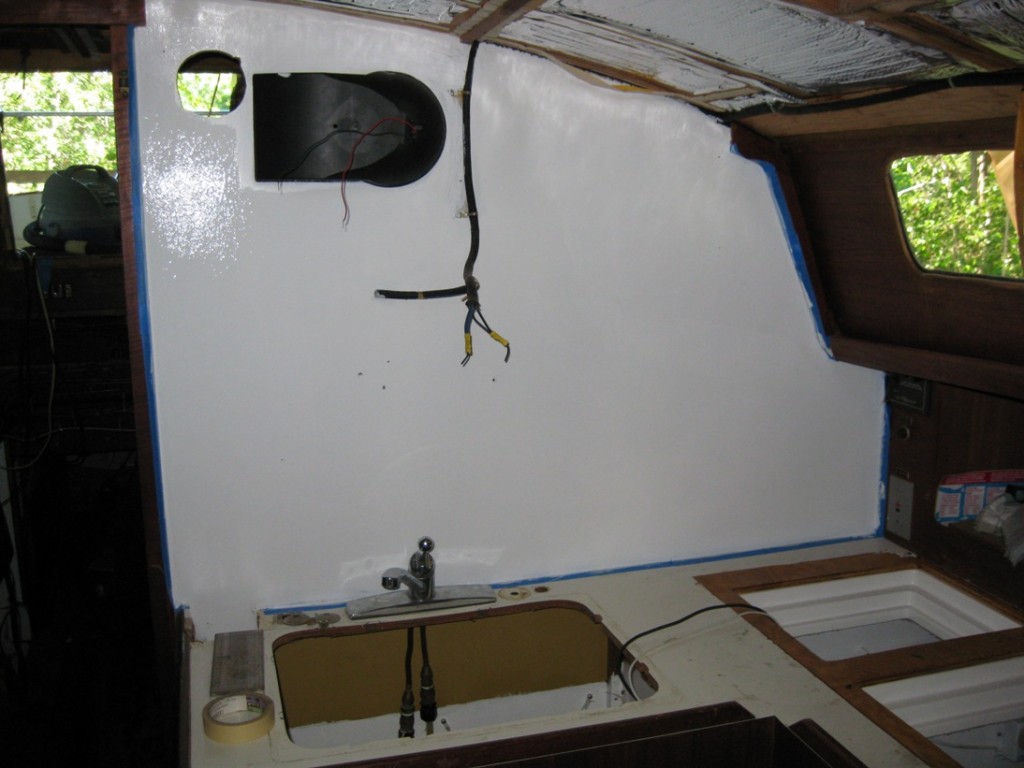
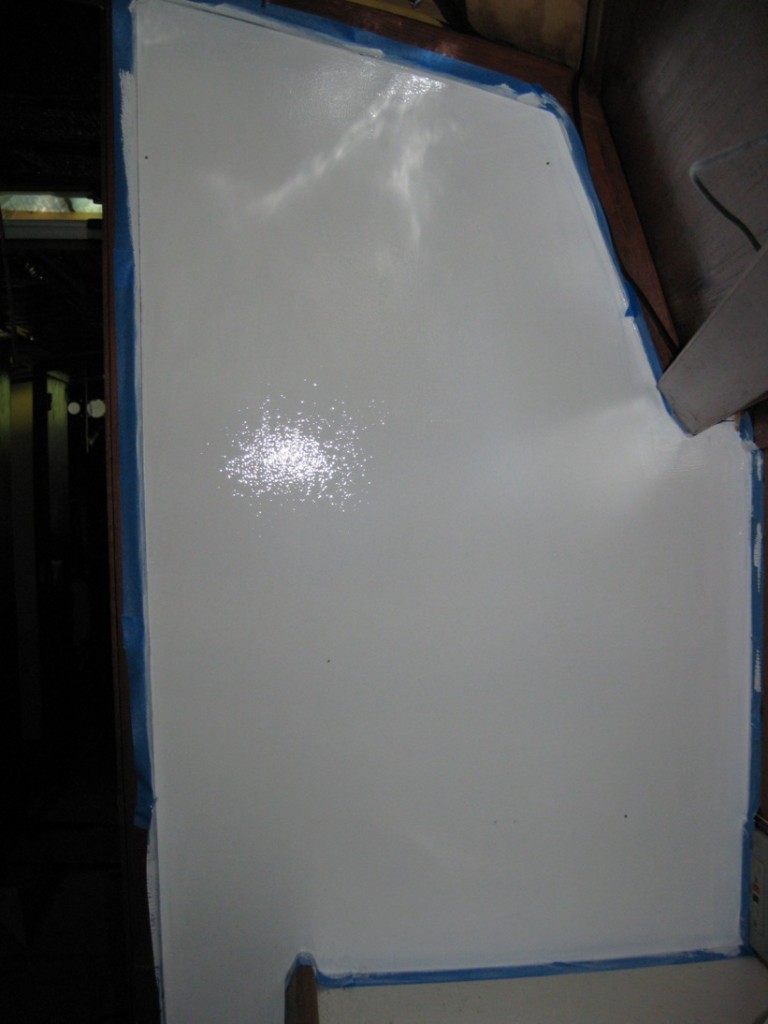
Trading 1978 butterscotch for white:

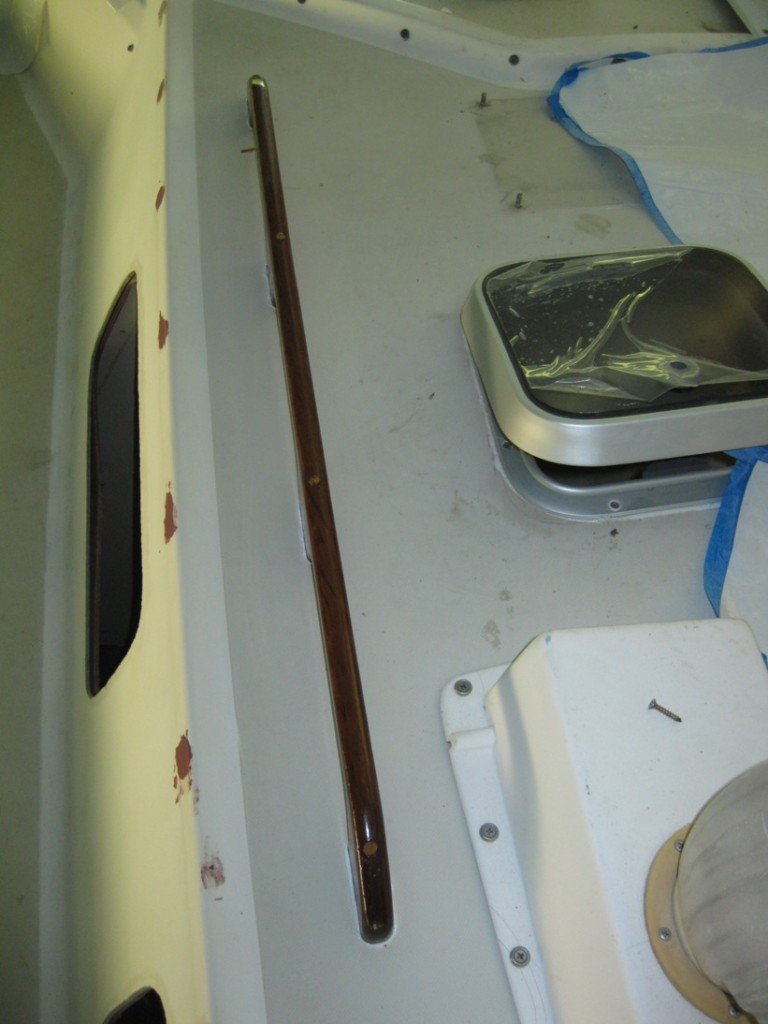
All the hand rails have been replaced. Last one:

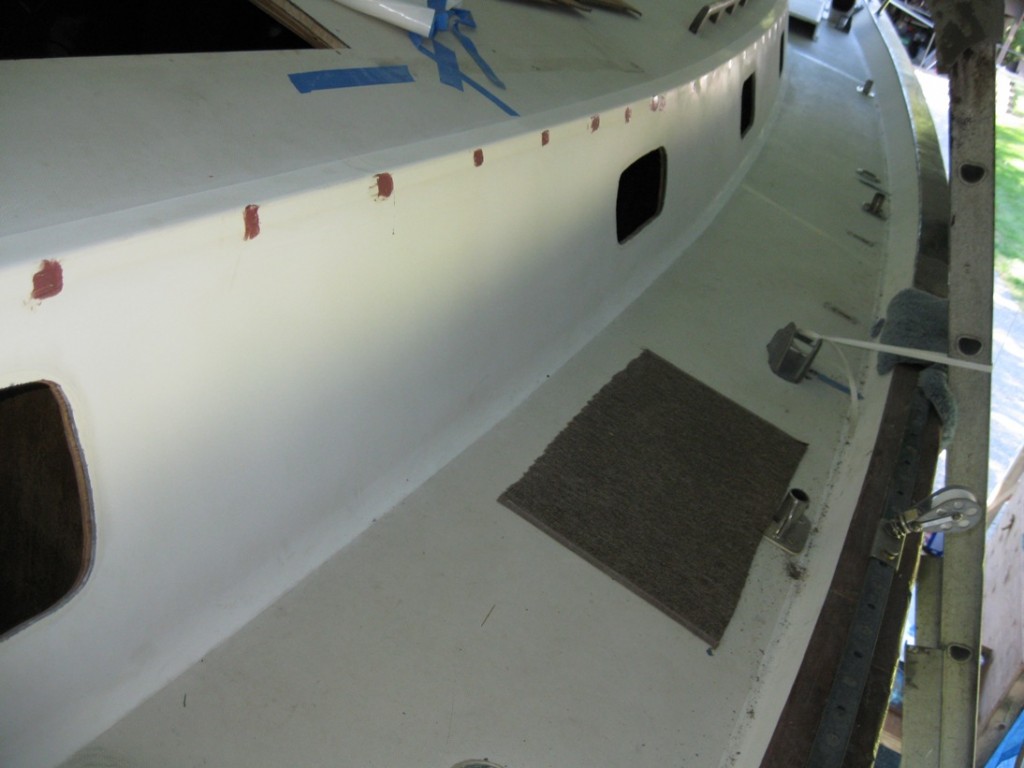
Can sides sanded, screw holes filled with epoxy. We’ll sand once more then prime and paint. All a prelude to the installation of our new stainless steel ports:

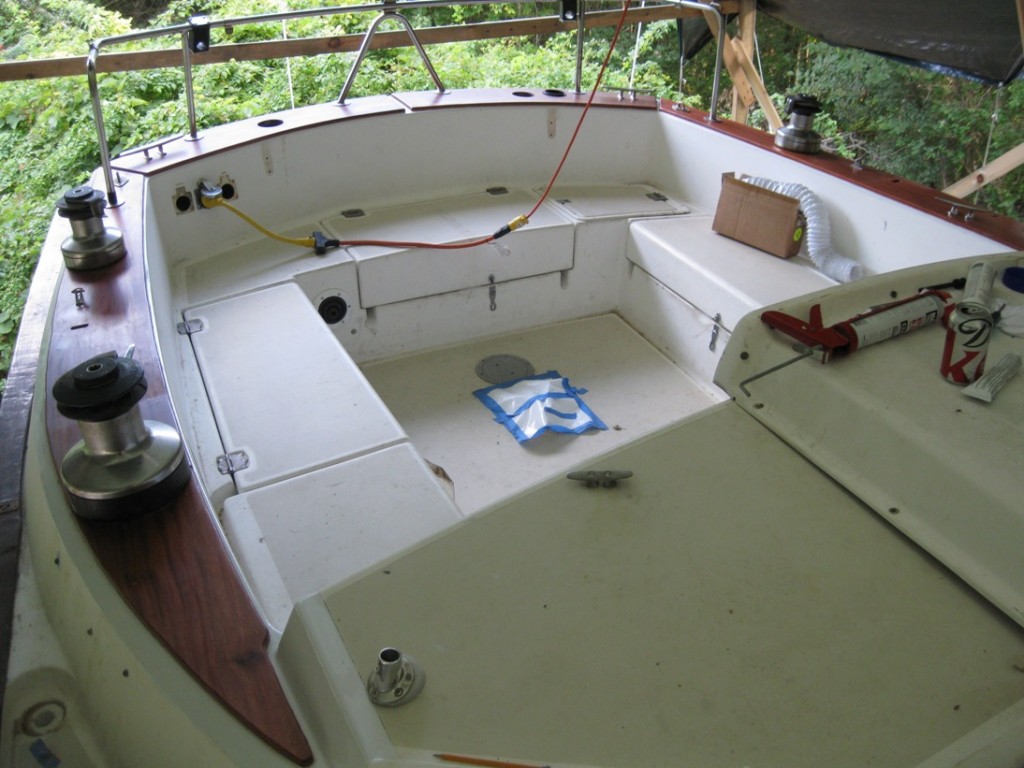
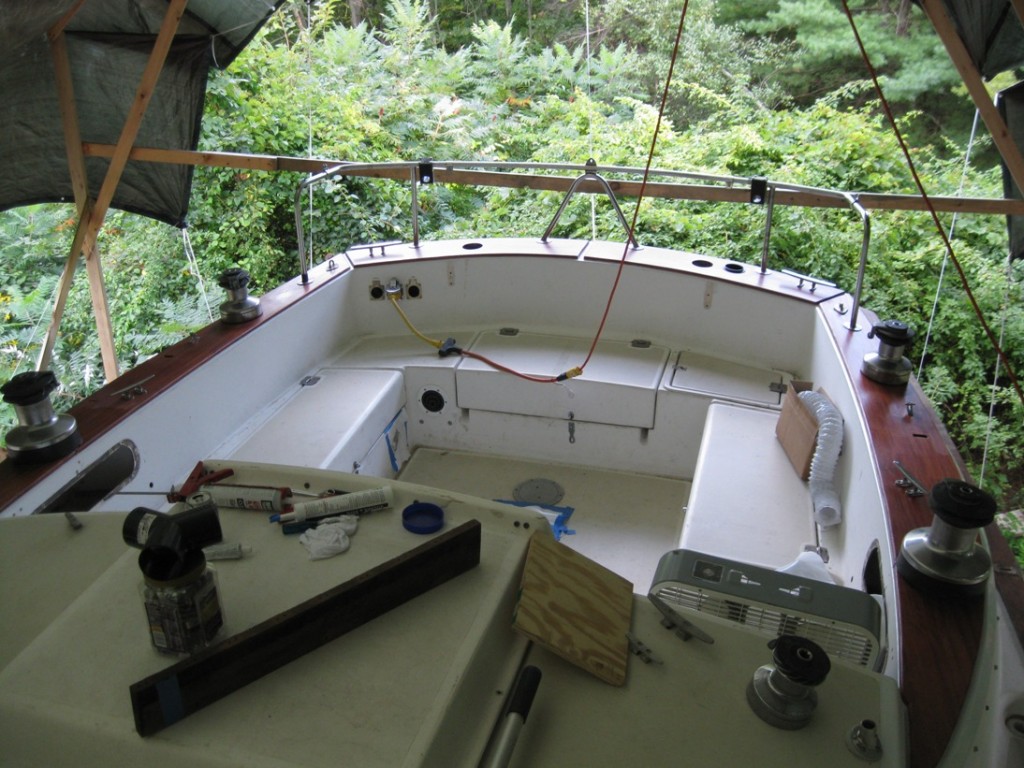
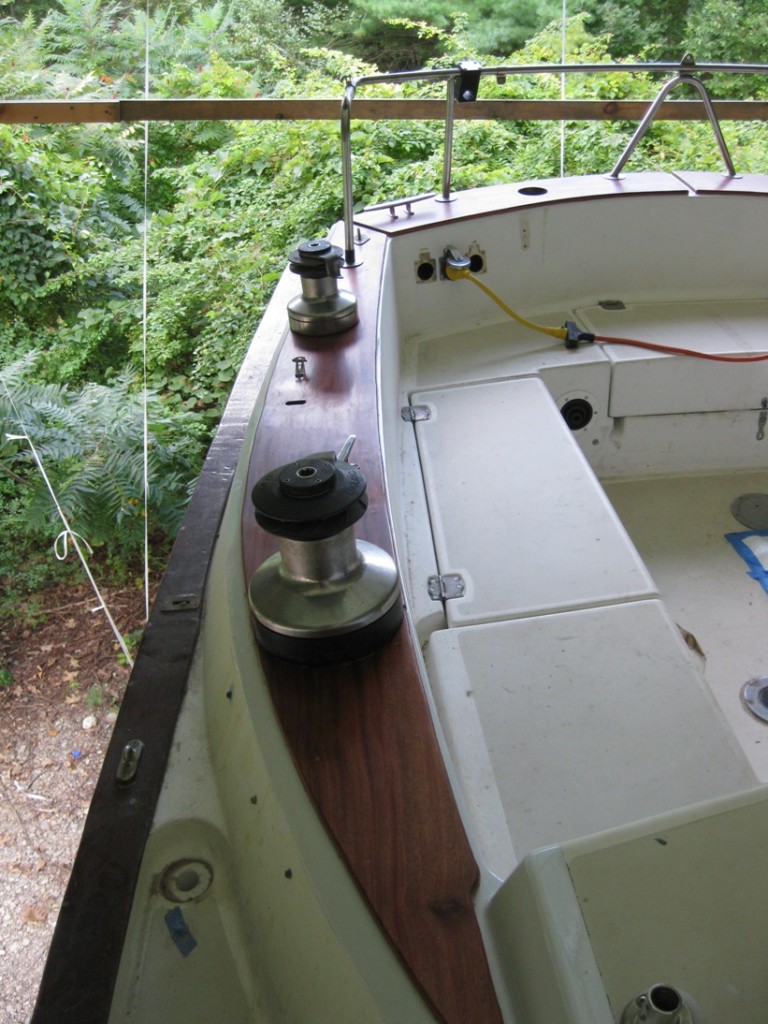
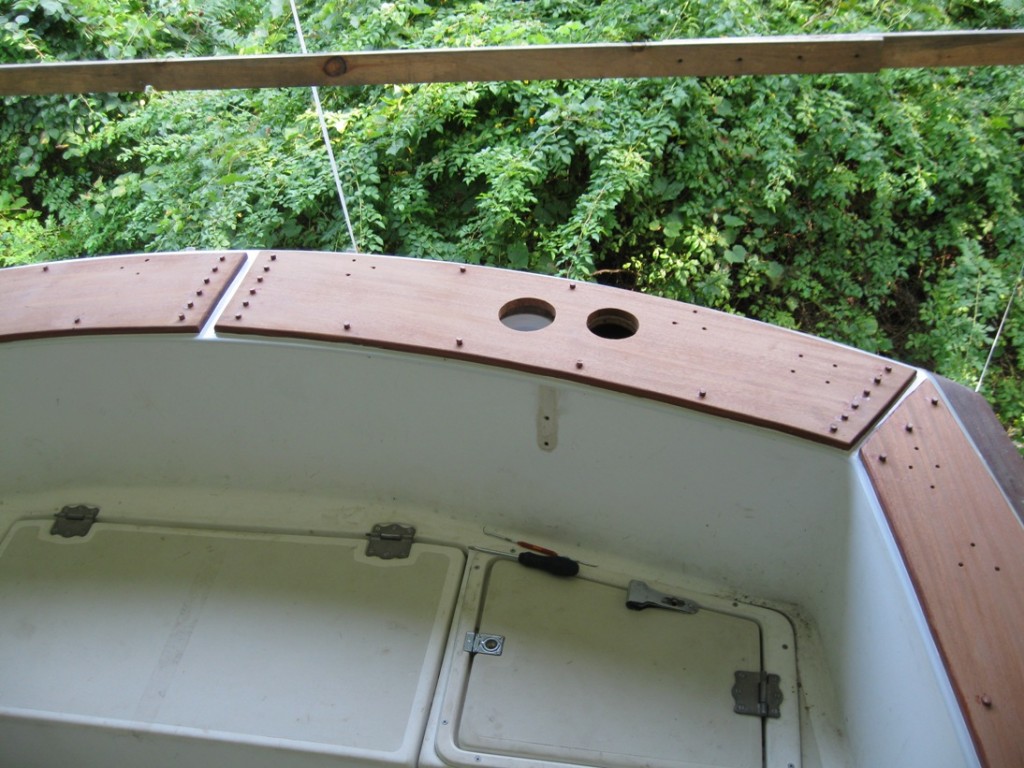
And the cockpit is coming along nicely. Wood epoxied, winches, cleats and stern rail installed! Looking like a boat again:

More later!

Categories: Boat, Refit | Tags: , , , , | Comments Off on Update

Wood cont.

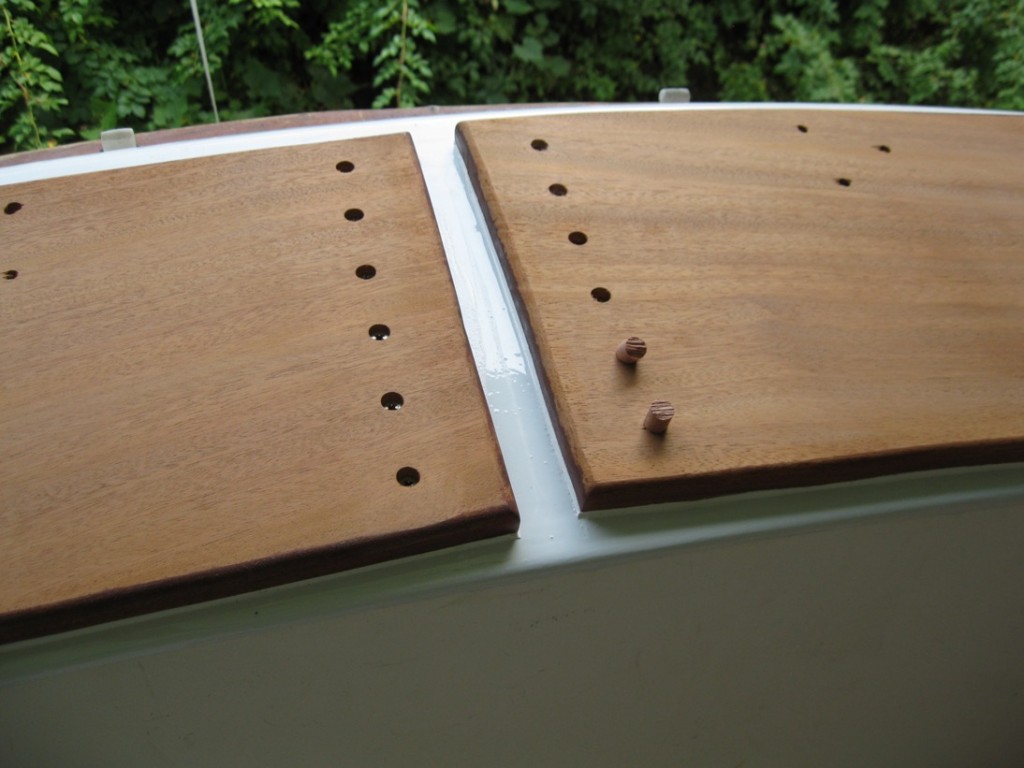
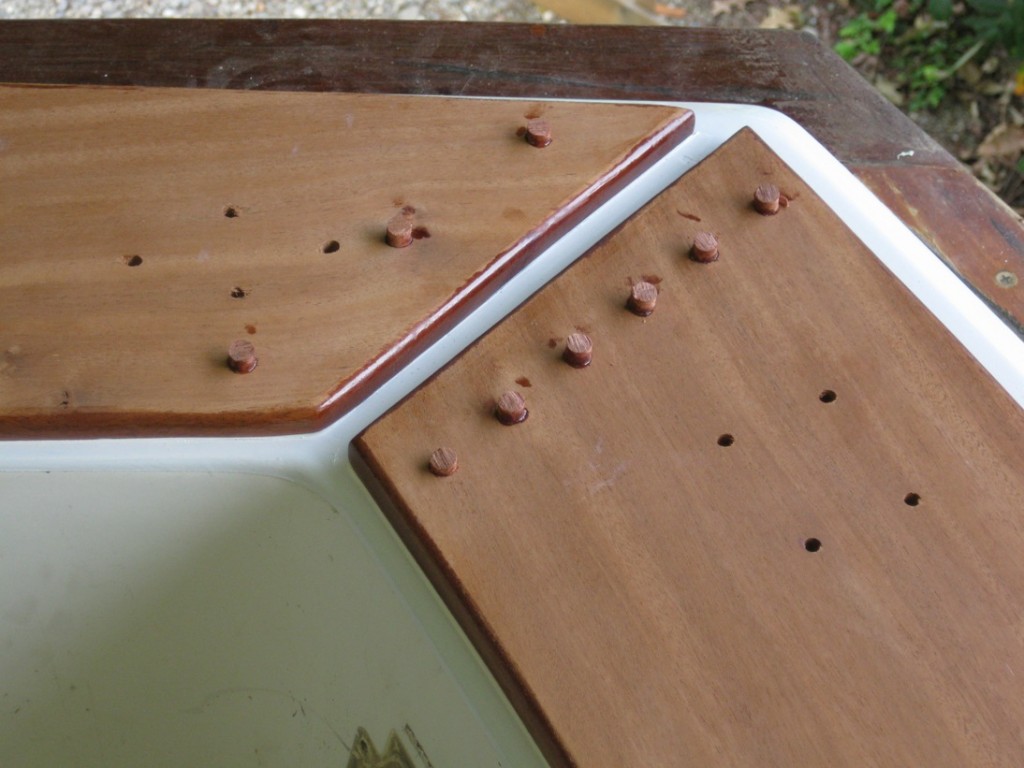
We have been working hard to put the cockpit back together. One of our bigger tasks is to replace all the wood around the cockpit coaming. A few days ago we were able to get the wood sealed and screwed down, now we have to cover all the screw holes with bungs or wood plugs.

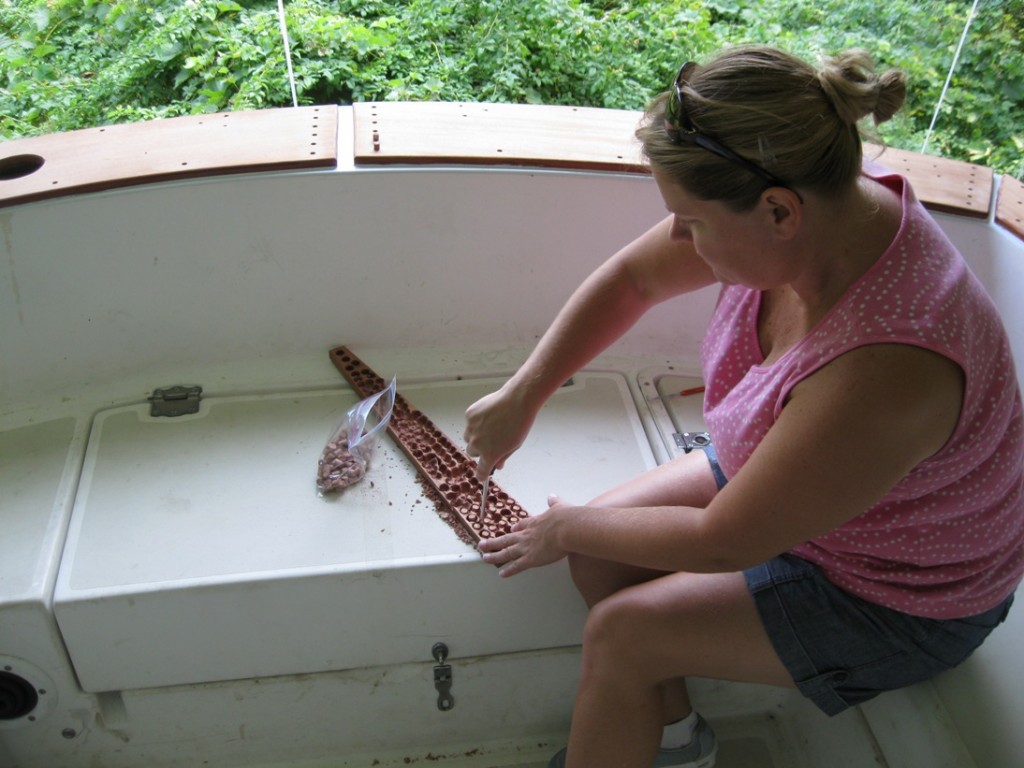
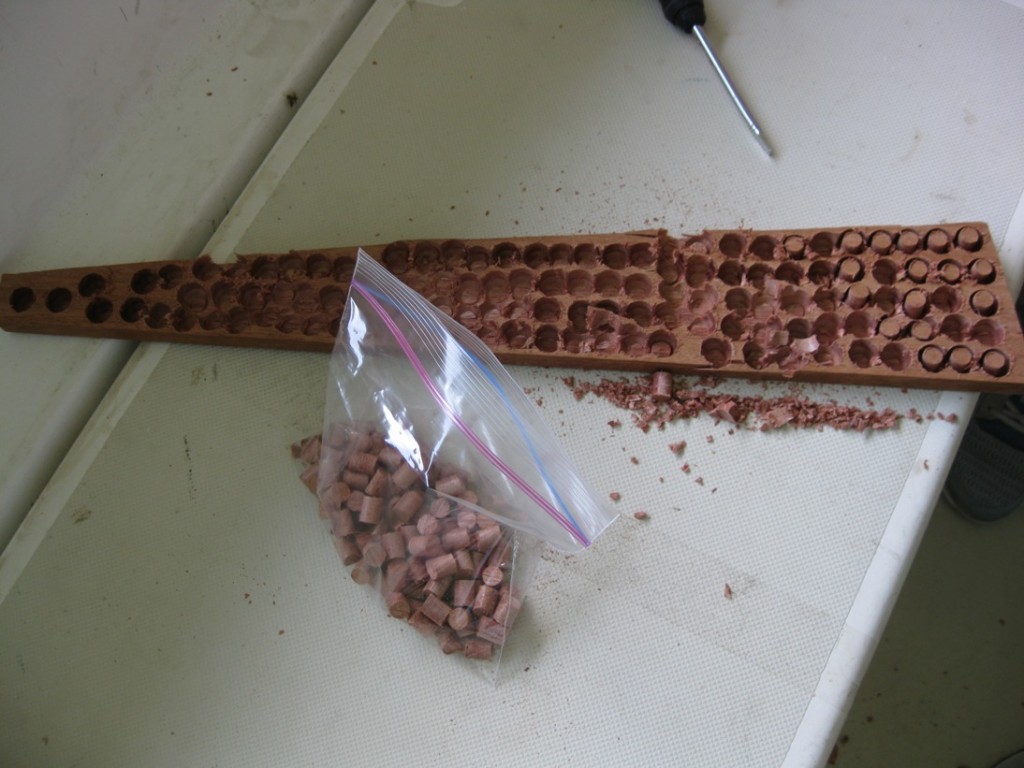
Bob had a plug cutting bit, so we got to work with the drill press cutting bungs. We cut about 120 bungs out of this piece of Mahogany then snapped them out with a screw driver:

We’ll dip each plug in epoxy and fill all the holes:

Done:

Once they’re dry we will chisel them off, sand, then epoxy all the wood.


Categories: Boat, Refit | Tags: , , , | Comments Off on Wood cont.